Get Festive with this Jolly Grinch Oreo Balls Recipe
Christmas desserts just got quirkier with these Grinch Oreo balls that steal sweet moments from ordinary treats!
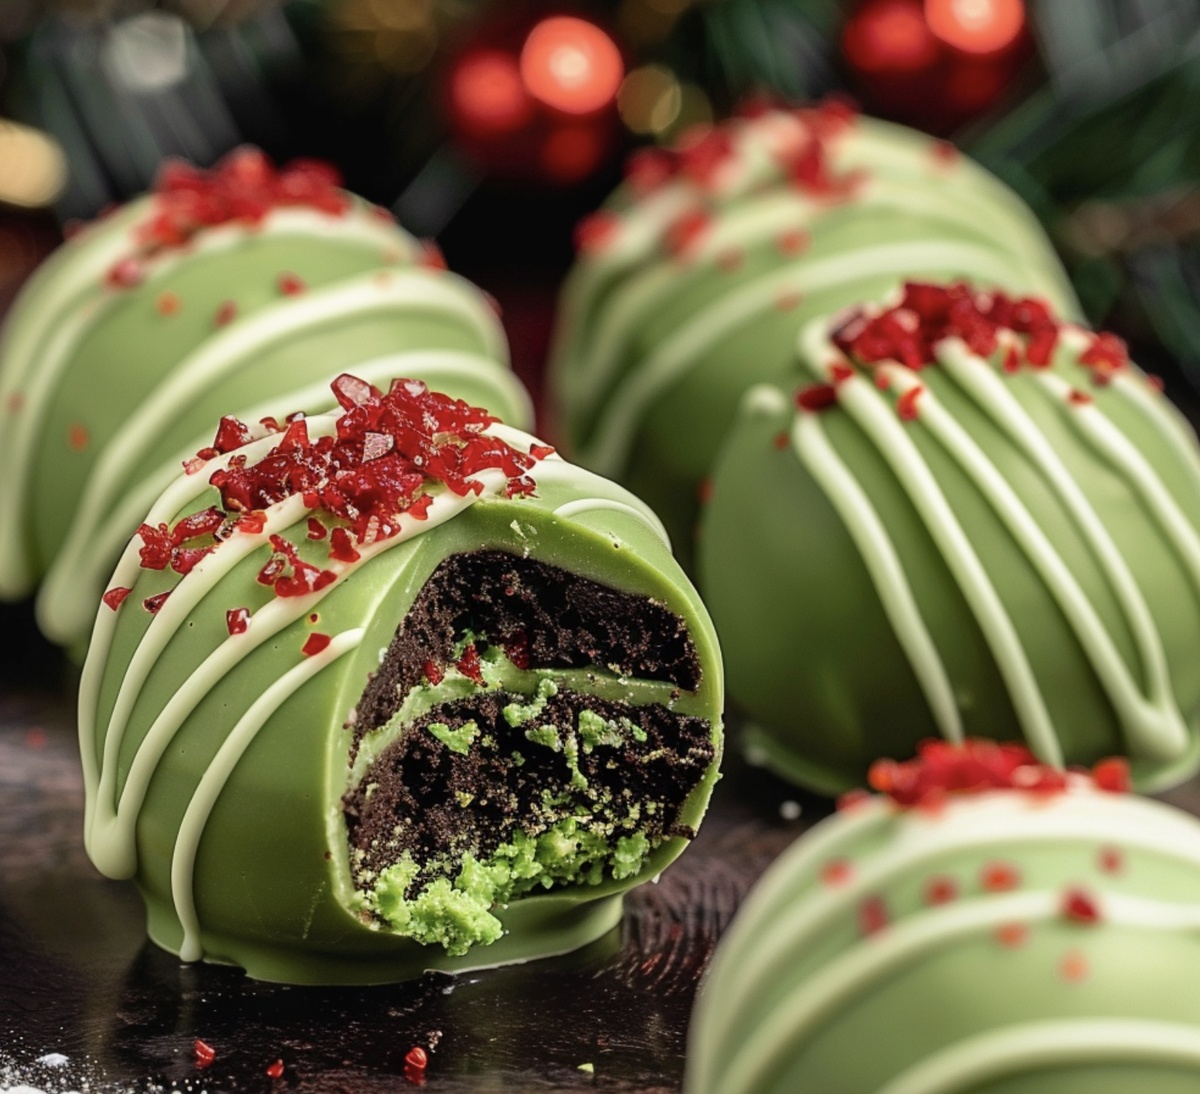
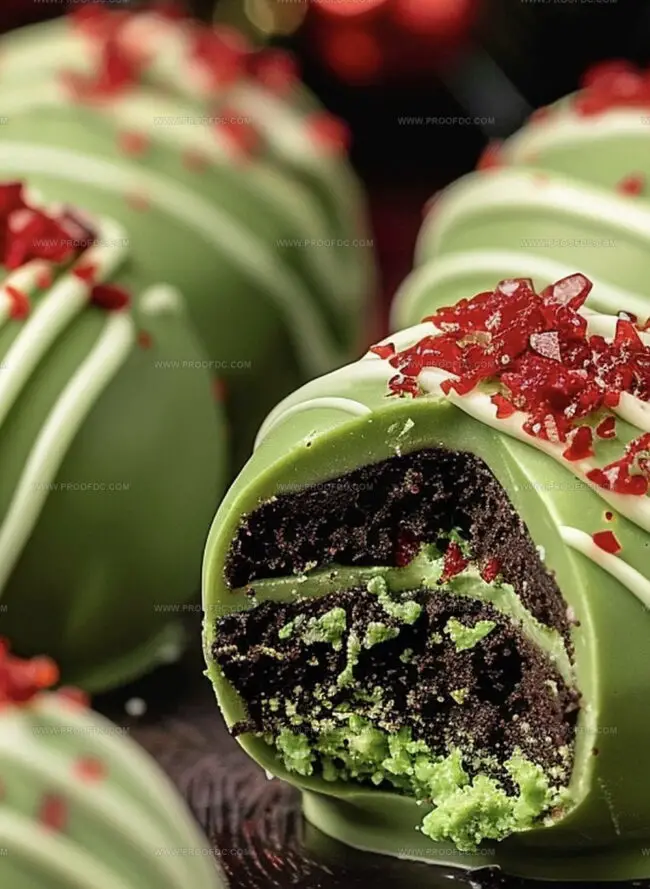
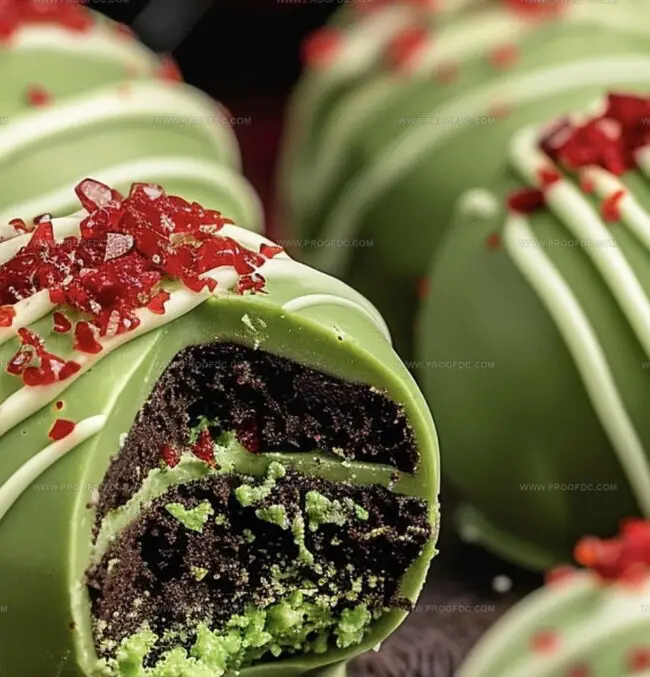
Green-tinted chocolate coating gives these playful truffles a mischievous charm matching their namesake character.
Little bites of creamy delight pack serious flavor into each festive morsel.
Chocolate sandwich cookies crushed and blended with cream cheese create an irresistible base for these whimsical spheres.
Kids and adults alike will giggle at the bright emerald color that screams holiday fun.
Small gatherings or big parties deserve something unexpected and delightful like these Grinch-inspired treats.
Pop one in your mouth and feel the magic of seasonal cheer spreading faster than the grumpy green character’s heart grew.
Challenge you to resist their adorable, festive appeal!
Why Grinch Oreo Balls Are a Holiday Favorite
Everything Needed for Grinch Oreo Balls
Base Ingredients:Coating and Decoration Ingredients:Optional Garnish Ingredients:Steps to Shape and Chill Grinch Oreo Balls
Step 1: Crush and Blend the Cookies
Place Oreo cookies in a food processor and pulse until they form fine, sandy crumbs. Add softened cream cheese and continue blending until the mixture is completely smooth and cohesive.
Step 2: Shape the Oreo Spheres
Scoop small portions of the creamy mixture and roll each one between your palms to form perfect little balls. Arrange them on a parchment‑lined baking sheet, then freeze for 20–30 minutes until firm.
Step 3: Color and Coat in Green Chocolate
Melt white chocolate in a microwave‑safe bowl using short bursts, stirring between each interval. Stir in green gel food coloring until you reach a vibrant Grinch‑green shade, then use a fork or dipping tool to coat each frozen ball. Let any excess drip off before returning them to the parchment.
Step 4: Add Red Heart Sprinkles
While the chocolate coating is still wet, gently press a tiny red heart sprinkle onto the top of each ball, ensuring it adheres securely.
Step 5: Chill and Serve
Transfer the tray to the refrigerator and let the Grinch balls set for one hour. Serve them chilled and watch everyone delight in your festive creation!
Tips for Making Perfect Grinch Oreo Balls
How to Keep Grinch Oreo Balls Fresh for Parties
What Goes Well with Grinch Oreo Balls
Fun Ideas for Grinch Oreo Ball Flavors
Grinch Oreo Balls Q&A
The green chocolate coating and tiny red heart sprinkle give these treats their Grinch-like appearance, mimicking the character’s iconic green color and small heart.
Gel food coloring works best because it’s more concentrated and won’t thin out the white chocolate. Regular liquid food coloring might make the chocolate seize or become lumpy.
You’ll need a food processor to crush the Oreos, a microwave-safe bowl for melting chocolate, and a baking sheet with parchment paper. A fork or dipping tool helps coat the balls evenly.
These treats can be stored in an airtight container in the refrigerator for up to 5 days, making them perfect for holiday parties or make-ahead desserts.
Print
Grinch Oreo Balls Recipe
- Total Time: 1 hour 20 minutes
- Yield: 24 1x
Description
Cheerful holiday spirits come alive with these Grinch Oreo Balls, a whimsical dessert that brings Christmas cheer to your festive table. Green-tinted white chocolate and playful decorations make these bite-sized treats a delightful celebration of seasonal joy you’ll love sharing.
Ingredients
Main Ingredients:
- 1 package (14 ounces/396 grams) Oreo cookies
- 8 ounces (225 grams) cream cheese, softened
- 12 ounces (340 grams) white chocolate, melted
Decoration Ingredients:
- Green gel food coloring
- Red heart sprinkles (or red M&Ms)
Instructions
- Crush Oreo cookies into fine, uniform crumbs using a food processor, ensuring no large chunks remain. Mix in softened cream cheese thoroughly until the mixture develops a consistent, moldable texture.
- Portion the Oreo mixture into small, compact spheres, gently rolling between palms to create smooth, even-sized balls. Arrange the rounded treats on a parchment-lined tray, then transfer to the freezer for a quick 20-minute firming session.
- Prepare the vibrant green coating by slowly melting white chocolate in a microwave-safe bowl, stirring between brief heating intervals. Introduce green gel food coloring, whisking until the chocolate transforms into a rich, emerald hue.
- Delicately submerge each chilled Oreo sphere into the green-tinted chocolate, using a fork to ensure complete and elegant coverage. Allow excess chocolate to drip off before returning the coated balls to the parchment-lined surface.
- While the chocolate remains glossy and wet, carefully place a tiny red heart sprinkle atop each Grinch-inspired confection, creating a whimsical festive touch.
- Refrigerate the completed Oreo balls for approximately one hour, allowing the chocolate shell to solidify completely. Serve directly from the refrigerator for optimal texture and visual appeal.
Notes
- Crush Oreos completely to ensure a smooth, uniform mixture without large cookie chunks for better texture and easier rolling.
- Chill cream cheese beforehand to help bind the mixture more effectively and prevent sticky hands during ball formation.
- Use gel food coloring for more vibrant green color without thinning the white chocolate coating, maintaining the perfect Grinch-like hue.
- Work quickly when dipping balls in chocolate to prevent melting and ensure a clean, even coating that showcases the festive design.
- Prep Time: 20 minutes
- Cook Time: 1 hour
- Category: Desserts, Snacks
- Method: Blending
- Cuisine: American
Nutrition
- Serving Size: 24
- Calories: 150
- Sugar: 15g
- Sodium: 60mg
- Fat: 8g
- Saturated Fat: 5g
- Unsaturated Fat: 3g
- Trans Fat: 0g
- Carbohydrates: 19g
- Fiber: 1g
- Protein: 2g
- Cholesterol: 10mg
Jenna Stewart
Head Chef & Recipe Innovator
Expertise
Farm-to-Table Cooking; Seasonal Menu Development; Visual Plating Techniques; Flavor Layering and Simple Prep Hacks.
Education
The Culinary Institute of America, Hyde Park, NY
Jenna Stewart is the inventive spirit behind many of our standout dishes at Pro of Delicious Creations. A proud graduate of The Culinary Institute of America, she built her skills mastering both classic recipes and fresh, modern twists.
Now, Jenna celebrates the beauty of seasonal, local ingredients, often sourced from her garden and nearby markets, to create recipes that are bursting with flavor yet easy to follow. When she’s not experimenting in the kitchen, Jenna loves exploring nature on hikes and discovering new treasures at local co-ops.