Irresistible S’mores Cookie Cups Recipe: Campfire Joy at Home
Chocolate chip cookies meet campfire nostalgia in these irresistible s’mores cookie cups that deliver pure dessert magic.
Graham cracker crumbs blend seamlessly into a soft cookie base, creating an incredible texture.
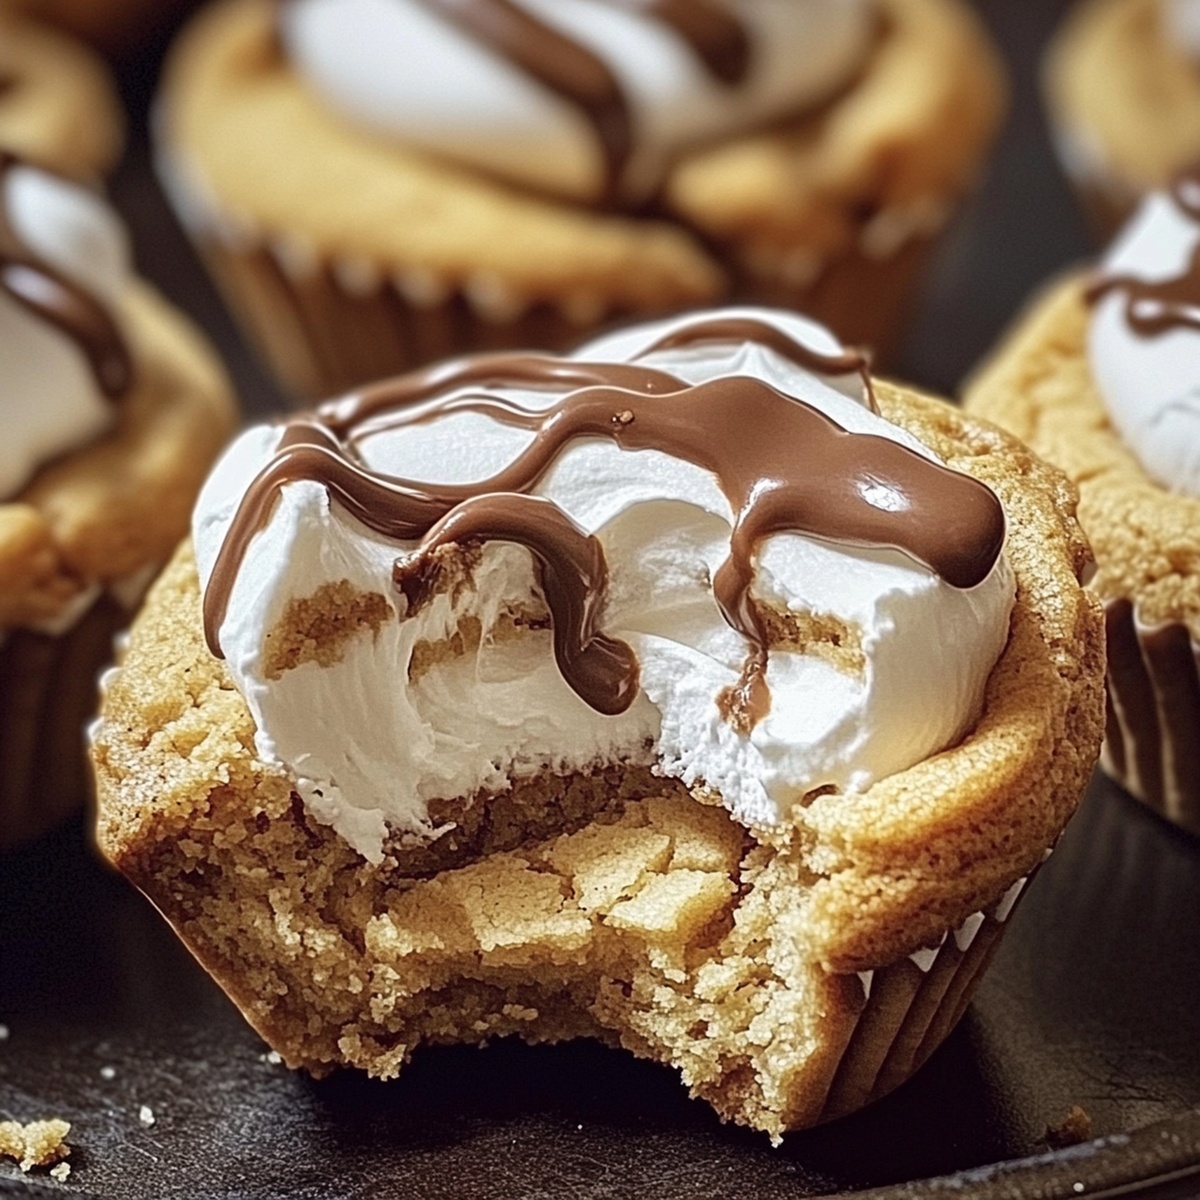
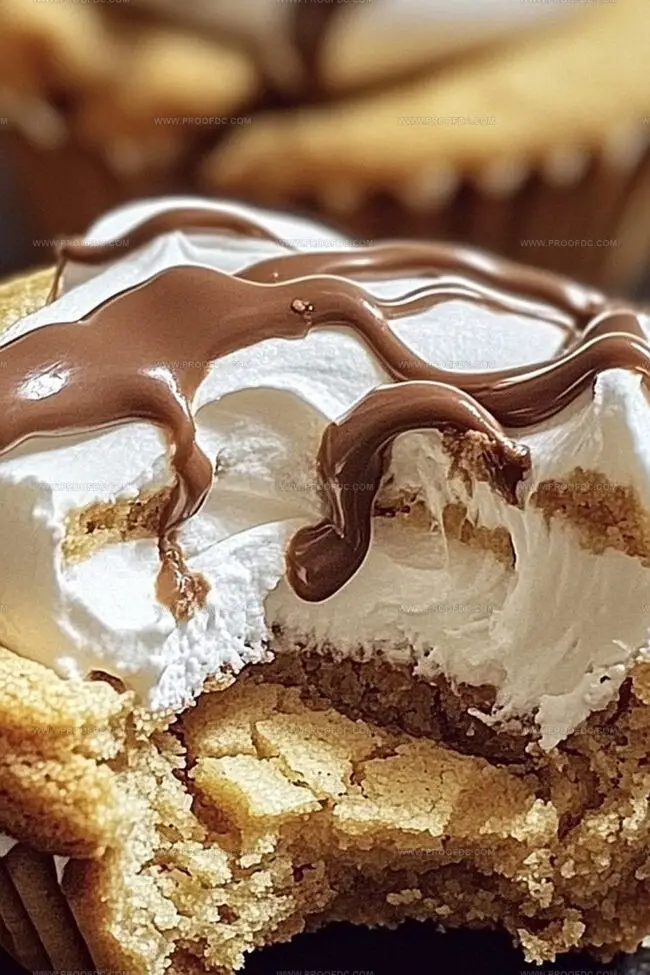
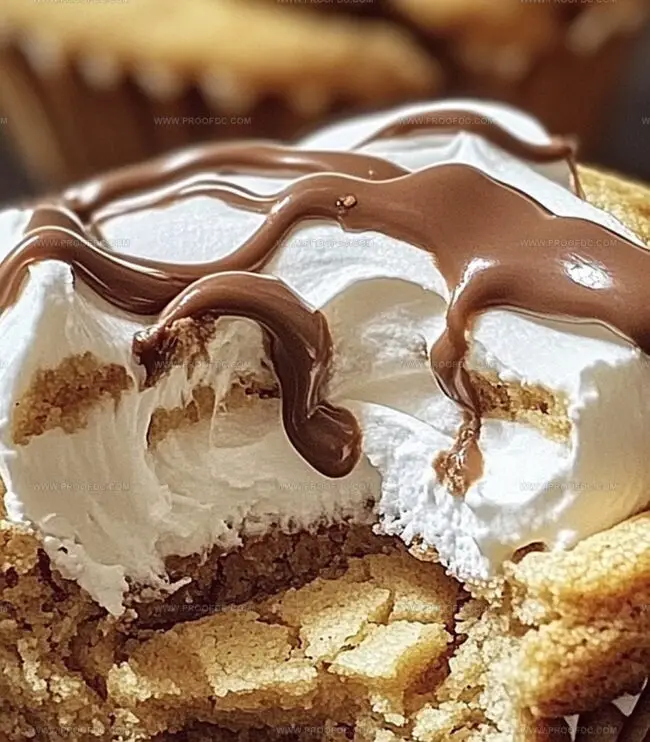
Marshmallow and chocolate nestled inside each cup promise a delightful sweet surprise.
These handheld treats capture the essence of classic s’mores with a bakery-style twist.
They’re perfect for summer gatherings, potlucks, or whenever you crave a memorable dessert.
The combination of crisp cookie edges and gooey center makes these s’mores cookie cups impossible to resist.
Dive into this simple yet stunning recipe that transforms ordinary cookies into an extraordinary treat.
Quick Recipe Overview
Ingredients Used In Smores Cookie Cups
For The Base:For Sweetness and Binding:For Topping and Finishing:Cooking Gear For Smores Cookie Cups
How To Make Smores Cookie Cups
Warm up the kitchen for a delightful baking adventure. Set the oven to a cozy 350 degrees and give your muffin tin a quick spray of cooking magic.
Blend butter and sugars until they dance together smoothly. Introduce an egg and vanilla for extra personality. Gently fold in graham cracker magic and dry ingredients until a perfect cookie dough emerges.
Scoop dollops of dough into each muffin pocket. Press and shape the dough to create adorable little cookie nests that will cradle your sweet surprise.
Pull out your warm cookie cups and nestle chocolate pieces into each tender base. Crown each cup with a fluffy marshmallow, inviting gooey deliciousness.
Send the cups back into the oven for a quick transformation. Watch as marshmallows melt and turn golden, promising delectable treats.
Let the cookie cups rest and settle. Carefully transfer them to a cooling rack where they can show off their beautiful golden edges.
Present these irresistible smores cookie cups to eager friends and family. Enjoy the perfect blend of campfire memories and bakery charm.
Helpful Ideas For Smores Cookie Cups
Serving Smores Cookie Cups Easily
Storage Tips For Smores Cookie Cups
Print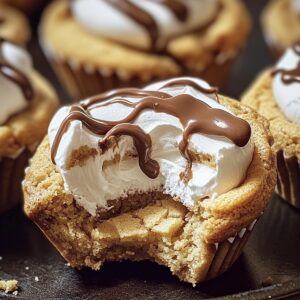
Gooey Smores Cookie Cups Recipe
- Total Time: 27 minutes
- Yield: 11 1x
Description
Gooey marshmallow s’mores cookie cups blend classic campfire flavors into a delightful handheld dessert. Graham cracker crusts cradle rich chocolate and toasted marshmallow for a nostalgic sweet treat you’ll savor with pure summer joy.
Ingredients
- 1 cup (240 ml) all-purpose flour
- ½ cup (120 ml) graham cracker crumbs
- ½ cup (85 g) unsalted butter, softened
- ½ cup (100 g) granulated sugar
- ¼ cup (50 g) brown sugar, packed
- 1 large egg
- 1 tsp (5 ml) vanilla extract
- ½ tsp (2.5 ml) baking powder
- ¼ tsp (1.25 ml) salt
- ½ cup (85 g) semi-sweet chocolate chips or chopped chocolate
- 12 large marshmallows, cut in half
- Crushed graham crackers
- Melted chocolate drizzle
Instructions
- Preheat and Prepare: Warm the oven to 350F (175C) and lightly spray a 12-cup muffin tin with cooking spray.
- Mix Cookie Dough: Cream butter with granulated and brown sugars until smooth, then blend in egg and vanilla extract. Fold in graham cracker crumbs, flour, baking powder, and salt to form a unified dough.
- Shape Cookie Bases: Press approximately 1 1/2 tablespoons of dough into each muffin cavity, carefully molding to create cup-like shapes that climb the tin’s sides.
- Initial Baking: Bake for 8-10 minutes until edges turn golden and crisp, signaling the perfect cookie cup foundation.
- Chocolate and Marshmallow Layer: Immediately after removing from the oven, embed chocolate chips or chopped chocolate into each cup’s center, then crown with a marshmallow half, cut side down.
- Final Toasting: Return to the oven for 2-3 minutes, allowing marshmallows to soften and achieve a delicate golden hue.
- Cool and Set: Let cookie cups rest in the tin for 5-10 minutes to stabilize, then transfer to a wire rack. Optional: Embellish with melted chocolate drizzle and crushed graham cracker sprinkles.
- Serve and Enjoy: Offer these irresistible treats warm or at room temperature, inviting guests to relish the classic smores experience.
Notes
- Prevent Sticking: Generously spray muffin tin with non-stick cooking spray to ensure easy removal of delicate cookie cups.
- Create Perfect Cups: Use the back of a spoon or your fingers to gently press dough evenly against muffin tin sides, ensuring uniform thickness and shape.
- Watch Baking Time: Carefully monitor cookie cups during baking, as they can quickly transition from golden to overly browned – remove when edges are just turning light golden.
- Marshmallow Technique: Place marshmallow cut-side down for best melting and most attractive presentation, allowing it to soften without burning.
- Prep Time: 15 minutes
- Cook Time: 12 minutes
- Category: Desserts, Snacks
- Method: Baking
- Cuisine: American
Nutrition
- Serving Size: 11
- Calories: 180
- Sugar: 14 g
- Sodium: 100 mg
- Fat: 8 g
- Saturated Fat: 5 g
- Unsaturated Fat: 3 g
- Trans Fat: 0 g
- Carbohydrates: 23 g
- Fiber: 1 g
- Protein: 2 g
- Cholesterol: 20 mg
Marcus Foley
Food Critic & Kitchen Coach
Expertise
Recipe Testing and Troubleshooting; Time-Saving Kitchen Hacks; Global Flavor Exploration; Engaging Food Writing and Honest Reviews.
Education
Institute of Culinary Education (ICE), New York, NY
Marcus Foley, based in Atlanta, GA, is a friendly food expert who makes cooking fun and simple.
With hands-on training from the Institute of Culinary Education and years of tasting everything from street food to fine dining, he shares easy kitchen hacks, global flavor ideas, and step-by-step recipes that turn kitchen mishaps into delicious surprises.