The Gooey Chocolate Lava Cake Cookies Recipe You’ll Love
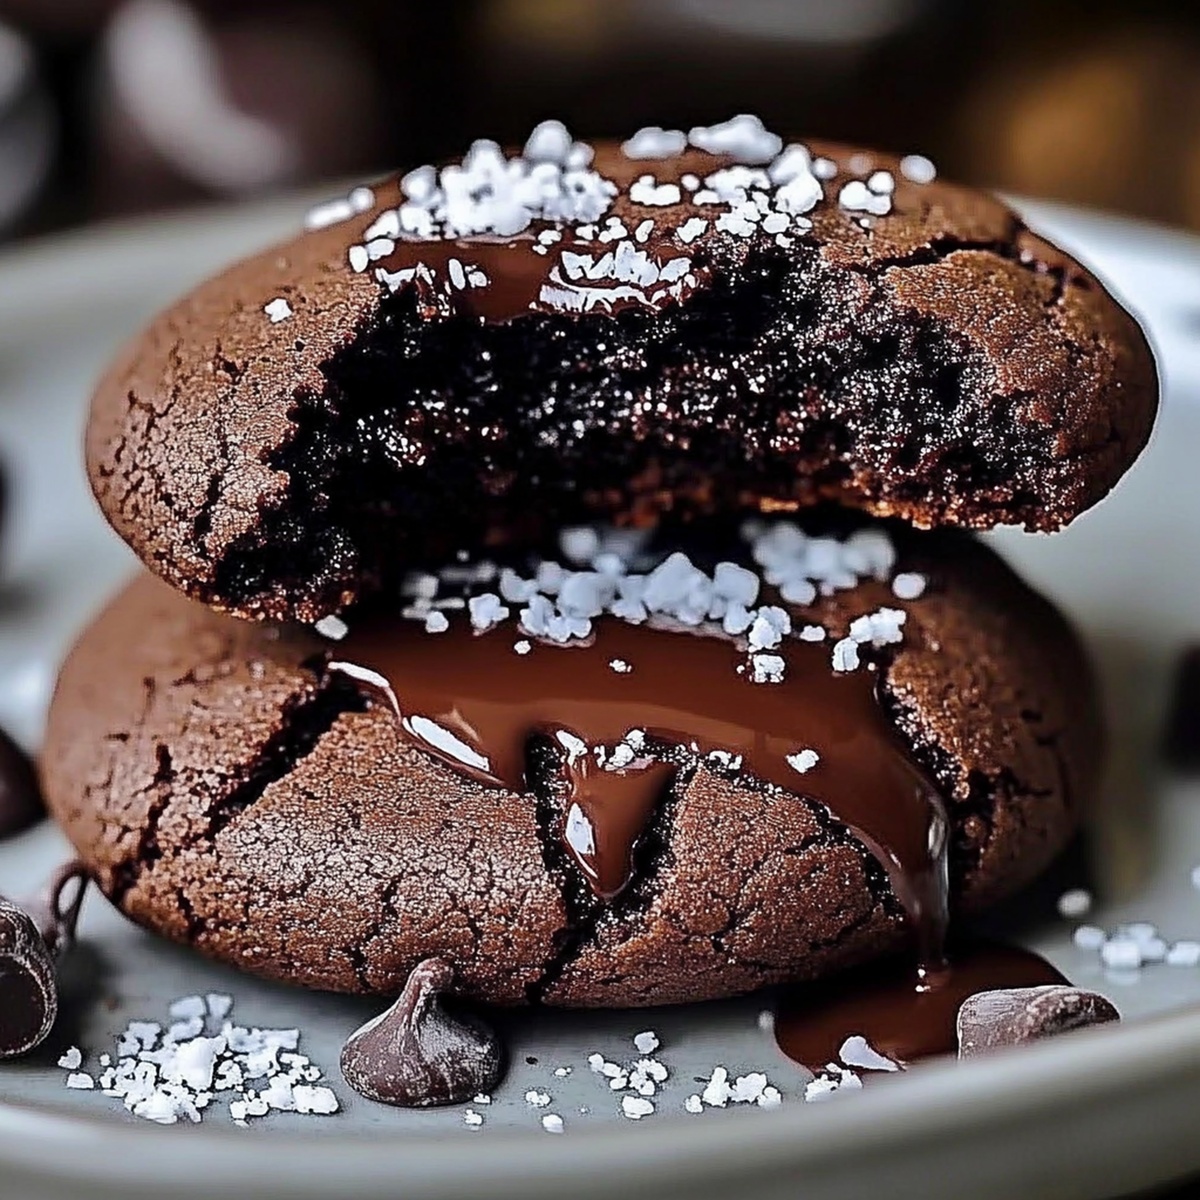
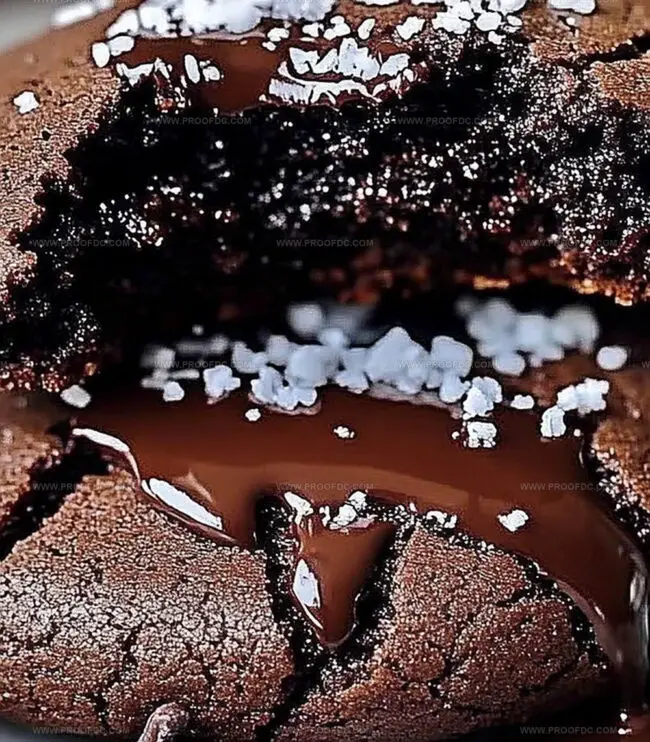
Soft, decadent chocolate cookies hide a molten chocolate surprise that erupts with rich lava cake magic.
These irresistible treats combine the best of two dessert worlds in one incredible bite.
Dark chocolate melts into a luxurious center, creating a dramatic contrast against the tender cookie exterior.
Each cookie delivers a dramatic moment of pure chocolate indulgence that will make chocolate lovers swoon.
Warm from the oven, these cookies ooze with a silky chocolate center that promises pure bliss.
The delicate balance of crisp edges and a liquid chocolate core makes these cookies a standout dessert.
Prepare to experience a chocolate sensation that turns an ordinary moment into an extraordinary sweet escape.
Quick Recipe Overview

Everything In Chocolate Lava Cake Cookies
For Cookie Base:For Sweeteners and Binding:For Filling and Enrichment:Tools You’ll Use For Chocolate Lava Cake Cookies
How To Make Chocolate Lava Cake Cookies
Mix butter, brown sugar, and granulated sugar until creamy and airy. Blend in egg and vanilla extract smoothly. In another bowl, combine flour, cocoa powder, baking soda, and salt. Slowly incorporate dry ingredients into wet mixture until soft dough forms.
Refrigerate dough for half an hour to make handling easier. Warm oven to 350F and line baking sheet with parchment paper.
Grab small portions of dough and gently flatten. Nestle chocolate piece in center, then carefully wrap dough around chocolate, creating a sealed ball. Arrange cookies on baking sheet with space between each.
Cook cookies for 9-11 minutes until edges look set but center remains tender. Allow cookies to rest on baking sheet briefly before transferring to cooling rack.
Sprinkle powdered sugar over warm cookies. Serve immediately for maximum gooey center. Consider pairing with vanilla ice cream for extra decadence.
Tips To Get That Molten Center In Chocolate Lava Cake Cookies
How To Serve Chocolate Lava Cake Cookies
Storage Ideas For Chocolate Lava Cake Cookies
Print
Gooey Chocolate Lava Cake Cookies Recipe
- Total Time: 50 minutes
- Yield: 13 1x
Description
Sweet chocolate lava cake cookies blend molten chocolate centers with crisp cookie edges, creating an irresistible dessert experience. Rich French-inspired flavors promise indulgent moments you’ll savor with each delectable bite.
Ingredients
- 1 cup (240 ml) all-purpose flour
- ⅓ cup (80 ml) unsweetened cocoa powder
- 4 oz (113 g) semi-sweet or dark chocolate
- ½ cup (100 g) brown sugar (packed)
- ¼ cup (50 g) granulated sugar
- 1 large egg
- ½ cup (113 g or 1 stick) unsalted butter (softened)
- 1 tsp vanilla extract
- ½ tsp baking soda
- ¼ tsp salt
- Powdered sugar (for dusting)
- Vanilla ice cream or whipped cream (for serving)
Instructions
- Creaming: Whip softened butter with brown and granulated sugars until achieving a fluffy, pale texture that’s light and airy.
- Liquid Integration: Vigorously incorporate egg and vanilla extract, stirring until the mixture becomes completely homogeneous.
- Dry Ingredient Preparation: Sift flour, cocoa powder, baking soda, and salt together, eliminating any potential lumps and ensuring smooth distribution.
- Dough Formation: Delicately merge dry ingredients into wet mixture, folding gently to create a cohesive dough without overmixing, which could compromise the cookie’s tender texture.
- Chilling: Encase dough completely and refrigerate for 30 minutes, allowing flavors to develop and consistency to firm up.
- Preheating and Preparation: Warm oven to 350F (175C) and line baking sheet with parchment paper for optimal non-stick surface.
- Chocolate Stuffing: Portion chilled dough, creating small discs with center depressions, then carefully embed chocolate piece and roll into seamless spheres.
- Baking: Position cookie spheres on prepared sheet with sufficient spacing, then bake 10-12 minutes until edges set but center remains delicately soft.
- Cooling and Finishing: Rest cookies momentarily on baking sheet to stabilize, then transfer to cooling rack and dust with powdered sugar for an elegant presentation.
Notes
- Control Butter Temperature: Soften butter at room temperature for smooth, even mixing, avoiding cold or melted butter that disrupts cookie texture.
- Prevent Overmixing: Fold dry ingredients gently into wet mixture to maintain a tender, delicate cookie structure without developing tough gluten.
- Chill Dough Strategically: Refrigerate dough for exactly 30 minutes to enhance flavor development and firm up texture for easier handling and clean chocolate encasing.
- Master Chocolate Placement: Completely seal chocolate center within dough ball to create perfect lava effect, ensuring no chocolate leakage during baking process.
- Prep Time: 10 minutes
- Cook Time: 30 minutes
- Category: Desserts, Snacks
- Method: Baking
- Cuisine: American
Nutrition
- Serving Size: 13
- Calories: 210
- Sugar: 16 g
- Sodium: 100 mg
- Fat: 10 g
- Saturated Fat: 6 g
- Unsaturated Fat: 4 g
- Trans Fat: 0 g
- Carbohydrates: 30 g
- Fiber: 2 g
- Protein: 3 g
- Cholesterol: 30 mg
Marcus Foley
Food Critic & Kitchen Coach
Expertise
Recipe Testing and Troubleshooting; Time-Saving Kitchen Hacks; Global Flavor Exploration; Engaging Food Writing and Honest Reviews.
Education
Institute of Culinary Education (ICE), New York, NY
Marcus Foley, based in Atlanta, GA, is a friendly food expert who makes cooking fun and simple.
With hands-on training from the Institute of Culinary Education and years of tasting everything from street food to fine dining, he shares easy kitchen hacks, global flavor ideas, and step-by-step recipes that turn kitchen mishaps into delicious surprises.