Sweet Gingerbread Snowballs Recipe: Cozy Holiday Magic in Every Bite
When winter whispers its magical gingerbread snowballs recipe, memories of cozy kitchens start dancing in my mind.
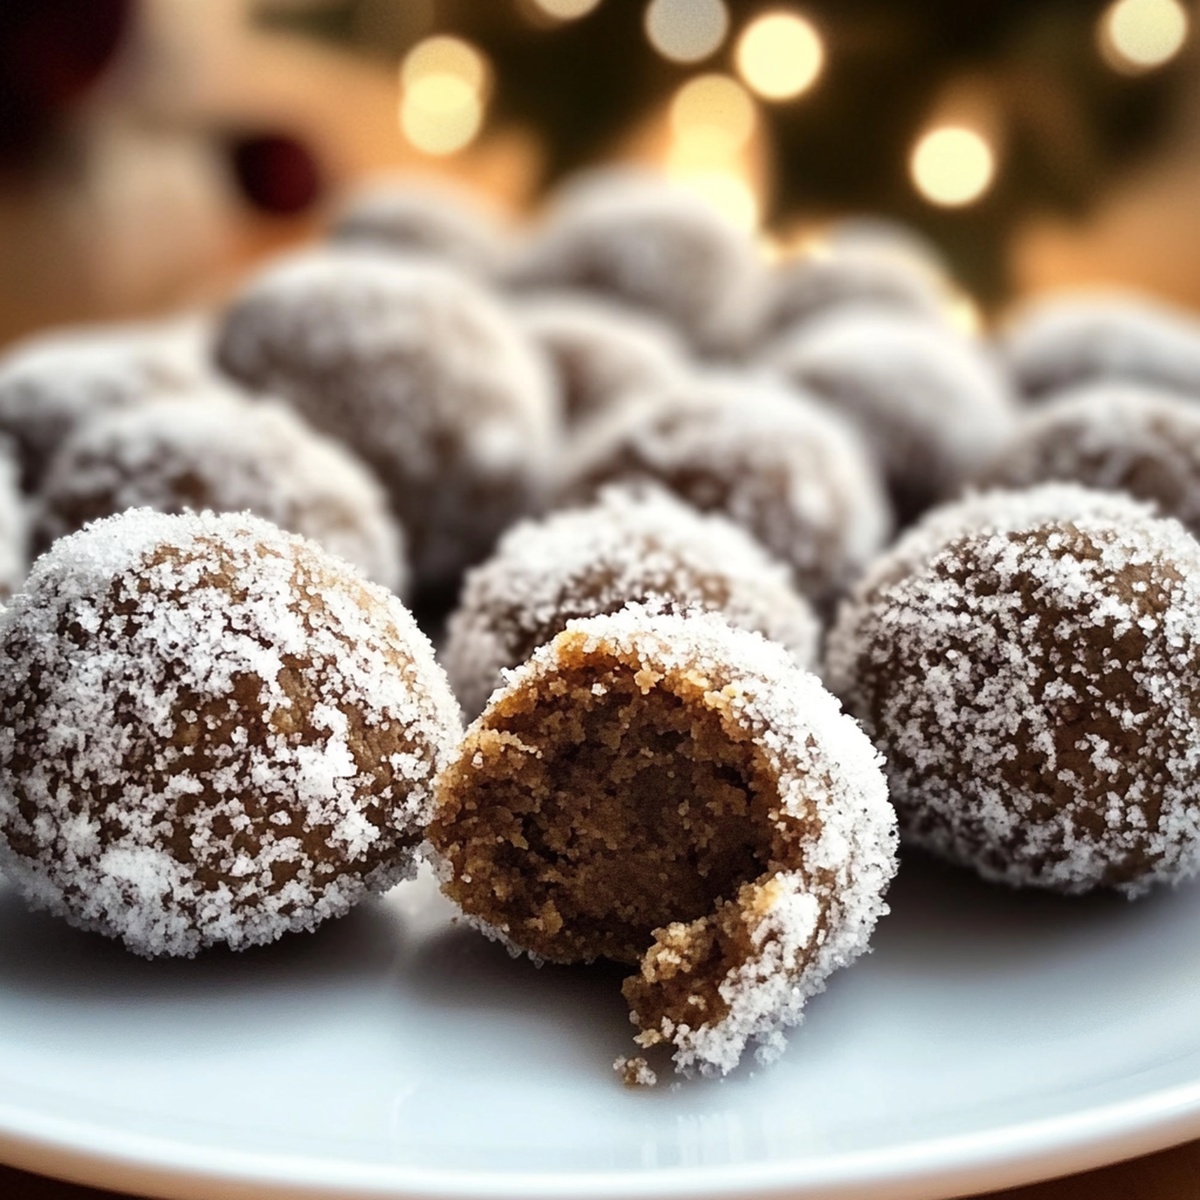
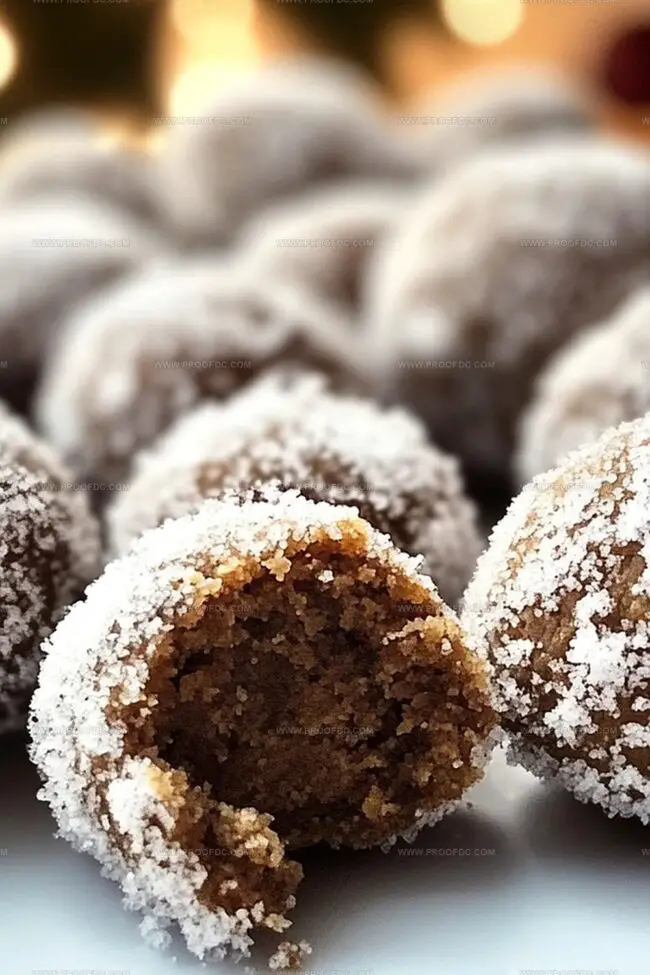
Soft, powdery sugar coats these delightful treats like fresh fallen snow.
Warm spices mingle with sweet hints of molasses, creating a nostalgic flavor profile.
Biting into a cloud-like cookie that melts instantly on your tongue.
Childhood comfort blends perfectly with festive cheer in this simple yet irresistible dessert.
Each bite promises a moment of pure winter wonder.
Can you resist these little spheres of happiness that capture the essence of holiday joy?
Why You’ll Love Gingerbread Snowballs
What You’ll Need for Gingerbread Snowballs
Wet Ingredients:Dry Ingredients:Spices:Coating:How to Make Gingerbread Snowballs Easily
Step 1: Warm Up The Oven
Crank your oven to a cozy 350F (175C). Grab two baking sheets and line them with parchment paper or silicone mats for a smooth baking experience.
Step 2: Whip Up Butter And Sugar
Grab a large mixing bowl and transform your softened butter and granulated sugar into a cloud-like, fluffy mixture. Beat them together for about two minutes until they look light and dreamy.
Step 3: Splash In Flavor Boosters
Pour in your vanilla extract and molasses, mixing until they dance together perfectly and create a rich, aromatic base.
Step 4: Blend Dry Magic
In another bowl, whisper together these magical powder ingredients:Gently fold these dry ingredients into your wet mixture until a delightful dough forms.
Step 5: Shape Delicious Orbs
Roll the dough into adorable one-inch balls. Place them on your prepared baking sheets, giving each ball some breathing room about an inch apart.
Step 6: Bake To Perfection
Send your cookie balls into the warm oven for 10-12 minutes. Watch for them to set without turning brown – they should look just shy of golden.
Step 7: Sugar Snow Coating
While the cookies are still warm, roll them in powdered sugar until they look like tiny snowballs. Let them cool completely on a wire rack, then give them a second powdery sugar bath for an extra wintery look.
Helpful Tips for Gingerbread Snowballs
Storing Gingerbread Snowballs the Right Way
Snacks and Drinks That Pair With Gingerbread Snowballs
Ways to Switch Gingerbread Snowballs Up
FAQs for Gingerbread Snowballs
The combination of molasses, cinnamon, ginger, nutmeg, and cloves creates a warm, spicy taste that captures the essence of traditional gingerbread. These spices work together to give the cookies their distinctive and comforting holiday flavor.
The first roll while the cookies are still warm helps the sugar stick better, and the second roll after cooling creates a beautiful, snow-like coating that gives these cookies their signature snowball appearance. This double-coating technique ensures a thick, even layer of powdered sugar.
Absolutely! These gingerbread snowballs can be prepared in advance and stored in an airtight container for up to a week. They actually develop a richer flavor as they sit, making them perfect for holiday preparations or gifting.
Yes! These cookies are great for baking with children. The dough is easy to roll into balls, and kids will love the fun process of rolling the warm cookies in powdered sugar to create a snowy effect.
Print
Gingerbread Snowballs Recipe
- Total Time: 37 minutes
- Yield: 24 1x
Description
Festive holiday magic meets sweet comfort in these gingerbread snowballs, a delightful winter treat dusted with powdered sugar. Warm spices and buttery richness invite winter celebrations, promising pure seasonal joy in each delectable bite.
Ingredients
Main Ingredients:
- 2 cups (250 g / 8.8 ounces) all-purpose flour
- 1 cup (230 g / 8 ounces) unsalted butter, softened
- ⅓ cup (70 g / 2.5 ounces) granulated sugar
Spices and Seasonings:
- 1 teaspoon ground cinnamon
- 1 teaspoon ground ginger
- ¼ teaspoon ground nutmeg
- ¼ teaspoon ground cloves
- ¼ teaspoon salt
Additional Flavors:
- 1 teaspoon vanilla extract
- ½ teaspoon molasses
For Rolling:
- 1 cup (120 g / 4.2 ounces) powdered sugar
Instructions
- Prepare the oven environment by heating to 350F (175C) and lining two baking sheets with parchment paper or silicone mats to ensure even baking and prevent sticking.
- Create a fluffy butter mixture by vigorously beating softened butter and granulated sugar until the texture becomes light and airy, developing a creamy consistency.
- Enhance the flavor profile by incorporating vanilla extract and rich, deep molasses, stirring until the ingredients blend seamlessly.
- Craft a complex spice blend by whisking together flour, salt, cinnamon, ginger, nutmeg, and cloves in a separate mixing bowl, creating a fragrant dry ingredient mixture.
- Gradually merge the dry spice mixture into the wet ingredients, gently folding until a cohesive dough forms without overmixing.
- Carefully shape the dough into uniform 1-inch spheres, positioning them evenly across the prepared baking sheets with slight separation to allow for gentle spreading.
- Transform the raw dough into delicate cookies by baking for 10-12 minutes, watching for a set texture without excessive browning.
- Allow the freshly baked cookies to rest briefly on the baking sheet, then delicately transfer them to a cooling rack while still warm.
- Create a winter wonderland effect by delicately rolling the warm cookies in powdered sugar, ensuring complete coverage for a snowy exterior.
- Complete the final touch by repeating the powdered sugar coating once the cookies have cooled completely, achieving a pristine, frosted appearance.
Notes
- Adjust the spice levels by increasing or decreasing ground ginger and cinnamon to match your personal taste preference.
- For a gluten-free version, swap regular flour with a reliable cup-for-cup gluten-free flour blend to maintain the cookie’s delicate texture.
- Ensure butter is softened at room temperature but not melted to achieve the perfect creamy consistency when mixing with sugar.
- Store these cookies in an airtight container at room temperature for up to 5 days, layering between parchment paper to prevent sticking and maintain their delicate powdered sugar coating.
- Prep Time: 15 minutes
- Cook Time: 12 minutes
- Category: Desserts, Snacks
- Method: Baking
- Cuisine: American
Nutrition
- Serving Size: 24
- Calories: 195
- Sugar: 7 g
- Sodium: 28 mg
- Fat: 11 g
- Saturated Fat: 7 g
- Unsaturated Fat: 4 g
- Trans Fat: 0 g
- Carbohydrates: 22 g
- Fiber: 0.5 g
- Protein: 1 g
- Cholesterol: 30 mg
Jenna Stewart
Head Chef & Recipe Innovator
Expertise
Farm-to-Table Cooking; Seasonal Menu Development; Visual Plating Techniques; Flavor Layering and Simple Prep Hacks.
Education
The Culinary Institute of America, Hyde Park, NY
Jenna Stewart is the inventive spirit behind many of our standout dishes at Pro of Delicious Creations. A proud graduate of The Culinary Institute of America, she built her skills mastering both classic recipes and fresh, modern twists.
Now, Jenna celebrates the beauty of seasonal, local ingredients, often sourced from her garden and nearby markets, to create recipes that are bursting with flavor yet easy to follow. When she’s not experimenting in the kitchen, Jenna loves exploring nature on hikes and discovering new treasures at local co-ops.