Grandma Ruth’s Pie Crust Recipe: Family Secret Revealed!
Baking the perfect pie crust can be a delightful challenge for home bakers seeking that classic ruths grandmas pie crust recipe passed down through generations.
Every kitchen has its secret weapon, and this treasured recipe whispers of comfort and tradition.
Flaky, buttery crusts have a way of bringing warmth to any gathering.
Grandma’s technique transforms simple ingredients into a golden, tender masterpiece that melts in your mouth.
The magic lies in her precise method and carefully selected ingredients.
With just a few simple steps, you can recreate this beloved family recipe that has delighted taste buds for decades.
Prepare to savor a slice of pure culinary nostalgia that will have everyone asking for seconds.
Quick Recipe Overview
All Ingredients For Ruths Grandmas Pie Crust
For Dry Base Mix:For Binding and Texture:For Optional Enrichment:Tools To Make Ruths Grandmas Pie Crust
Steps To Prepare Ruths Grandmas Pie Crust
Create a smooth, airy base by blending dry ingredients in a spacious mixing bowl. The key is gentle mixing that keeps the texture light and delicate.
Cut cold butter into small cubes and work them into the flour mixture using your fingertips. The goal is creating tiny butter pockets that will make the crust wonderfully flaky and rich.
Slowly introduce ice-cold water, stirring carefully until the dough just begins to come together. Avoid overworking, which can make the crust tough and dense.
Wrap the tender dough in plastic and let it relax in the refrigerator. This crucial pause allows gluten to settle and butter to chill, ensuring a perfect pastry texture.
On a lightly floured surface, roll the chilled dough with smooth, even strokes. Aim for a thin, uniform sheet that will bake into a crisp, delicate crust.
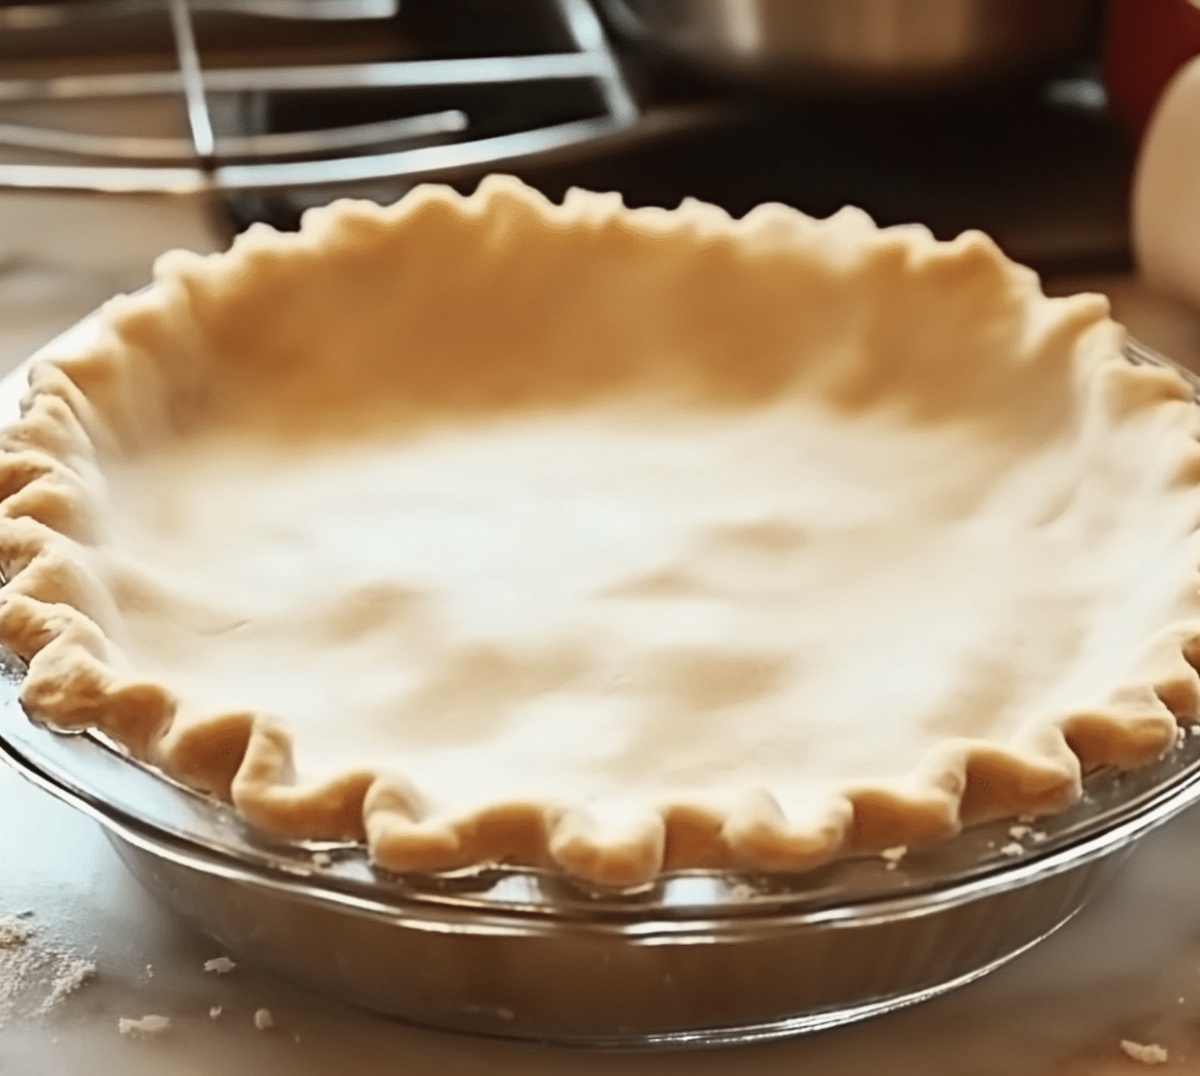
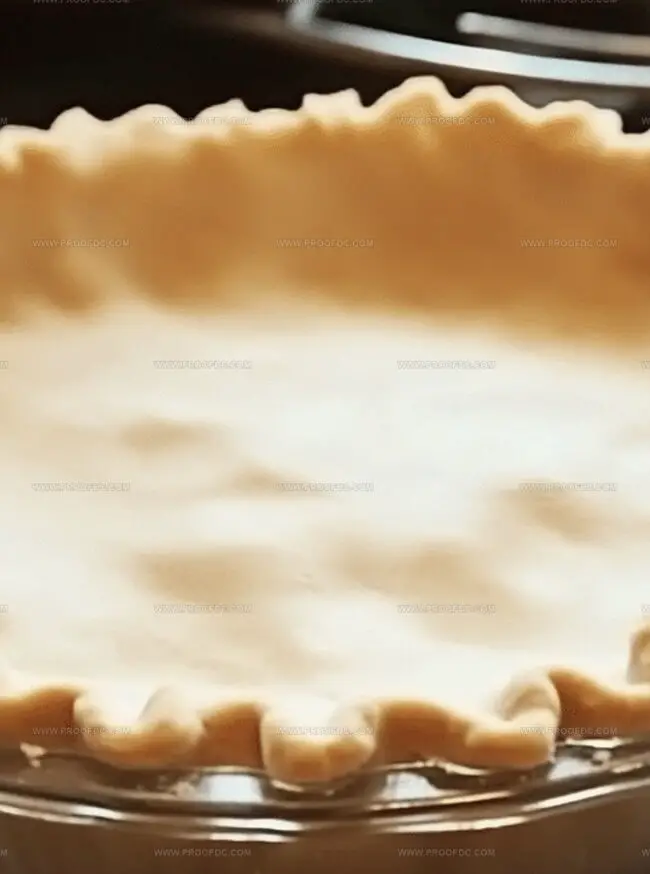
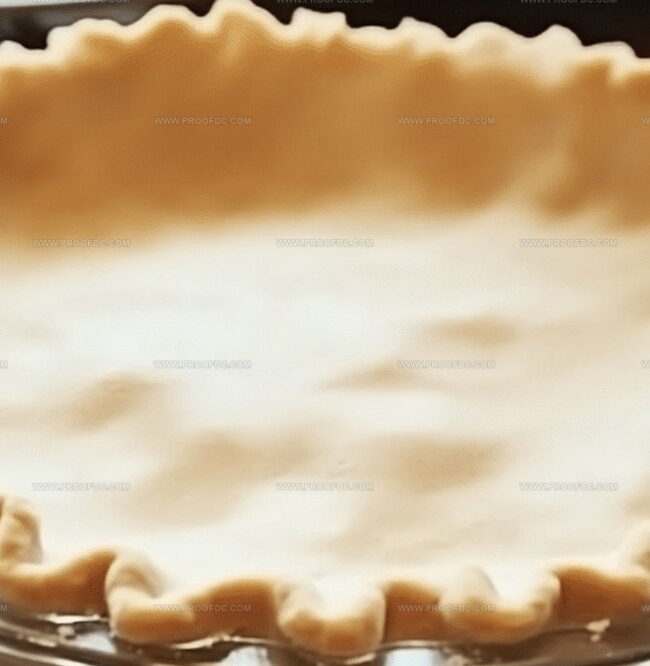
Gently transfer the rolled dough into your pie dish, trimming edges and creating a beautiful crimped border. Your crust is now ready for filling and baking.
Tips For Ruths Grandmas Pie Crust Success
Serving Up Ruths Grandmas Pie Crust
How To Store Ruths Grandmas Pie Crust
Print
Flaky Ruths Grandmas Pie Crust Recipe
- Total Time: 1 hour 15 minutes
- Yield: 2 1x
Description
Ruth’s classic pie crust recipe delivers flaky, buttery perfection passed down through generations. Bakers seeking authentic homemade pastry will appreciate this simple, reliable method for creating delicious pie crusts.
Ingredients
- 2 ½ cups (315 g) all-purpose flour
- 1 cup (225 g) cold unsalted butter, cut into small cubes
- 1 tsp salt
- 1 tbsp granulated sugar (optional, for sweet pies)
- ¼–½ cup (60–120 ml) ice water
Instructions
- Preparation: Sift flour, salt, and sugar into a large mixing bowl, creating a uniform dry base for the pastry.
- Butter Integration: Dice cold butter into small cubes and sprinkle across the flour mixture, then swiftly blend using a pastry cutter or fingertips until the texture resembles coarse, uneven crumbs with tiny butter pockets.
- Liquid Binding: Drizzle ice-cold water incrementally, gently folding with a fork until the dough begins to loosely consolidate without becoming overly wet or sticky.
- Dough Formation: Transfer the fragile mixture onto a lightly floured surface, carefully gathering and pressing together with minimal manipulation to prevent tough gluten development, then form a compact disk.
- Chilling Phase: Encase the dough disk in plastic wrap and refrigerate for 30-45 minutes, allowing butter to solidify and gluten to relax, which ensures a tender, flaky crust.
- Rolling Technique: Remove chilled dough, place on a floured surface, and roll out to desired thickness and shape, maintaining a light, gentle touch throughout the process.
Notes
- Keep Butter Ice-Cold: Maintain butter’s chilled temperature to ensure flaky, tender pie crust texture by using refrigerated butter and working quickly during preparation.
- Minimal Dough Handling: Avoid excessive kneading to prevent gluten development, which can make the crust tough and dense; gentle mixing creates a more delicate pastry.
- Proper Resting Time: Refrigerate dough for at least 30 minutes to allow butter to solidify and gluten to relax, resulting in a more manageable and flakier crust.
- Consistent Mixing Technique: Use a pastry blender or fingertips to create breadcrumb-like texture, ensuring even butter distribution and optimal crust structure.
- Prep Time: 15 minutes
- Cook Time: 1 hour
- Category: Desserts
- Method: Mixing
- Cuisine: American
Nutrition
- Serving Size: 2
- Calories: 1120
- Sugar: 1 g
- Sodium: 1000 mg
- Fat: 80 g
- Saturated Fat: 51 g
- Unsaturated Fat: 29 g
- Trans Fat: 0 g
- Carbohydrates: 105 g
- Fiber: 4 g
- Protein: 10 g
- Cholesterol: 210 mg
Marcus Foley
Food Critic & Kitchen Coach
Expertise
Recipe Testing and Troubleshooting; Time-Saving Kitchen Hacks; Global Flavor Exploration; Engaging Food Writing and Honest Reviews.
Education
Institute of Culinary Education (ICE), New York, NY
Marcus Foley, based in Atlanta, GA, is a friendly food expert who makes cooking fun and simple.
With hands-on training from the Institute of Culinary Education and years of tasting everything from street food to fine dining, he shares easy kitchen hacks, global flavor ideas, and step-by-step recipes that turn kitchen mishaps into delicious surprises.