Buttery Homemade Rough Puff Pastry Dough Recipe for Bakers
Crafting the perfect homemade rough puff pastry dough takes skill and a dash of culinary magic.
Every baker knows that creating this flaky, buttery pastry requires patience and precision.
The rough puff pastry dough technique revolutionizes traditional pastry-making with its simplified approach.
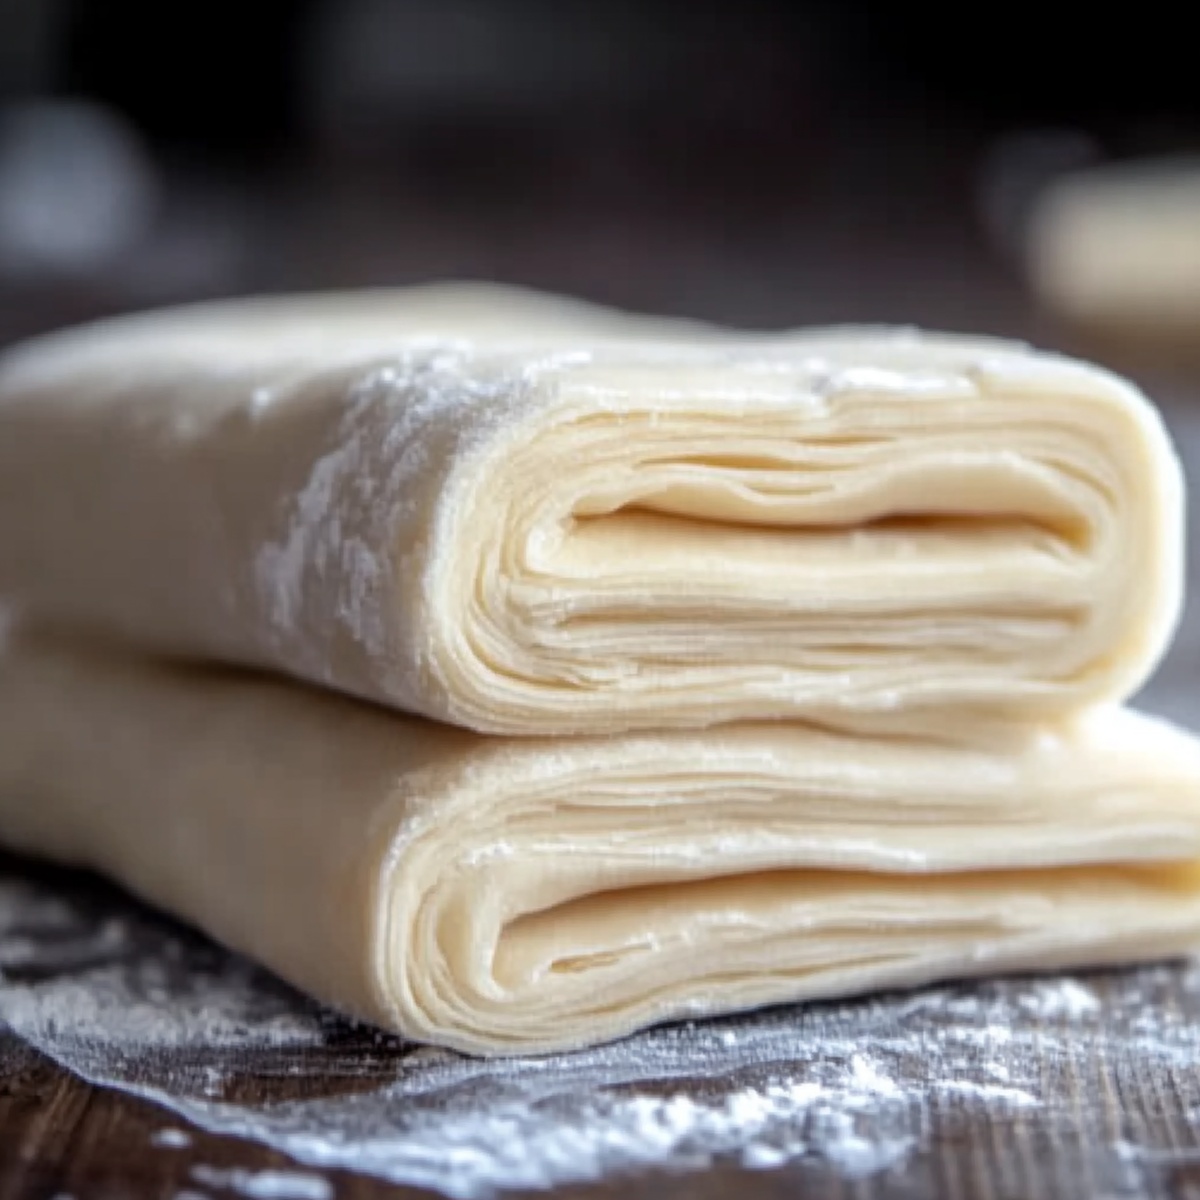
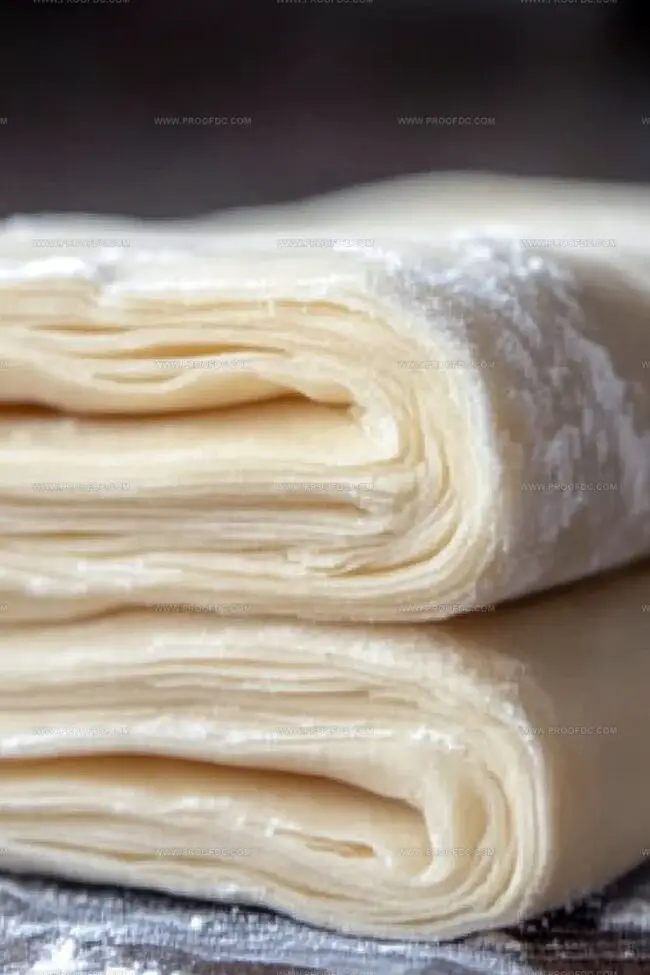
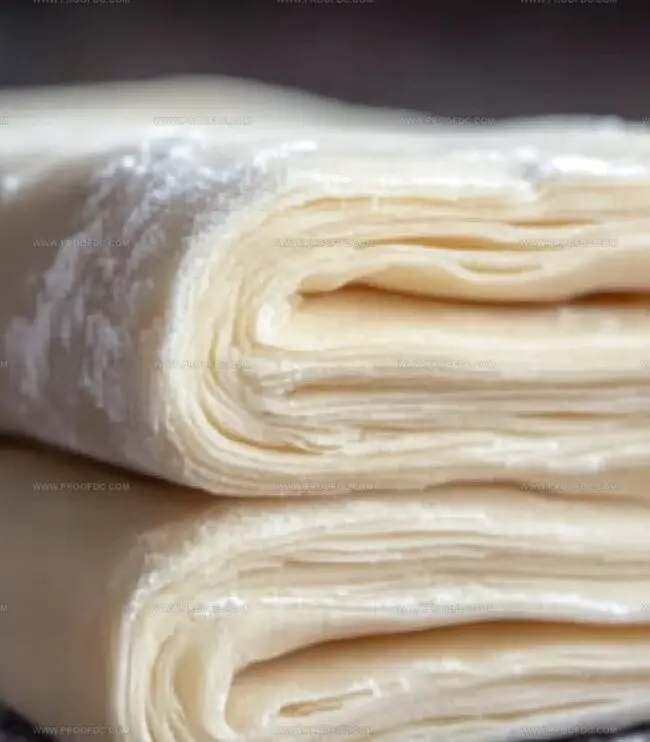
Layers of butter folded into delicate dough create an incredible texture that melts in your mouth.
Professional and home bakers alike cherish this method for its versatility and impressive results.
Cold ingredients and careful folding are the secrets to achieving those stunning, light layers.
Dive into this recipe and unlock the art of making restaurant-quality pastry right in your own kitchen.
Quick Recipe Overview
Ingredients Needed For Homemade Rough Puff Pastry Dough
For Dry Base:For Fat Component:For Liquid Binding:Kitchen Tools To Shape Homemade Rough Puff Pastry Dough Right
How To Prep Homemade Rough Puff Pastry Dough Step By Step
Mix flour and salt in a spacious mixing bowl, creating a smooth, even base for your pastry adventure.
Gently introduce cold butter cubes into the flour mixture. Use your fingertips to break down the butter, creating delicate, uneven pieces that will later transform into magical flaky layers.
Splash in icy water, carefully blending until the dough barely holds together. The mixture might look slightly messy – that’s perfectly okay and part of the charm.
Shape the dough into a rustic rectangle, then tuck it into the refrigerator for a cool 30-minute relaxation period.
Roll the chilled dough into an elongated shape. Fold it like a love letter – bottom third up, top third down. Rotate the dough, setting the stage for incredible texture.
Return the folded dough to the refrigerator, allowing it to rest and develop its personality for 20-30 minutes.
Repeat the rolling and folding process three more times. Each turn creates delicate, whisper-thin layers that will make your pastry extraordinary.
Wrap the dough tenderly, letting it chill for at least an hour. Now it’s ready to become something wonderfully delicious.
Helpful Tips To Improve Homemade Rough Puff Pastry Dough
Serve Homemade Rough Puff Pastry Dough Fresh From The Oven
Store Homemade Rough Puff Pastry Dough The Right Way
Keep your homemade rough puff pastry dough tightly wrapped in plastic wrap to prevent moisture loss and freezer burn.
Print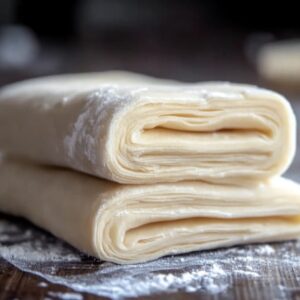
Flaky Homemade Rough Puff Pastry Dough Recipe
- Total Time: 2 hours 20 minutes
- Yield: 7 1x
Description
Crafting this homemade rough puff pastry dough reveals French baking secrets with minimal effort. Baker techniques yield flaky, buttery layers perfect for sweet and savory recipes you’ll want to master immediately.
Ingredients
- 1 cup (226 grams) unsalted butter, cold and cubed
- 2 ½ cups (300 grams) all-purpose flour
- 1 teaspoon salt
- ½ cup (120 milliliters) ice-cold water
- 12 tablespoons (180 milliliters) additional water (as needed for consistency)
Instructions
- Preparation: Combine flour and salt in a large mixing bowl, ensuring thorough integration of dry ingredients.
- Butter Incorporation: Add ice-cold, cubed butter to the flour mixture. Delicately fragment butter using fingertips or pastry cutter, maintaining visible butter chunks that will create signature flaky texture. Gently introduce ice-cold water, stirring until dough loosely coheres. Adjust moisture minimally if needed.
- Initial Resting: Shape the rustic dough into a rough rectangle, wrap completely in plastic film, and refrigerate for 30 minutes to stabilize molecular structure and enhance workability.
- First Lamination: Lightly flour work surface and rolling pin. Roll dough into an elongated rectangle, then fold top and bottom thirds inward like a business letter. Rotate dough 90 degrees, positioning unsealed edges horizontally. Wrap and chill for 20-30 minutes.
- Repeated Folding: Execute three additional rolling and folding cycles, interspersing each with a precise chilling period. This technique develops intricate, delicate pastry layers that will create exceptional flakiness.
- Final Preparation: After the last folding, securely wrap dough and refrigerate for minimum one hour. The pastry is now primed for various culinary applications and can be frozen up to three months for future use.
Notes
- Chill Butter Strategically: Keep butter extremely cold and cut into small cubes to ensure optimal flakiness and distinct butter layers within the pastry.
- Handle Dough Minimally: Use light, gentle touches when mixing and folding to prevent overworking, which can develop gluten and create tough pastry texture.
- Monitor Moisture Carefully: Add water sparingly, just enough to bind ingredients; excess liquid compromises the delicate pastry structure and flakiness.
- Refrigeration is Key: Consistent chilling between folding stages allows butter to solidify and creates signature multi-layered, crisp pastry texture.
- Prep Time: 20 minutes
- Cook Time: 2 hours
- Category: Desserts, Snacks
- Method: Mixing
- Cuisine: French
Nutrition
- Serving Size: 7
- Calories: 290
- Sugar: 0 g
- Sodium: 200 mg
- Fat: 20 g
- Saturated Fat: 12 g
- Unsaturated Fat: 8 g
- Trans Fat: 0 g
- Carbohydrates: 30 g
- Fiber: 1 g
- Protein: 3 g
- Cholesterol: 40 mg
Marcus Foley
Food Critic & Kitchen Coach
Expertise
Recipe Testing and Troubleshooting; Time-Saving Kitchen Hacks; Global Flavor Exploration; Engaging Food Writing and Honest Reviews.
Education
Institute of Culinary Education (ICE), New York, NY
Marcus Foley, based in Atlanta, GA, is a friendly food expert who makes cooking fun and simple.
With hands-on training from the Institute of Culinary Education and years of tasting everything from street food to fine dining, he shares easy kitchen hacks, global flavor ideas, and step-by-step recipes that turn kitchen mishaps into delicious surprises.