Festive Peanut Butter Cup Christmas Cookies Recipe

Jolly Peanut Butter Cup Christmas Cookies Recipe for Festive Fun

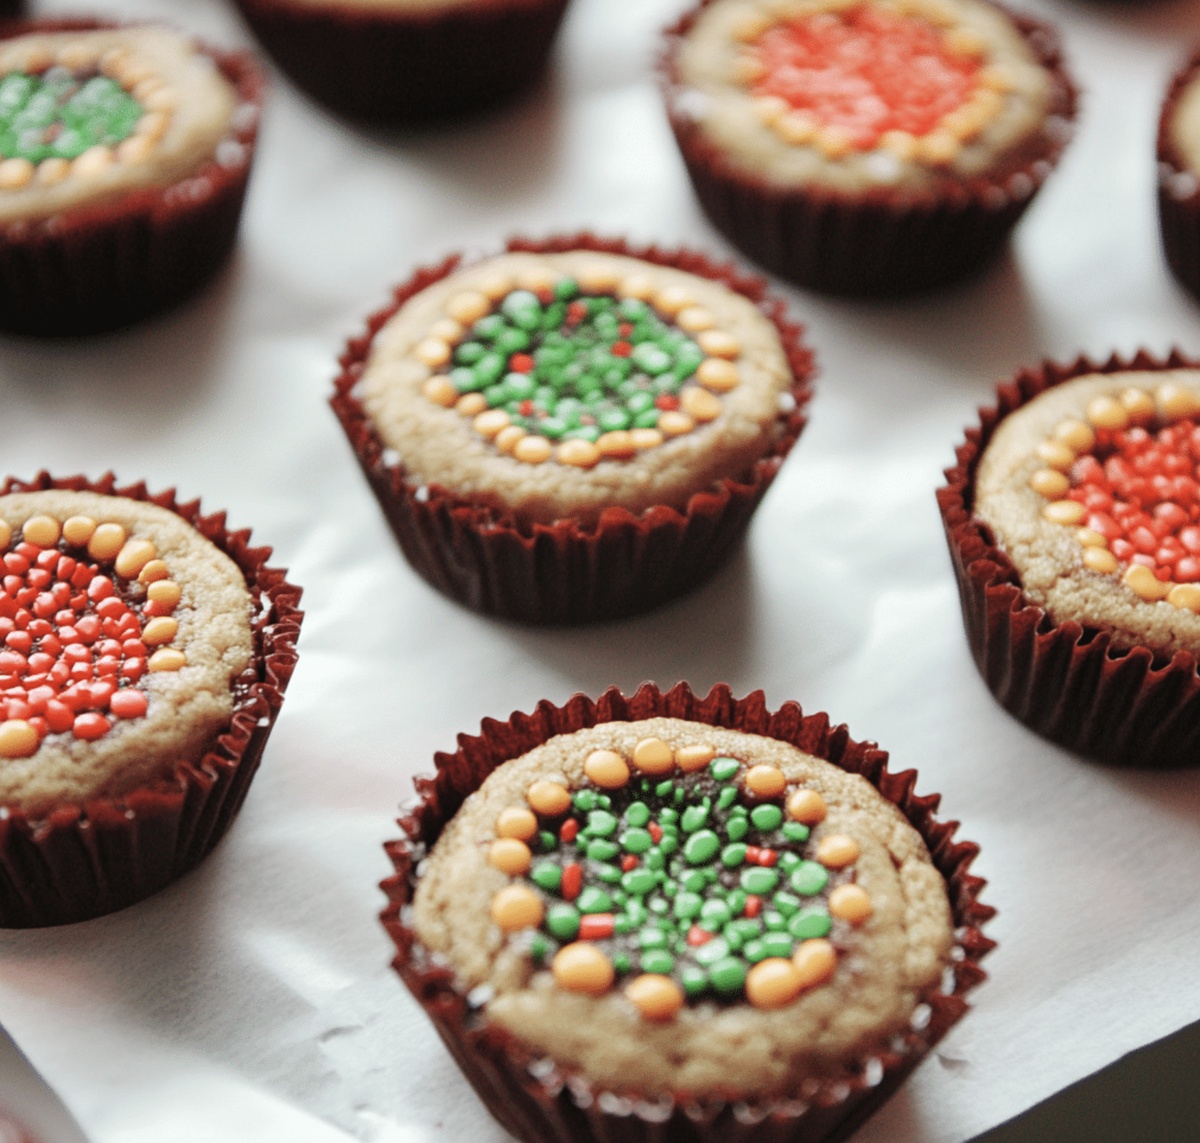
Decadent chocolate cookies studded with peanut butter cup pieces promise a festive treat that will steal the show at any holiday gathering.

These mouthwatering morsels blend rich cocoa with creamy peanut butter in every delightful bite.

The recipe combines classic Christmas cookie charm with irresistible candy flavor.

Soft, chewy edges and a center bursting with melted chocolate and peanut butter create an indulgent experience.

Each cookie delivers a sweet symphony of textures that dance across your palate.

Perfectly portioned and easy to prepare, these cookies transform ordinary dessert moments into memorable celebrations.

Dive into this delectable recipe and watch faces light up with pure holiday joy.

Quick Recipe Overview

Prep Time: 10 minutes

Cook Time: 15 minutes

Total Time: 25 minutes

Calories: 180 kcal

Servings: 23

Everything You Need For Peanut Butter Cup Christmas Cookies

For Cookie Base:
  • All-Purpose Flour: Provides structure and tender crumb for the perfect cookie texture.
  • Baking Soda: Helps cookies rise and creates a soft, light consistency.
  • Salt: Enhances overall flavor and balances sweetness.
For Richness and Flavor:
  • Butter: Adds rich, creamy flavor and helps create a soft cookie texture.
  • Peanut Butter: Delivers nutty, deep flavor and creates a moist cookie base.
  • Granulated Sugar, Brown Sugar: Provides sweetness and helps create a chewy, golden-brown cookie.
  • Vanilla Extract: Adds depth and warmth to the cookie's flavor profile.
For Finishing and Decoration:
  • Mini Reeses Peanut Butter Cups: Creates a decadent center and festive holiday touch.
  • White Chocolate (Optional): Adds a decorative drizzle for extra holiday flair.
  • Holiday Sprinkles (Optional): Provides a colorful, festive finish to the cookies.
  • Egg: Binds ingredients together and adds richness to the cookie dough.

Tools To Bake Peanut Butter Cup Christmas Cookies

  • Mixing Bowl: Large, sturdy bowl for combining ingredients smoothly.
  • Electric Mixer or Whisk: Crucial for beating butter and creating fluffy cookie base.
  • Mini Muffin Tin: Essential for shaping perfect round cookies with uniform size.
  • Measuring Cups and Spoons: Precise tools for accurate ingredient amounts.
  • Wire Rack: Helps cookies cool evenly without getting soggy.
  • Baking Sheet or Parchment Paper: Optional for easy cookie removal.
  • Small Bowl: Used for whisking dry ingredients separately.
  • Spatula: Helps scrape and mix ingredients thoroughly.

Steps To Make Peanut Butter Cup Christmas Cookies

  • Cookie Dough Preparation

Blend softened butter, peanut butter, white and brown sugars until creamy. Mix in egg and vanilla until smooth. Fold in dry ingredients gently to create a soft, delightful dough.

  • Muffin Tin Magic

Scoop small rounds of dough into mini muffin cups, creating perfect bite-sized foundations for your holiday treats.

  • Oven Transformation

Slide the tin into a preheated 375F oven. Bake until edges turn a delicate golden color, about 8-10 minutes.

  • Chocolate Surprise

Right after removing from the oven, gently press a chocolate peanut butter cup into the center of each warm cookie. Watch the chocolate start to melt slightly.

  • Cooling and Decorating

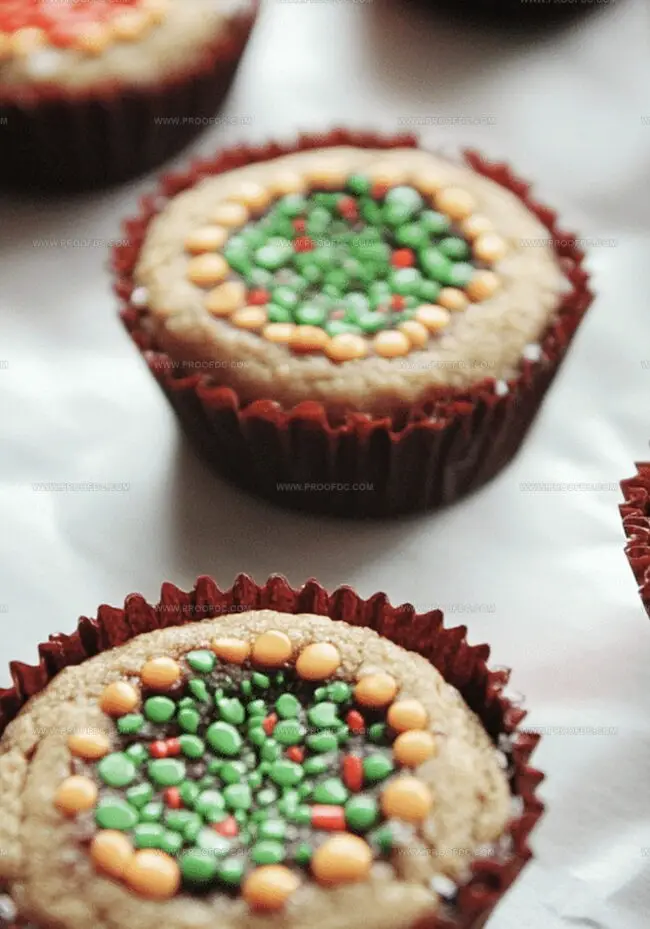
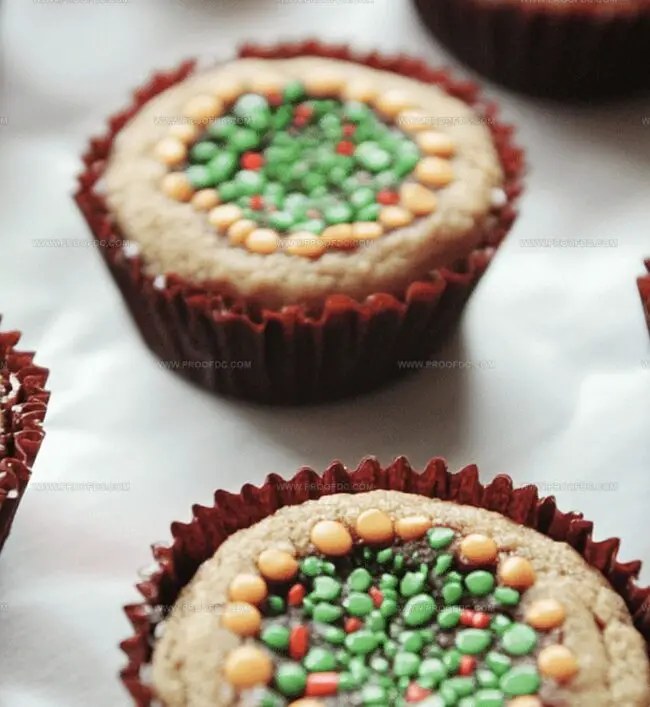
Let cookies rest in the pan for a few minutes, then transfer to a cooling rack. For extra festivity, drizzle with white chocolate or sprinkle with holiday-themed decorations.

Tips To Improve Peanut Butter Cup Christmas Cookies

  • Baker's Secret Techniques
  • Butter Brilliance: Ensure butter is softened at room temperature for smoother dough mixing and better cookie texture. Cold butter creates dense, tough cookies.
  • Texture Transformation Tips
  • Soft Cookie Magic: Don't overbake these delicate treats. Remove from oven when edges are just turning golden to maintain a tender, melt-in-your-mouth consistency. Cookies will continue cooking slightly while cooling.
  • Diet-Friendly Adaptations
  • Gluten-Free Option: Replace all-purpose flour with a 1:1 gluten-free baking flour blend. Check that all ingredients, including Reeses cups, are certified gluten-free for celiac-safe enjoyment.
  • Holiday Flavor Twists
  • Festive Remix: Swap regular peanut butter cups with seasonal mint or white chocolate varieties during Christmas. Dark chocolate peanut butter cups add a rich, decadent alternative for chocolate lovers.
  • Make-Ahead Convenience
  • Dough Prep Hack: Cookie dough can be prepared 2-3 days in advance and refrigerated. Bring to room temperature before baking for perfect consistency. Unbaked dough balls also freeze beautifully for up to one month.

Serving Peanut Butter Cup Christmas Cookies With Joy

  • Holiday Dessert Platter: Create a stunning Christmas cookie display by arranging these peanut butter cup cookies alongside other festive treats like sugar cookies, gingerbread, and chocolate truffles.
  • Gifting Delights: Package these cookies in clear cellophane bags tied with red and green ribbons, making them perfect homemade gifts for neighbors, teachers, or holiday party hosts.
  • Milk Pairing Perfection: Serve these warm cookies with cold glasses of milk or creamy hot chocolate for a classic and comforting holiday dessert experience that everyone will love.
  • Garnish Goals: Sprinkle crushed candy canes or festive holiday sprinkles over the melted chocolate tops to add extra Christmas cheer and a delightful crunch to each cookie.

Storage Tips For Peanut Butter Cup Christmas Cookies

  • Fridge-Friendly Stash: Store cookies in an airtight container, separating layers with parchment paper to prevent sticking. Keep refrigerated for up to 5 days to maintain maximum freshness and texture.
  • Smart Freezing Strategy: Wrap individual cookies in plastic wrap, then place in a freezer-safe container. These delightful treats can be frozen for 2-3 months, ready to enjoy whenever a sweet craving hits.
  • Make-Ahead Magic: Prepare cookie dough balls up to 3 days before baking. Keep them chilled in the refrigerator, covered, and bake when you're ready for warm, gooey goodness.
  • Room Temperature Rest: Allow frozen or refrigerated cookies to sit at room temperature for 15-20 minutes before serving. This helps restore their soft, melt-in-your-mouth texture and brings out the rich peanut butter and chocolate flavors.
Print
clock clock iconcutlery cutlery iconflag flag iconfolder folder iconinstagram instagram iconpinterest pinterest iconfacebook facebook iconprint print iconsquares squares iconheart heart iconheart solid heart solid icon
Festive Peanut Butter Cup Christmas Cookies Recipe

Festive Peanut Butter Cup Christmas Cookies Recipe


5 Stars 4 Stars 3 Stars 2 Stars 1 Star

4.9 from 27 reviews

  • Total Time: 25 minutes
  • Yield: 23 1x

Description

Peanut butter cup Christmas cookies blend rich chocolate and creamy peanut butter into festive holiday treats. Delightful morsels promise sweet celebration for cookie enthusiasts craving seasonal indulgence you’ll savor.


Ingredients

Scale
  • ½ cup (113 g / 4 oz) unsalted butter, softened
  • ½ cup (128 g / 4.5 oz) creamy peanut butter
  • ½ cup (100 g / 3.5 oz) granulated sugar
  • ½ cup (110 g / 3.9 oz) brown sugar, packed
  • 1 large egg
  • 1 ½ cups (180 g / 6.3 oz) all-purpose flour
  • 1 tsp vanilla extract
  • ½ tsp baking soda
  • ¼ tsp salt
  • 36 mini Reeses peanut butter cups, unwrapped

Instructions

  1. Oven Preparation: Preheat the oven to 375F (190C) and prepare a mini muffin tin with liners or a light grease coating.
  2. Mixing Base: Whip softened butter, peanut butter, granulated and brown sugars into a fluffy blend. Integrate egg and vanilla extract until thoroughly combined.
  3. Dough Development: Blend flour, baking soda, and salt in a separate bowl. Gently fold dry ingredients into the wet mixture, creating a smooth, consistent dough.
  4. Cookie Formation: Roll dough into uniform one-inch spheres and place each carefully into the mini muffin tin compartments.
  5. Baking Process: Bake for 8-10 minutes until edges turn golden, indicating perfect doneness.
  6. Chocolate Embellishment: Immediately after removing from the oven, press a mini Reeses peanut butter cup into the center of each warm cookie, embracing potential slight surface cracking.
  7. Cooling Strategy: Rest cookies in the tin for ten minutes, then transfer to a wire rack to complete cooling. Optionally adorn with melted white chocolate or festive sprinkles for a holiday-inspired presentation.

Notes

  • Maintain Precise Temperature: Ensure oven is exactly 375F to prevent burning or undercooking, which can dramatically affect cookie texture and taste.
  • Handle Dough Gently: Avoid overmixing when combining wet and dry ingredients to keep cookies tender and prevent tough, dense results.
  • Press Carefully with Peanut Butter Cups: Use soft, gentle pressure when inserting Reeses cups to prevent cookie cracking or breaking the delicate base.
  • Cool Strategically: Let cookies rest in muffin tin for exactly 10 minutes to help them set properly before transferring, reducing potential crumbling.
  • Prep Time: 10 minutes
  • Cook Time: 15 minutes
  • Category: Desserts, Snacks
  • Method: Baking
  • Cuisine: American

Nutrition

  • Serving Size: 23
  • Calories: 180
  • Sugar: 10 g
  • Sodium: 80 mg
  • Fat: 9 g
  • Saturated Fat: 4 g
  • Unsaturated Fat: 5 g
  • Trans Fat: 0 g
  • Carbohydrates: 24 g
  • Fiber: 1 g
  • Protein: 3 g
  • Cholesterol: 20 mg
Marcus Foley

Marcus Foley

Food Critic & Kitchen Coach

Expertise

Recipe Testing and Troubleshooting; Time-Saving Kitchen Hacks; Global Flavor Exploration; Engaging Food Writing and Honest Reviews.

Education

Institute of Culinary Education (ICE), New York, NY

  • Program: Diploma in Culinary Arts
  • Focus: Hands-on training in foundational techniques, flavor development, recipe creation, and kitchen efficiency, with an emphasis on real-world application and storytelling through food.

Marcus Foley, based in Atlanta, GA, is a friendly food expert who makes cooking fun and simple.

With hands-on training from the Institute of Culinary Education and years of tasting everything from street food to fine dining, he shares easy kitchen hacks, global flavor ideas, and step-by-step recipes that turn kitchen mishaps into delicious surprises.

Leave a Reply

Your email address will not be published. Required fields are marked *

Recipe rating 5 Stars 4 Stars 3 Stars 2 Stars 1 Star