Fiery Cheddar-Stuffed BBQ Bacon Bombs Recipe: Explosive Flavor!
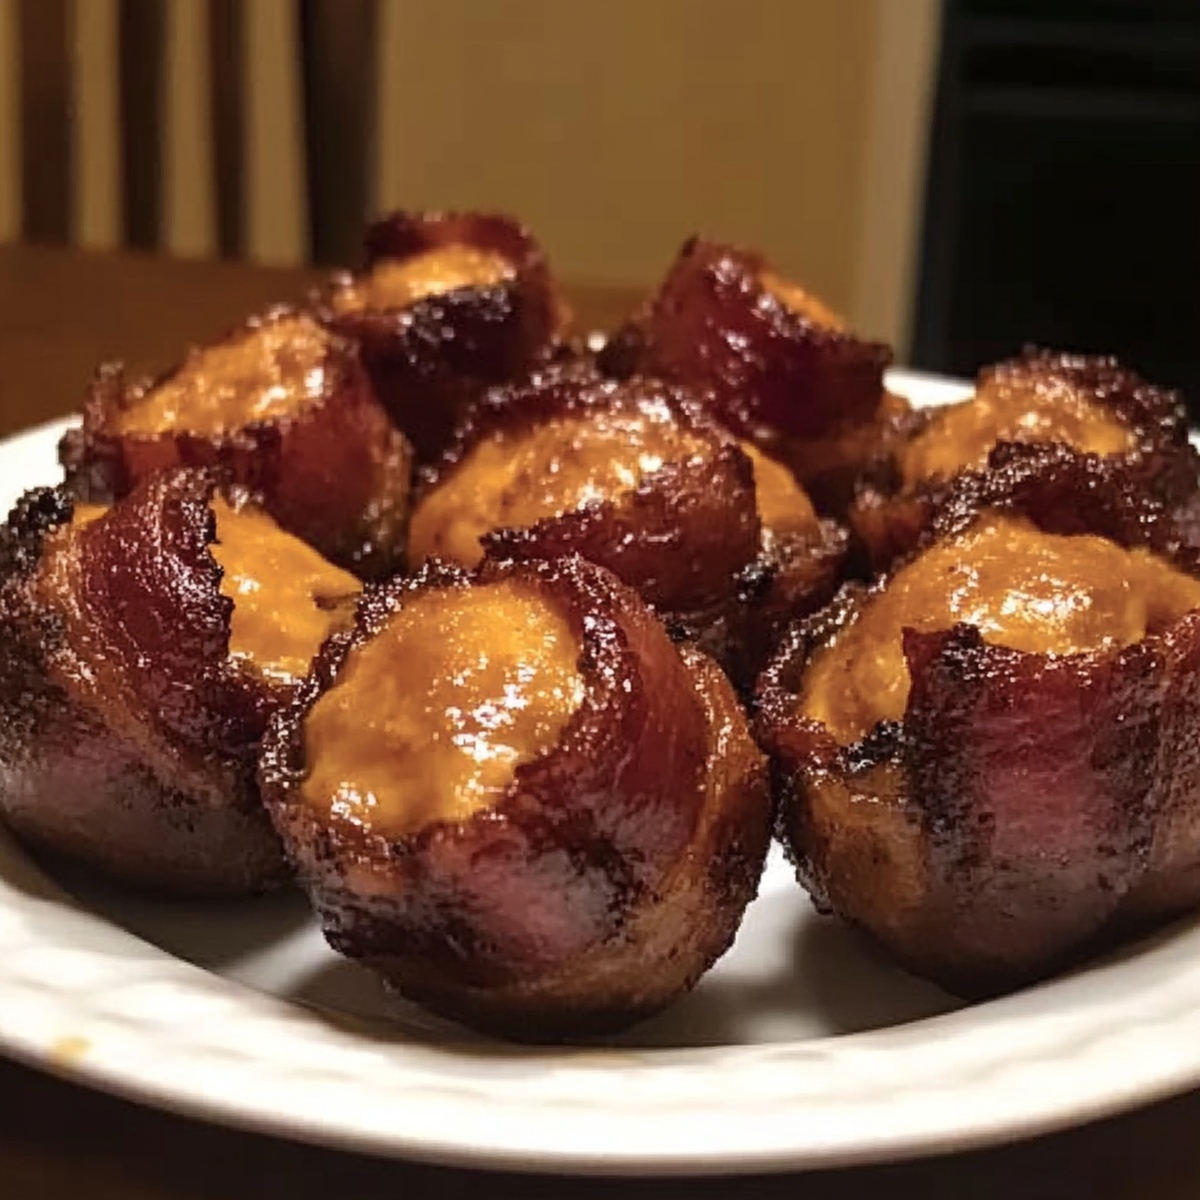
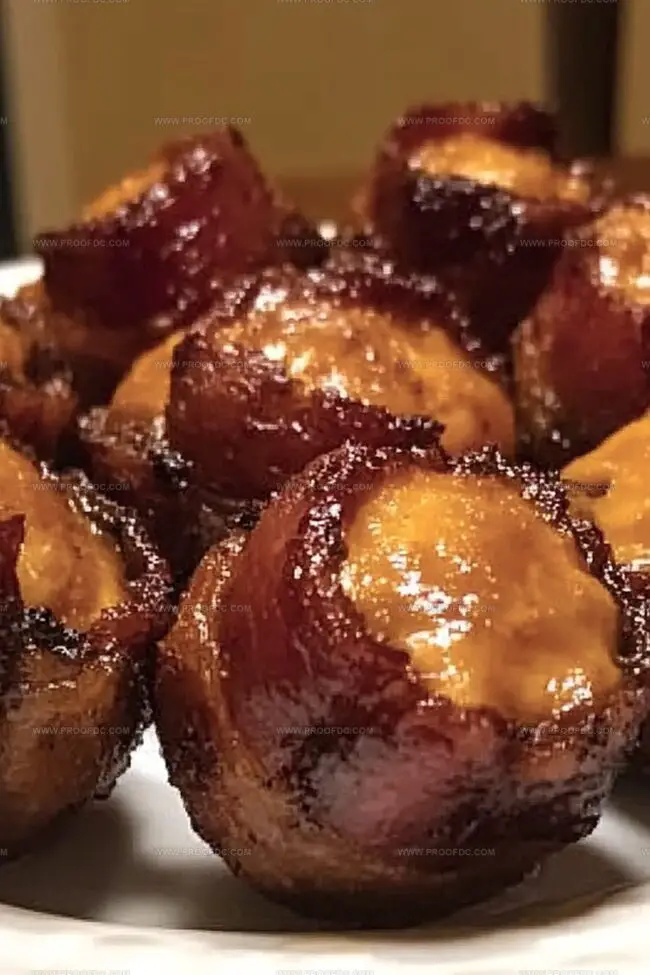
Crispy, golden, and packed with irresistible flavor, these bbq bacon bombs will revolutionize your snack game.
Each bite delivers a mouthwatering explosion of smoky and savory goodness.
Bacon wraps around melted cheese and tender fillings, creating an appetizer that stops conversations.
Saucy bbq glazes the exterior, adding a tangy kick that makes these bombs absolutely addictive.
Small gatherings or big parties demand this crowd-pleasing treat that disappears faster than you can plate them.
Prepare to become the ultimate party hero with these delectable bites that guarantee smiles and empty platters.
One taste, and you’ll understand why these bacon bombs are the ultimate crowd-pleaser.
Quick Recipe Overview
What’s Inside Cheddar-Stuffed BBQ Bacon Bombs
For Meat Base:For Flavor Enhancers:For Wrapping and Filling:Gear For Cheddar-Stuffed BBQ Bacon Bombs
Steps To Cook Cheddar-Stuffed BBQ Bacon Bombs
Blend ground beef with zesty seasonings and binding ingredients in a mixing bowl. Ensure even distribution of flavors by thoroughly combining everything. Break the mixture into roughly 12 equal chunks.
Gently flatten each meat portion and nestle a small cheddar cube right in the center. Carefully encase the cheese completely, forming a tight ball. Lovingly wrap each ball with a crispy bacon slice, securing with a toothpick.
Heat the oven to a sizzling 400F. Position bacon-wrapped delights on a lined baking sheet with a wire rack. Roast for 25-30 minutes, giving them a mid-cook flip. During the final moments, brush with tangy BBQ sauce to create a mouthwatering caramelized exterior.
Allow these delectable bombs to rest briefly after cooking. Plate them with extra BBQ sauce on the side for dipping, creating an irresistible appetizer that’ll have everyone asking for seconds.
Helpful Tips For Cheddar-Stuffed BBQ Bacon Bombs
How To Serve Cheddar-Stuffed BBQ Bacon Bombs
Storage Tips For Cheddar-Stuffed BBQ Bacon Bombs
Print
Explosive BBQ Bacon Bombs Recipe
- Total Time: 40 minutes
- Yield: 5 1x
Description
Crispy bbq bacon bombs stuffed with melted cheddar cheese deliver explosive flavor for adventurous eaters. Savory bacon wraps melt-in-your-mouth cheese, creating irresistible party appetizers you cannot resist.
Ingredients
- 1 lb (454 g) ground beef (80/20 or lean)
- 12 slices bacon (cut in half)
- 4 oz (113 g) cheddar cheese (cut into small cubes)
- 1 large egg
- ½ cup breadcrumbs (panko or regular)
- ¼ cup BBQ sauce (plus extra for brushing)
- 1 tsp Worcestershire sauce
- ½ tsp salt
- ½ tsp black pepper
- ½ tsp garlic powder
- ½ tsp onion powder
- ½ tsp smoked paprika
Instructions
- Meat Preparation: Combine ground beef with breadcrumbs, egg, BBQ sauce, Worcestershire sauce, salt, pepper, garlic powder, onion powder, and smoked paprika in a large mixing bowl, blending thoroughly to create a well-seasoned meat mixture.
- Cheese Stuffing: Divide the meat mixture into 12 equal portions, flattening each into a thin disc and placing a cheddar cheese cube at the center. Carefully fold and seal the meat around the cheese, forming seamless, compact balls with no cheese visible.
- Bacon Wrapping: Encase each meat sphere with a half-slice of bacon, securing the wrapping with a toothpick to prevent unraveling during cooking.
- Oven Setup: Preheat the oven to 400F (200C) and position a wire rack on a baking sheet to promote optimal air circulation and fat drainage.
- Cooking Process: Arrange the bacon-wrapped bombs on the rack, maintaining space between each piece. Roast for 25-30 minutes, rotating midway to ensure even browning and crispy bacon texture.
- Glazing Finale: During the last 5 minutes, brush each bomb generously with additional BBQ sauce to create a glossy, caramelized exterior.
- Serving: Remove from oven and let rest briefly. Serve with extra BBQ sauce for dipping, offering an interactive and indulgent culinary experience.
Notes
- Meat Mixture Mastery: Mix ingredients thoroughly but avoid overworking the ground beef to prevent tough texture.
- Cheese Sealing Technique: Ensure complete meat coverage around cheese to prevent melting leakage during cooking.
- Bacon Wrapping Pro Tip: Stretch bacon slightly when wrapping to create a tighter, more even coverage and crisp exterior.
- Temperature Control: Let bombs rest after cooking to allow internal juices to redistribute, maintaining maximum flavor and moisture.
- Prep Time: 15 minutes
- Cook Time: 25 minutes
- Category: Appetizer, Snacks
- Method: Baking
- Cuisine: American
Nutrition
- Serving Size: 5
- Calories: 474
- Sugar: 3 g
- Sodium: 898 mg
- Fat: 36 g
- Saturated Fat: 14 g
- Unsaturated Fat: 20 g
- Trans Fat: 1 g
- Carbohydrates: 18 g
- Fiber: 1 g
- Protein: 24 g
- Cholesterol: 81 mg
Marcus Foley
Food Critic & Kitchen Coach
Expertise
Recipe Testing and Troubleshooting; Time-Saving Kitchen Hacks; Global Flavor Exploration; Engaging Food Writing and Honest Reviews.
Education
Institute of Culinary Education (ICE), New York, NY
Marcus Foley, based in Atlanta, GA, is a friendly food expert who makes cooking fun and simple.
With hands-on training from the Institute of Culinary Education and years of tasting everything from street food to fine dining, he shares easy kitchen hacks, global flavor ideas, and step-by-step recipes that turn kitchen mishaps into delicious surprises.