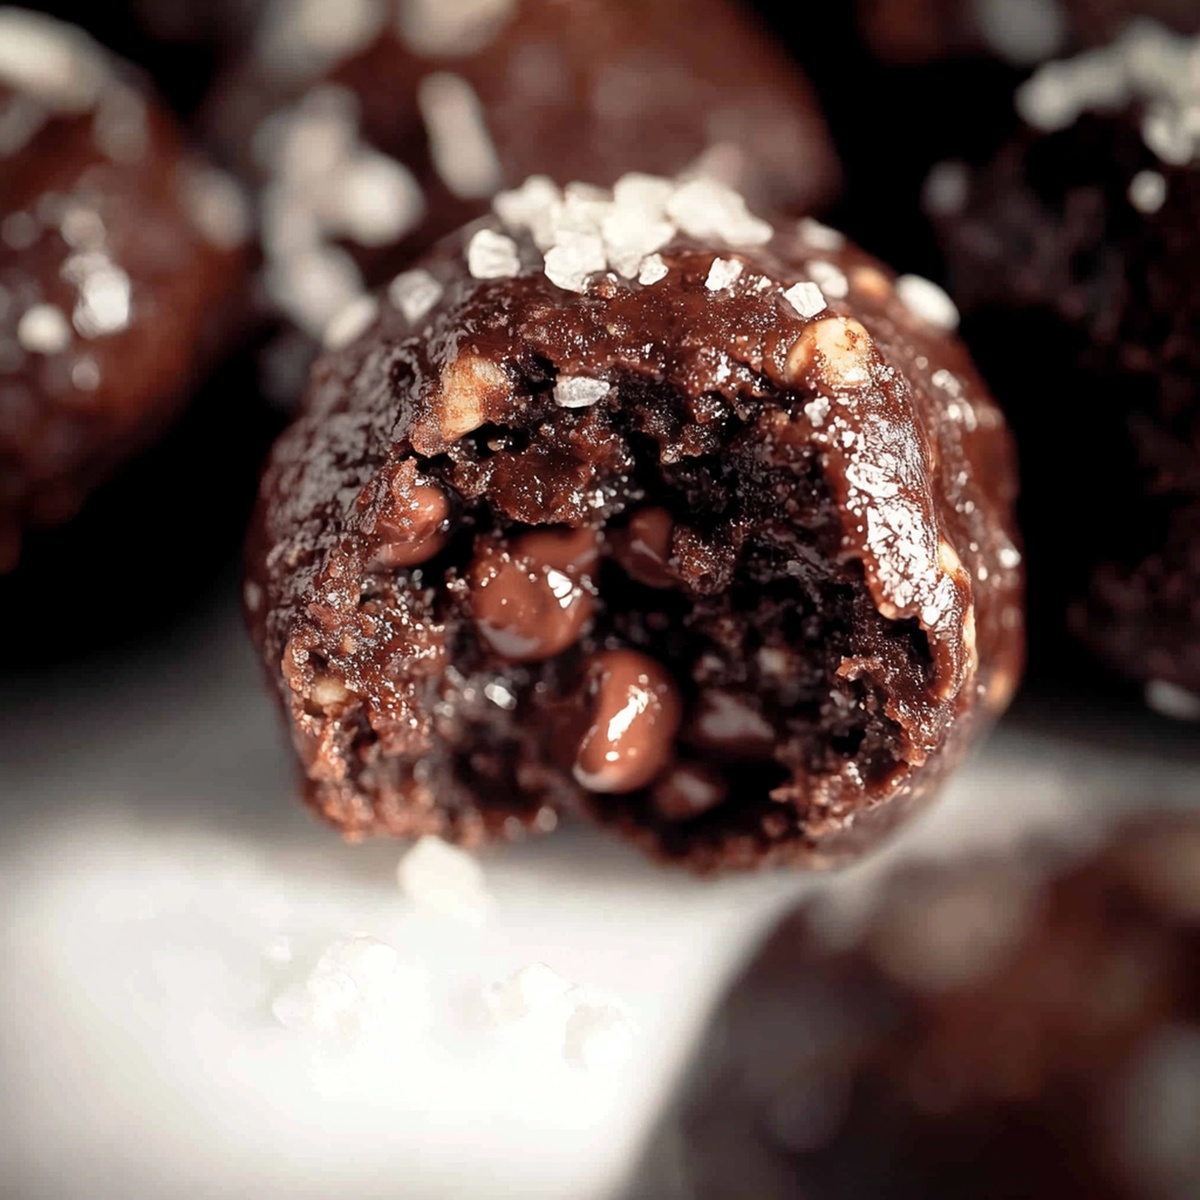
Dreamy Chocolate Protein Bliss Balls Recipe for Sweet Energy
Indulge in a delightful treat that combines nutrition and decadence with these chocolate protein bliss balls.
Packed with wholesome ingredients, this no-bake recipe delivers a powerful punch of energy and satisfaction.
Dark cocoa and rich protein powder merge seamlessly to create a guilt-free snack that tantalizes taste buds.
Rolled into perfect bite-sized spheres, these bliss balls offer a smooth chocolate experience with a nutritious twist.
The natural sweetness from dates provides a perfect balance to the deep chocolate flavor.
Each bite promises a delectable blend of wellness and pure enjoyment.
Fuel your day with these irresistible protein-packed morsels that will keep you feeling satisfied and energized.
Quick Recipe Overview
Ingredients Used In Chocolate Protein Bliss Balls
For Base Ingredients:For Binding Ingredients:For Finishing Ingredients:Equipment Needed For Chocolate Protein Bliss Balls
Steps For Preparing Chocolate Protein Bliss Balls
Grab a spacious mixing bowl and combine all the dry components. Whisk them together until they’re perfectly integrated, creating a rich, chocolatey base that promises delectable flavor.
Pour in the creamy almond butter, golden honey, and aromatic vanilla. Stir with enthusiasm until the mixture transforms into a cohesive, slightly sticky dough. If the texture feels too crumbly, splash in a tiny bit of liquid to help everything bind beautifully.
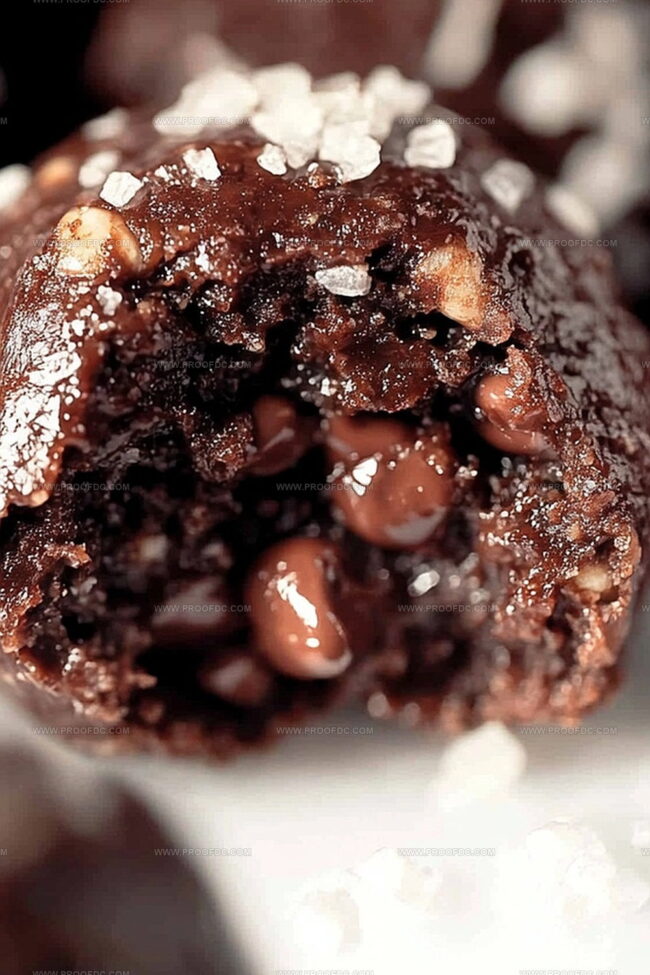
For chocolate lovers, now’s the time to fold in those delightful mini chips. They’ll create pockets of extra indulgence throughout your bliss balls.
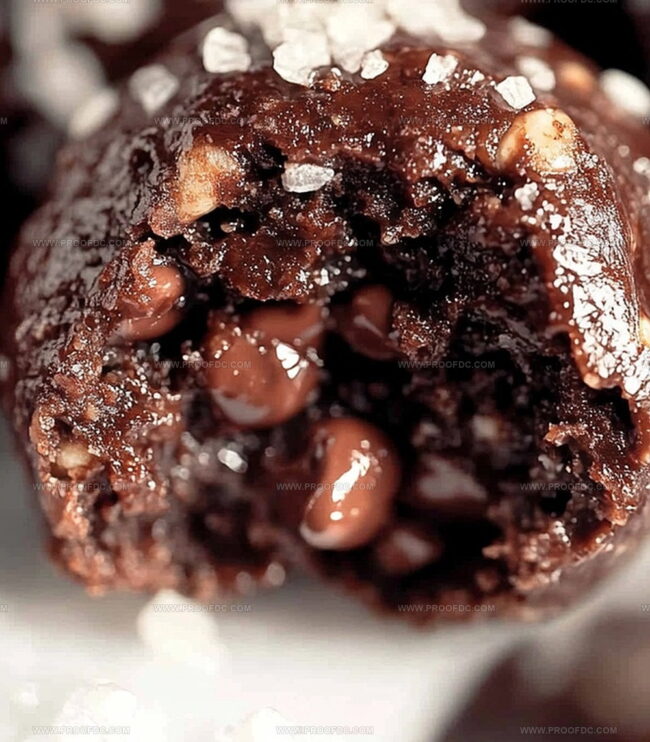
Using your hands, gently roll the mixture into bite-sized spheres. Each ball should be compact and smooth, about the size of a delectable truffle.
Transfer your freshly formed balls onto a plate and slide them into the refrigerator. Let them rest and firm up for roughly half an hour, allowing the flavors to meld and the texture to set perfectly.
Feel free to roll your chilled bliss balls in coconut, cocoa, or crushed nuts for an extra layer of excitement and crunch.
Keep these protein-packed treats in a sealed container in the refrigerator. They’ll stay fresh and ready to enjoy for about a week, or tuck them into the freezer for longer-term snacking.
Add-Ins You Can Try In Chocolate Protein Bliss Balls
Fun Ways To Serve Chocolate Protein Bliss Balls
Tips To Keep Chocolate Protein Bliss Balls Fresh
Print
Energizing Chocolate Protein Bliss Balls Recipe
- Total Time: 40 minutes
- Yield: 11 1x
Description
Irresistible chocolate protein bliss balls bring pure energy and delight to health-conscious snackers. Packed with nutrients and natural sweetness, these no-bake treats offer quick nourishment you can easily enjoy between meals.
Ingredients
- 1 cup (240 ml) rolled oats
- ¼ cup (28 g) chocolate protein powder
- 2 tbsps (10 g) unsweetened cocoa powder
- 2 tbsps (30 ml) chia seeds
- ¼ cup (60 ml) almond butter
- ¼ cup (60 ml) honey
- 1 tsp vanilla extract
- 1 pinch salt
- ¼ cup (45 g) mini chocolate chips
- Unsweetened shredded coconut
- Cocoa powder
- Crushed nuts
Instructions
- Mixture Preparation: Combine rolled oats, protein powder, cocoa powder, chia seeds, and salt in a large mixing bowl, creating a uniform dry foundation.
- Binding Process: Blend almond butter, honey, and vanilla extract into the dry ingredients, kneading until the mixture holds together. If too crumbly, introduce minimal liquid to achieve ideal consistency.
- Flavor Enhancement: Integrate mini chocolate chips throughout the dough, ensuring even distribution for consistent chocolate moments in each bite.
- Shaping Technique: Mold the mixture into compact, uniform spheres using gentle, consistent hand pressure to maintain structural integrity and prevent crumbling.
- Chilling and Solidifying: Refrigerate the protein balls for 30 minutes, allowing them to firm up and develop a more concentrated flavor profile.
- Decorative Coating: Roll the chilled bliss balls in toasted coconut flakes, cocoa powder, or crushed nuts to create an additional texture and visual appeal layer.
- Storage and Preservation: Store in a sealed container within the refrigerator for up to one week, or freeze for extended enjoyment up to three months, maintaining optimal taste and nutritional value.
Notes
- Adjust Moisture Wisely: If the mixture feels too dry, add water or milk sparingly to achieve the perfect sticky consistency that holds the bliss balls together without becoming too wet.
- Balance Protein Powder: Different protein powders absorb liquid differently, so experiment with small adjustments to maintain the ideal texture and prevent crumbly results.
- Chill for Structural Integrity: Refrigeration is crucial for helping the bliss balls firm up, making them easier to handle and enhancing their overall taste and texture.
- Customize Coating Options: Explore alternative coatings like crushed seeds, hemp hearts, or even a light dusting of cinnamon to add personal flair and nutritional variety.
- Prep Time: 10 minutes
- Cook Time: 30 minutes
- Category: Snacks, Desserts
- Method: Mixing
- Cuisine: American
Nutrition
- Serving Size: 11
- Calories: 130
- Sugar: 7 g
- Sodium: 10 mg
- Fat: 6 g
- Saturated Fat: 1 g
- Unsaturated Fat: 5 g
- Trans Fat: 0 g
- Carbohydrates: 15 g
- Fiber: 2 g
- Protein: 4 g
- Cholesterol: 0 mg
Marcus Foley
Food Critic & Kitchen Coach
Expertise
Recipe Testing and Troubleshooting; Time-Saving Kitchen Hacks; Global Flavor Exploration; Engaging Food Writing and Honest Reviews.
Education
Institute of Culinary Education (ICE), New York, NY
Marcus Foley, based in Atlanta, GA, is a friendly food expert who makes cooking fun and simple.
With hands-on training from the Institute of Culinary Education and years of tasting everything from street food to fine dining, he shares easy kitchen hacks, global flavor ideas, and step-by-step recipes that turn kitchen mishaps into delicious surprises.