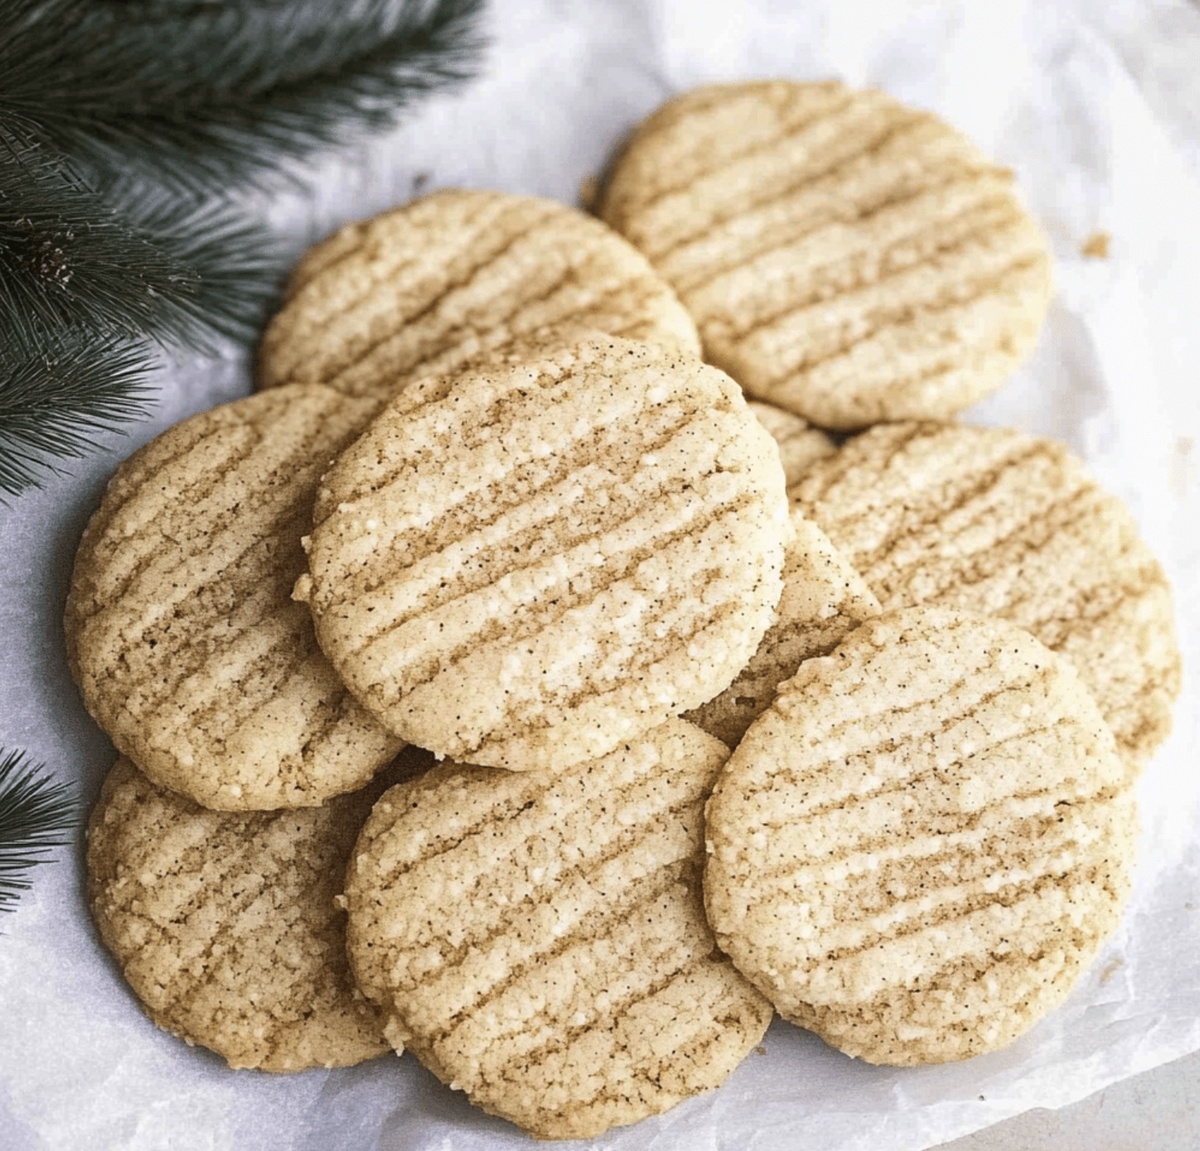
Festive Eggnog Cookies Recipe: Holiday Magic in Every Bite
Holiday cheer meets sweet perfection in these delightful eggnog cookies that capture winter’s most nostalgic flavors.
Warm spices dance alongside creamy richness, creating a festive treat that feels like a warm embrace.
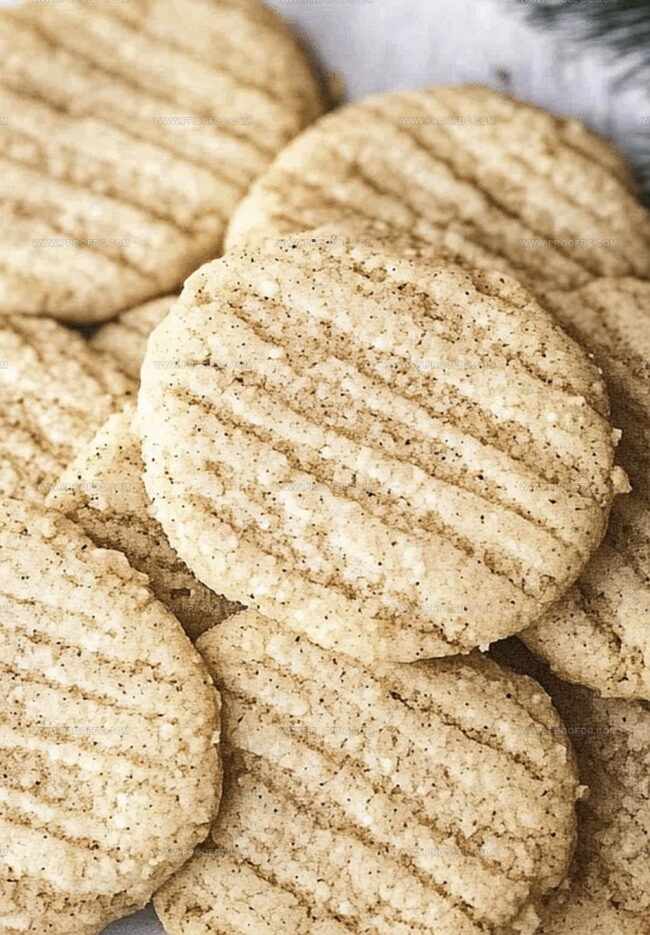
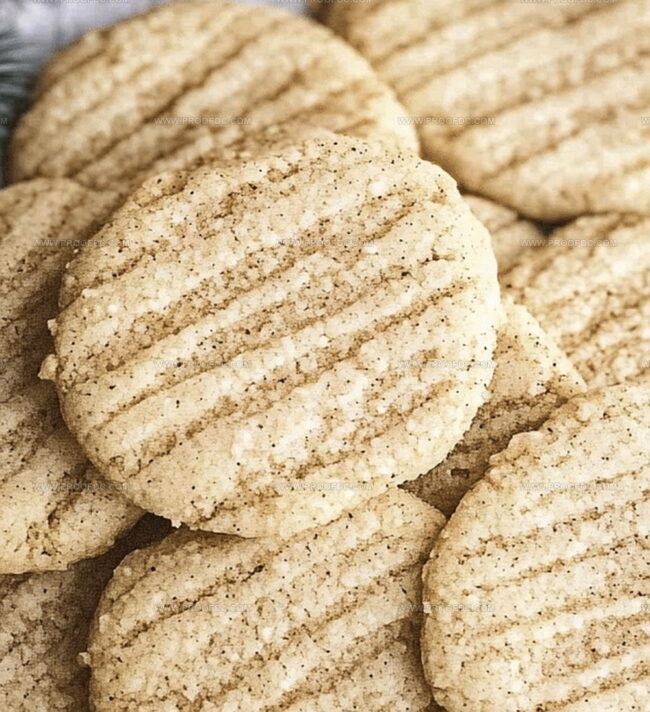
Soft, pillowy cookies infused with classic holiday spirit and a hint of nutmeg.
Each bite transports you to cozy gatherings and twinkling lights.
Baking these treats fills your kitchen with an irresistible aroma that beckons loved ones near.
Memories and magic blend seamlessly in this simple yet extraordinary recipe.
Grab your apron and let’s make some holiday magic happen!
Why Eggnog Cookies Are A Cozy Favorite
All Ingredients For Eggnog Cookies
Dry Ingredients:Wet Ingredients:Glaze Ingredients:How To Bake Eggnog Cookies With Ease
Step 1: Whip Up the Cookie Foundation
In a medium bowl, combine these dry ingredients:Grab a large mixing bowl and cream together softened butter and granulated sugar until the mixture becomes light and airy. Crack in an egg, pour some eggnog, and splash vanilla extract. Mix until everything blends beautifully. Slowly fold in the dry ingredients, stirring gently to create a perfect dough. Wrap the dough and tuck it into the refrigerator for a quick 30-minute chill.
Step 2: Transform Dough into Delightful Treats
Fire up the oven to 350F and line baking sheets with parchment paper. Roll the chilled dough into adorable little balls, spacing them generously on the sheet. Slide the trays into the oven and bake until the cookie edges turn a delicate golden shade – about 10-12 minutes. Let the cookies rest on the baking sheet for a moment, then transfer them to a cooling rack.
Step 3: Add the Magical Finishing Touch
Whisk powdered sugar and eggnog in a small bowl until a silky glaze forms. Drizzle this liquid magic over the cooled cookies. Sprinkle a whisper of nutmeg on top for an extra festive flourish. Watch as these cookies transform from simple treats to holiday masterpieces!
Best Tips For Soft Eggnog Cookies
How To Store And Reheat Eggnog Cookies
Tasty Drinks To Pair With Eggnog Cookies
Easy Variations Of Eggnog Cookies
Eggnog Cookies FAQs For Holiday Bakers
Yes, you can substitute eggnog with milk or cream, but the classic eggnog flavor will be reduced. For best results, use store-bought or homemade eggnog.
The dough should come together smoothly without any dry flour patches. Mix until ingredients are just combined – overmixing can make cookies tough and dense.
Absolutely! You can freeze the dough for up to 3 months. Wrap it tightly in plastic wrap and place in a freezer bag. Thaw in the refrigerator overnight before baking.
The combination of nutmeg, cinnamon, and actual eggnog in the recipe creates that signature holiday flavor. The spices and creamy liquid mimic the classic eggnog taste in cookie form.
Print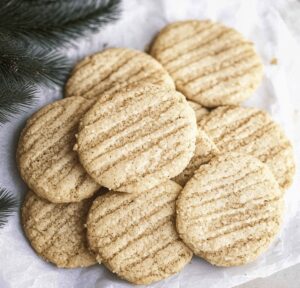
Eggnog Cookies Recipe
- Total Time: 27 minutes
- Yield: 24 1x
Description
Sweet holiday magic emerges in these eggnog cookies, blending classic Christmas flavors with delightful cookie perfection. Creamy nutmeg and vanilla notes dance through each tender bite, inviting you to savor seasonal comfort in one delectable treat.
Ingredients
Main Ingredients:
- 2 ½ cups (315 g) all-purpose flour
- ¾ cup (170 g) unsalted butter, softened
- 1 cup (200 g) granulated sugar
- ½ cup (120 ml) eggnog
- 1 large egg
Spices and Seasonings:
- ½ teaspoon ground cinnamon
- ½ teaspoon ground nutmeg
- ½ teaspoon salt
- 1 teaspoon baking powder
- 1 teaspoon vanilla extract
Frosting and Garnish:
- 1 cup (120 g) powdered sugar
- ⅔ tablespoons eggnog
- A pinch of nutmeg for garnish
Instructions
- Craft the foundation by sifting flour, baking powder, cinnamon, nutmeg, and salt into a pristine mixing vessel. Ensure these dry elements are thoroughly integrated and set aside for later incorporation.
- In a spacious mixing bowl, vigorously whip softened butter and granulated sugar until the mixture transforms into a cloud-like, airy texture, developing a pale and creamy consistency.
- Introduce a single egg, rich eggnog, and pure vanilla extract into the buttery base, stirring until each component melds seamlessly and creates a harmonious liquid landscape.
- Gradually fold the pre-measured dry ingredients into the wet mixture, using delicate, measured strokes to prevent overworking the dough. Stop mixing the moment ingredients are just combined.
- Shield the dough and nestle it in the refrigerator for a minimum of half an hour, allowing the ingredients to relax and firm up, which facilitates easier cookie shaping.
- Heat the oven to 350F, lining baking sheets with parchment paper to prevent unwanted sticking and ensure smooth cookie release.
- Sculpt uniform dough spheres using a tablespoon measure, spacing them generously across the prepared baking surface to allow modest spreading during baking.
- Slide the cookies into the preheated oven, baking until edges acquire a golden hue and centers appear set, approximately 10-12 minutes. Exercise caution to prevent overdrying.
- Allow cookies to rest momentarily on the baking sheet, then transition them onto a wire cooling rack for complete temperature reduction.
- For an optional elegant finish, whisk powdered sugar and eggnog into a smooth glaze, drizzling artfully over cooled cookies and sprinkling a whisper of nutmeg as a final flourish.
Notes
- Chill the dough thoroughly to prevent spreading and ensure a soft, tender cookie texture during baking.
- Use fresh, high-quality eggnog for the most robust holiday flavor, preferably whole milk eggnog for richer results.
- Adjust spices by increasing nutmeg or adding a pinch of ground cloves for a more intense seasonal warmth.
- Swap regular flour with gluten-free blend to make these cookies suitable for those with wheat sensitivities, ensuring the same delightful crumbly texture.
- Prep Time: 15 minutes
- Cook Time: 12 minutes
- Category: Desserts, Snacks
- Method: Baking
- Cuisine: American
Nutrition
- Serving Size: 24
- Calories: 160
- Sugar: 14 g
- Sodium: 50 mg
- Fat: 6 g
- Saturated Fat: 4 g
- Unsaturated Fat: 2 g
- Trans Fat: 0 g
- Carbohydrates: 24 g
- Fiber: 0.5 g
- Protein: 2 g
- Cholesterol: 20 mg
Jenna Stewart
Head Chef & Recipe Innovator
Expertise
Farm-to-Table Cooking; Seasonal Menu Development; Visual Plating Techniques; Flavor Layering and Simple Prep Hacks.
Education
The Culinary Institute of America, Hyde Park, NY
Jenna Stewart is the inventive spirit behind many of our standout dishes at Pro of Delicious Creations. A proud graduate of The Culinary Institute of America, she built her skills mastering both classic recipes and fresh, modern twists.
Now, Jenna celebrates the beauty of seasonal, local ingredients, often sourced from her garden and nearby markets, to create recipes that are bursting with flavor yet easy to follow. When she’s not experimenting in the kitchen, Jenna loves exploring nature on hikes and discovering new treasures at local co-ops.