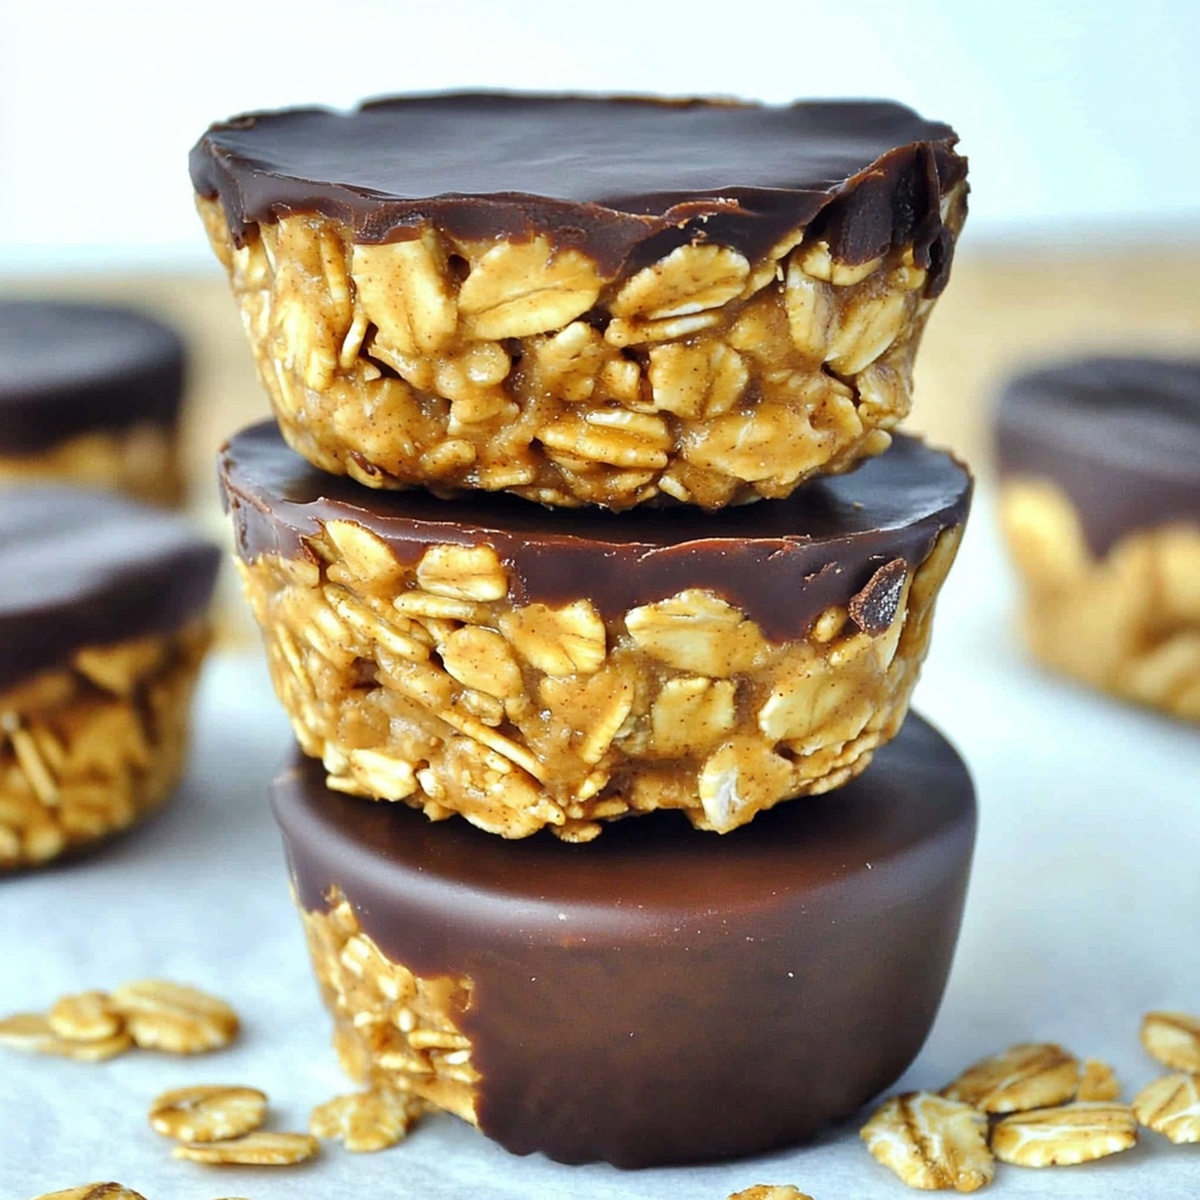
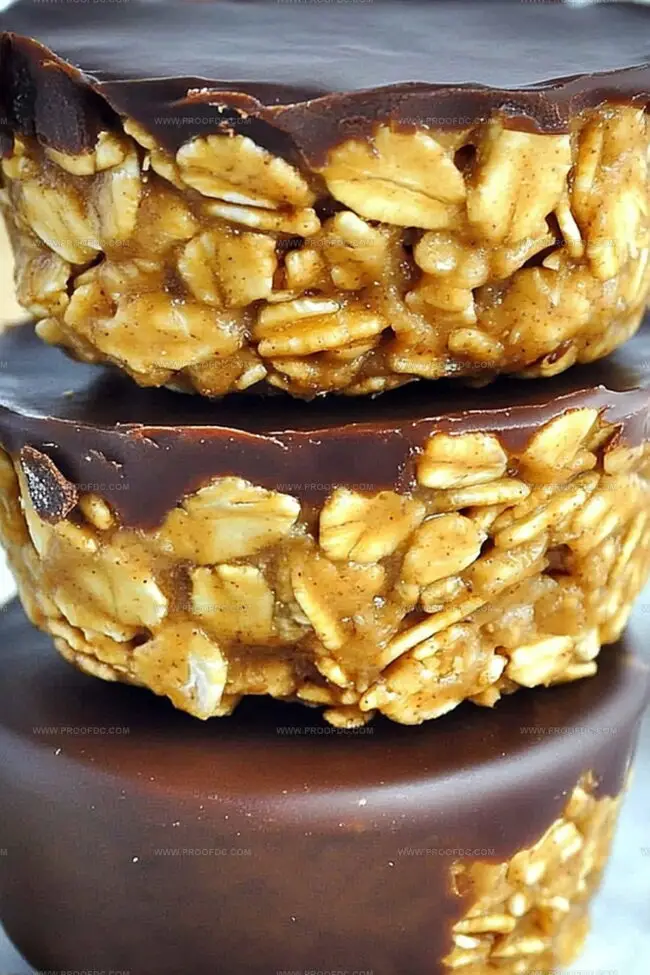
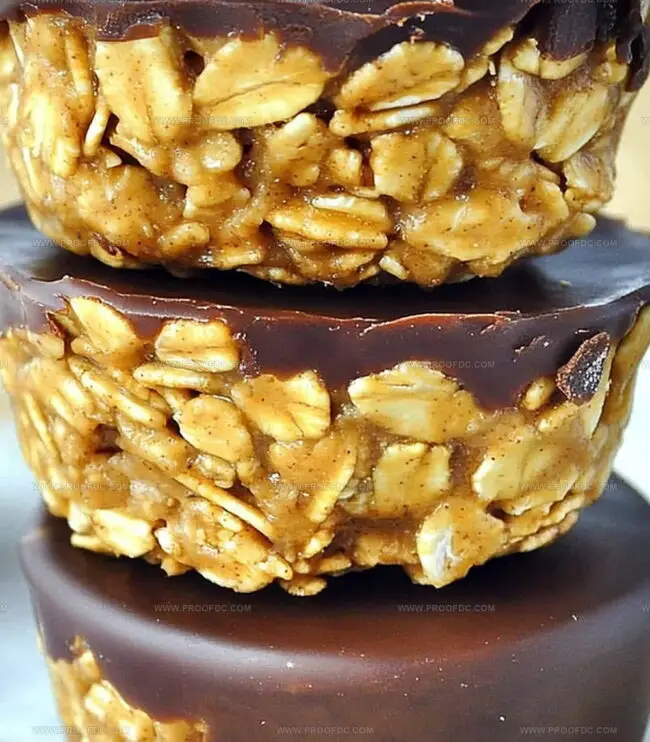
Irresistible No-Bake Peanut Butter Granola Cups Recipe
Creamy peanut butter swirls through these no-bake granola cups, creating a delightful treat that satisfies sweet cravings instantly.
Packed with wholesome ingredients, these cups deliver a perfect balance of crunch and smoothness.
The recipe combines simple pantry staples in a quick, effortless method.
Chocolate drizzles add an extra layer of decadence to these irresistible bites.
Each morsel promises a delectable blend of nutty and sweet flavors that dance on your palate.
The no-fuss preparation means you can whip up these cups in mere minutes.
Dive into this delicious recipe and treat yourself to a moment of pure culinary joy.
Quick Recipe Overview
Grab These For No-Bake Peanut Butter Granola Cups
For Base Ingredients:For Binding Ingredients:For Accent Ingredients:Helpful Tools For No-Bake Peanut Butter Granola Cups
Instructions For Making No-Bake Peanut Butter Granola Cups
Warm up peanut butter, honey, and coconut oil in the microwave until everything transforms into a silky smooth liquid. The ingredients will start dancing together, creating a delicious base for your granola cups.
Grab a big mixing bowl and toss in rolled oats, adding a sprinkle of chia seeds and tiny chocolate chips for extra excitement. This is where the flavor party begins.
Pour the warm liquid over the dry ingredients and give everything a good stir. Make sure each oat gets a delicious coating of the sweet mixture. Add a splash of vanilla for that extra magical touch.
Use paper liners in a muffin tin and carefully press the mixture into each cup. Pack it down firmly so your granola cups hold their shape like little edible treasures.
Pop the muffin tin into the refrigerator and let the cups set for about an hour. This is when the magic happens and everything firms up into perfect, bite-sized treats.
When ready, gently remove the cups from their liners. For extra indulgence, drizzle some melted chocolate on top and sprinkle with crushed peanuts if you’re feeling fancy.
Devour these delightful treats immediately or store them in the refrigerator. They’ll stay fresh and delicious for up to a week – if they last that long!
Creative Swaps For No-Bake Peanut Butter Granola Cups
Ideas For Serving No-Bake Peanut Butter Granola Cups
Best Way To Store No-Bake Peanut Butter Granola Cups
Print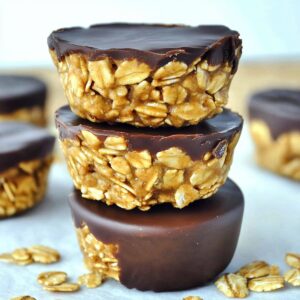
Effortless Peanut Butter Granola Cups
- Total Time: 1 hour 10 minutes
- Yield: 11 1x
Description
Irresistible no-bake peanut butter granola cups combine creamy richness with crunchy texture. Sweet and salty notes blend perfectly, offering quick energy for snack enthusiasts without complicated preparation.
Ingredients
- 2 cups (480 ml) rolled oats
- ½ cup (120 ml) natural peanut butter
- ⅓ cup (80 ml) honey or maple syrup
- ¼ cup (60 ml) coconut oil
- ¼ cup (60 ml) mini chocolate chips
- 2 tablespoons (30 ml) chia seeds or flaxseeds
- 1 tsp (5 ml) vanilla extract
- Melted chocolate for drizzling
- Crushed peanuts for garnish
Instructions
- Liquid Base Preparation: Combine peanut butter, honey, and coconut oil in a microwave-safe bowl, heating in brief intervals until completely melted and seamlessly blended.
- Dry Ingredient Fusion: Transfer rolled oats into a large mixing bowl, incorporating chia seeds and mini chocolate chips to create a robust and textured foundation.
- Mixture Integration: Pour the warm liquid mixture over dry ingredients, adding vanilla extract to elevate the flavor profile. Mix thoroughly, ensuring every oat becomes uniformly coated and glistening.
- Molding and Shaping: Line a muffin tin with paper liners, then carefully press the granola mixture into each compartment using a spoon or fingertips to create compact, well-structured cups.
- Chilling and Setting: Refrigerate the muffin tin for approximately one hour, allowing the granola cups to solidify into a firm, cohesive texture.
- Final Embellishment: Optional decorative touch – drizzle melted chocolate over the surface and sprinkle crushed peanuts to enhance visual appeal and add an extra layer of crunch.
- Serving and Storage: Delicately remove granola cups from paper liners, ready to enjoy immediately or store in a sealed container within the refrigerator for up to one week.
Notes
- Prevent Sticking: Use high-quality non-stick paper liners or lightly grease the muffin tin to ensure easy removal of granola cups without breaking.
- Control Moisture Balance: Avoid overheating peanut butter mixture; short microwave bursts prevent ingredient separation and maintain smooth consistency.
- Customize Texture Variation: Adjust liquid-to-dry ingredient ratio for crunchier or softer granola cups by slightly increasing or decreasing oats and liquid components.
- Dietary Adaptation: Substitute honey with maple syrup for vegan version, use gluten-free oats for celiac-friendly option, and replace chocolate chips with dried fruits for healthier alternatives.
- Prep Time: 10 minutes
- Cook Time: 1 hour
- Category: Breakfast, Snacks, Desserts
- Method: Mixing
- Cuisine: American
Nutrition
- Serving Size: 11
- Calories: 180
- Sugar: 8 g
- Sodium: 35 mg
- Fat: 10 g
- Saturated Fat: 4 g
- Unsaturated Fat: 6 g
- Trans Fat: 0 g
- Carbohydrates: 19 g
- Fiber: 3 g
- Protein: 5 g
- Cholesterol: 0 mg
Marcus Foley
Food Critic & Kitchen Coach
Expertise
Recipe Testing and Troubleshooting; Time-Saving Kitchen Hacks; Global Flavor Exploration; Engaging Food Writing and Honest Reviews.
Education
Institute of Culinary Education (ICE), New York, NY
Marcus Foley, based in Atlanta, GA, is a friendly food expert who makes cooking fun and simple.
With hands-on training from the Institute of Culinary Education and years of tasting everything from street food to fine dining, he shares easy kitchen hacks, global flavor ideas, and step-by-step recipes that turn kitchen mishaps into delicious surprises.