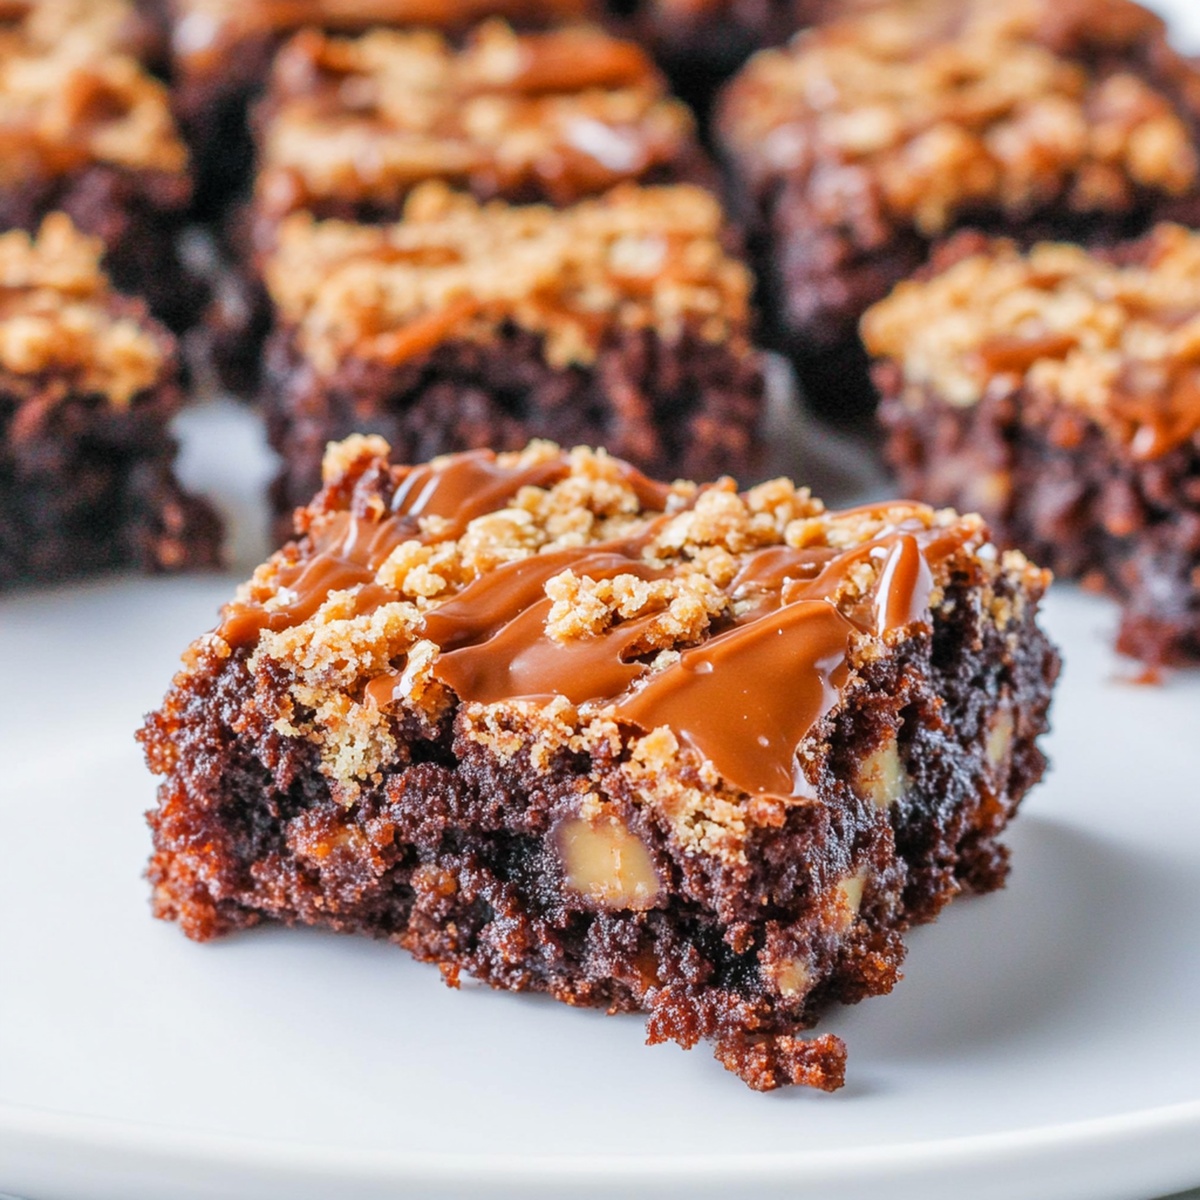
The Easiest Samoa Brownies Recipe for Chocolate-Coconut Bliss
Chocolate lovers adore these Samoa brownies that blend classic dessert magic with tropical caramel charm.
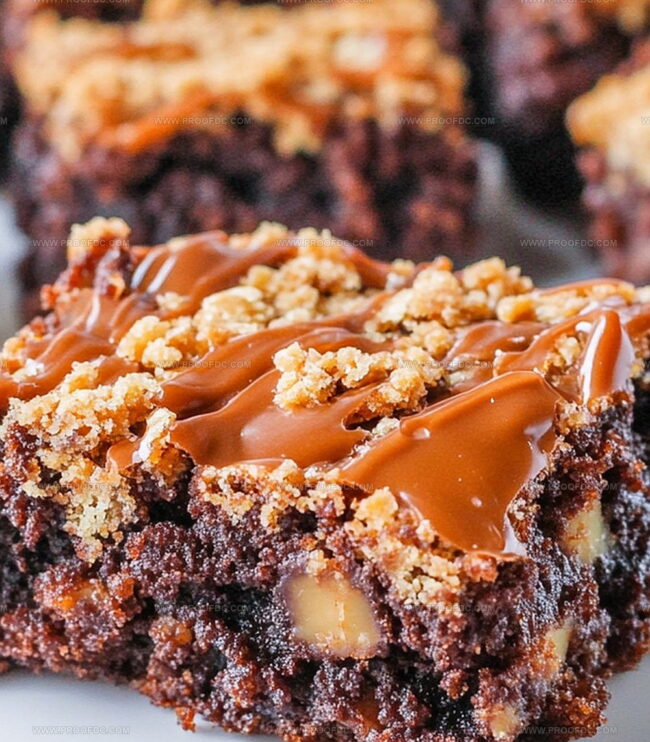
Rich cocoa layers merge seamlessly with dreamy coconut and gooey caramel swirls.
The recipe celebrates decadent flavors that dance across your palate with unexpected delight.
Biting into a fudgy square that combines Girl Scout cookie nostalgia with homemade comfort.
Bakery-style indulgence meets simple kitchen creativity in this irresistible treat.
Each brownie promises a symphony of textures and sweet memories.
These delectable squares will make you the neighborhood dessert hero in just one bite.
Grab a mixing bowl and let the delicious adventure begin!
Why Easy Samoa Brownies Taste Like Your Favorite Cookie
What You Need For Easy Samoa Brownies
Base Ingredients:Topping Ingredients:Finishing Ingredients:How To Make Easy Samoa Brownies In Simple Steps
Step 1: Bake The Brownie Base
Whip up the brownie mix according to the package directions. Use a 9×13 inch baking pan and spread the batter evenly. Slide the pan into a preheated oven and bake until a toothpick comes out clean. Let the brownies cool completely at room temperature.
Step 2: Create Golden Coconut Crunch
Grab a baking sheet and scatter shredded coconut across the surface. Pop the sheet into the oven at 350°F. Stir the coconut halfway through cooking to ensure even browning. Watch carefully to prevent burning – you want a beautiful golden color that brings out rich, nutty flavors.
Step 3: Craft Silky Caramel Sauce
Combine caramel ingredients in a microwave-safe bowl:Zap in short bursts, stirring between each interval, until the mixture transforms into a smooth, glossy sauce.
Step 4: Layer Coconut Caramel Topping
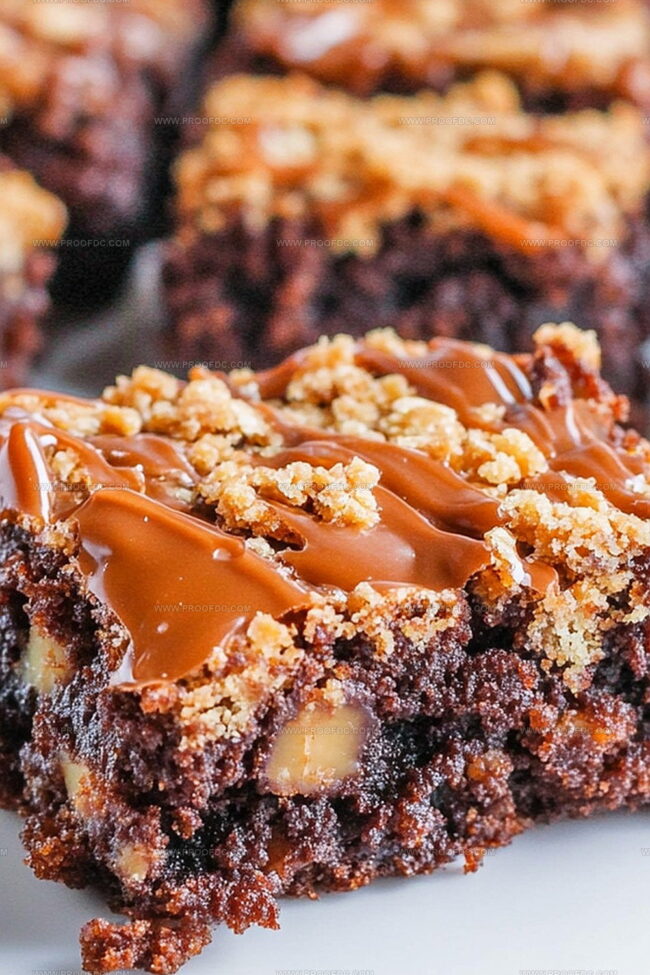
Fold the toasted coconut into the warm caramel sauce until completely incorporated. Spread this decadent mixture across the cooled brownie surface, creating an even, tempting layer.
Step 5: Drizzle Chocolate Finale
Melt chocolate chips in the microwave, stirring frequently to prevent scorching. Once silky and smooth, use a spoon or piping bag to create elegant chocolate zigzags across the caramel-coconut layer.
Step 6: Set And Serve
Allow the brownies to rest at room temperature or chill in the refrigerator. This helps the layers set and makes cutting easier. Slice into squares and serve these incredible Samoa-inspired treats to eager friends and family.
Tips For Gooey Easy Samoa Brownies
How To Store And Serve Easy Samoa Brownies
What Goes Great With Easy Samoa Brownies
Tasty Variations Of Easy Samoa Brownies
Easy Samoa Brownies FAQs
These brownies are inspired by the popular Girl Scout Samoa cookies, featuring the same delicious combination of toasted coconut, caramel, and chocolate drizzle on top of a rich brownie base.
Absolutely! Homemade brownies work perfectly. Just ensure they’re completely cooled before adding the topping to help the layers set properly.
Stir the coconut every 2-3 minutes and watch it closely. Golden brown is perfect – any darker and it’ll taste bitter. Use a light-colored baking sheet to help monitor the color.
No problem! You can use kraft caramel squares or even jarred caramel sauce. Just adjust the consistency by adding a little milk or cream to make it spreadable.
Print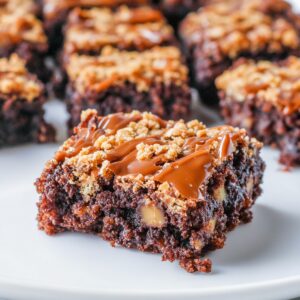
Easy Samoa Brownies Recipe
- Total Time: 45 minutes
- Yield: 12 1x
Description
Chocolate and caramel lovers celebrate this samoa brownies fusion of classic dessert magic. Coconut-draped brownies with silky caramel ribbons promise rich island-inspired indulgence you’ll savor down to the last delectable crumb.
Ingredients
Main Ingredients (Brownie Base):
- 1 box brownie mix (for a 9×13-inch pan)
- Ingredients listed on the brownie mix package (or homemade brownie recipe ingredients)
Topping Ingredients:
- 2 cups (473 milliliters) shredded sweetened coconut
- 1 (11 ounces/312 grams) bag caramel bits or soft caramel candies
- 2 tablespoons (30 milliliters) milk or heavy cream
Chocolate Drizzle:
- ½ cup (85 grams) semi-sweet chocolate chips
Instructions
- Craft the foundation by preparing the brownie batter according to package guidelines, utilizing a 9×13-inch baking vessel. Carefully transfer the mixture and bake until perfectly set, then allow to cool completely at room temperature.
- Transform the shredded coconut into a golden delight by distributing it evenly across a baking sheet. Roast within a preheated oven, carefully monitoring and stirring midway to achieve a rich, toasted amber hue without scorching.
- Create a silky caramel base by gently combining caramel bits with milk in a microwave-safe container. Heat in short intervals, stirring between each session, until the mixture becomes a smooth, luxurious liquid.
- Merge the toasted coconut with the molten caramel, ensuring a thorough and even integration. Generously spread this decadent mixture across the cooled brownie surface, creating a uniform layer that promises indulgent texture and flavor.
- Elevate the dessert by melting chocolate chips in short microwave bursts, stirring until achieving a glossy, fluid consistency. Artfully drizzle the chocolate across the caramel-coconut landscape, creating an intricate pattern.
- Allow the brownies to set and solidify, either at ambient temperature or within the refrigerator’s cool embrace. Once stabilized, slice into precise squares, revealing the layers of delectable complexity, and savor each extraordinary bite.
Notes
- Carefully monitor coconut while toasting to prevent burning, as it can quickly turn from golden to charred.
- Use unsweetened shredded coconut for a less sweet and more natural flavor profile in the topping.
- For gluten-free version, select a gluten-free brownie mix or make brownies from scratch using alternative flour like almond or coconut flour.
- Create dairy-free variation by substituting milk with coconut milk or almond milk when melting caramel, ensuring similar creamy consistency.
- Prep Time: 15 minutes
- Cook Time: 30 minutes
- Category: Desserts, Snacks
- Method: Baking
- Cuisine: American
Nutrition
- Serving Size: 12
- Calories: 250
- Sugar: 22 g
- Sodium: 150 mg
- Fat: 10 g
- Saturated Fat: 5 g
- Unsaturated Fat: 3 g
- Trans Fat: 0 g
- Carbohydrates: 37 g
- Fiber: 2 g
- Protein: 2 g
- Cholesterol: 30 mg
Jenna Stewart
Head Chef & Recipe Innovator
Expertise
Farm-to-Table Cooking; Seasonal Menu Development; Visual Plating Techniques; Flavor Layering and Simple Prep Hacks.
Education
The Culinary Institute of America, Hyde Park, NY
Jenna Stewart is the inventive spirit behind many of our standout dishes at Pro of Delicious Creations. A proud graduate of The Culinary Institute of America, she built her skills mastering both classic recipes and fresh, modern twists.
Now, Jenna celebrates the beauty of seasonal, local ingredients, often sourced from her garden and nearby markets, to create recipes that are bursting with flavor yet easy to follow. When she’s not experimenting in the kitchen, Jenna loves exploring nature on hikes and discovering new treasures at local co-ops.