The Fluffiest Easy Homemade White Bread Recipe Ever
Crafting a delightful white bread recipe can become your weekend culinary adventure.
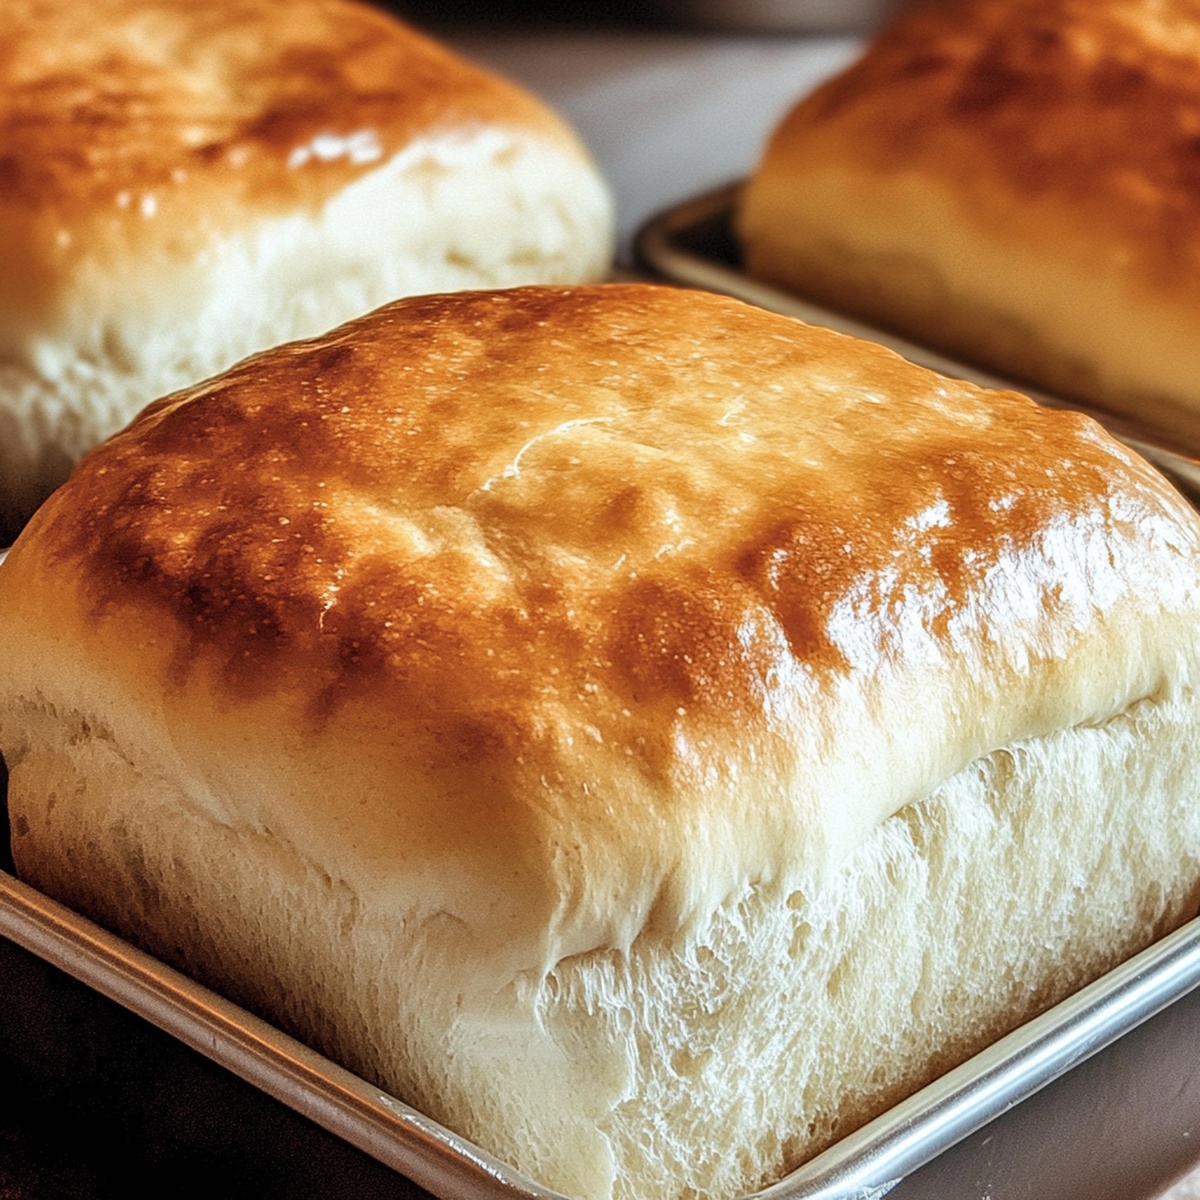
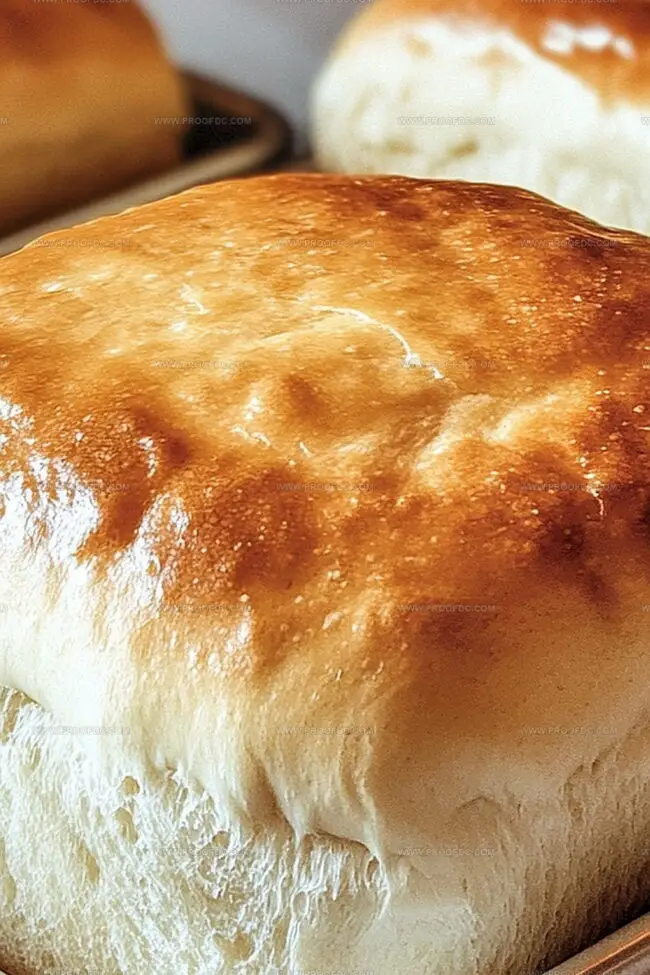
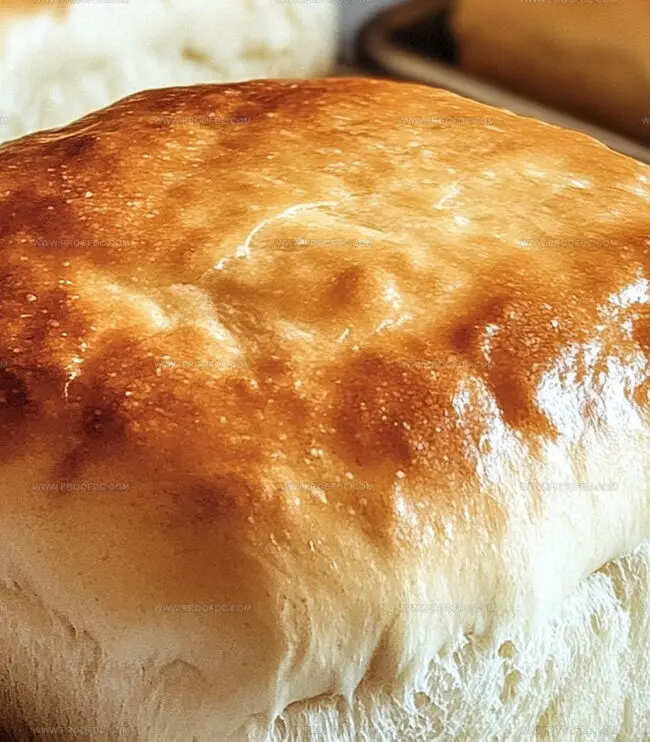
Soft, golden, and irresistibly fragrant, this simple homemade bread will fill your kitchen with warmth.
Pulling apart a freshly baked loaf, steam rising and revealing a tender crumb.
Kneading the dough connects you to generations of bakers who found joy in this timeless process.
Salt, flour, and yeast combine in a magical dance that transforms humble ingredients into something extraordinary.
Each slice promises comfort and satisfaction, far surpassing store-bought alternatives.
I promise this recipe will spark your passion for baking and leave you eager to slice into your very own creation.
Why Easy Homemade White Bread Recipe Is Always A Win
What You’ll Need For Easy Homemade White Bread Recipe
Bread Base:Leavening Agents:Fat and Flavor Enhancers:How To Make Easy Homemade White Bread Recipe
Step 1: Awaken the Yeast
Pour warm water into a spacious mixing bowl. Sprinkle yeast and sugar into the water. Stir the mixture gently and allow it to rest. Watch as the surface becomes bubbly and frothy, signaling the yeast is coming to life.
Step 2: Create the Dough Base
Add to the yeast mixture:Gradually incorporate flour, mixing thoroughly until a soft, cohesive dough emerges. Use a wooden spoon or stand mixer with a dough hook for smooth blending.
Step 3: Knead with Love
Transfer the dough onto a lightly floured surface. Begin working the dough with your hands, pressing and folding rhythmically. Knead for 8-10 minutes until the texture becomes smooth and stretchy. The dough should feel supple and responsive under your touch.
Step 4: First Rise
Place the dough in a lightly greased bowl. Rotate the dough to ensure complete coverage with oil. Drape a damp cloth over the bowl. Find a cozy, draft-free spot in your kitchen for the dough to rest and expand. Allow it to rise until its volume doubles, typically 1-1.5 hours.
Step 5: Shape the Loaf
Gently deflate the risen dough with a soft punch. Mold it into a neat loaf shape. Nestle the dough into a greased 9×5-inch loaf pan. Cover and let it rise again, waiting until the dough peeks just above the pan’s rim.
Step 6: Prepare the Oven
Heat the oven to 375 degrees Fahrenheit. Ensure the rack is positioned in the center for even baking.
Step 7: Bake to Golden Perfection
Slide the pan into the preheated oven. Bake for 25-30 minutes. The bread is ready when the top turns a beautiful golden brown. To test doneness, tap the loaf – it should sound hollow and crisp.
Step 8: Cool and Savor
Carefully remove the bread from the pan. Place it on a wire rack to cool. Resist cutting immediately – wait at least 30 minutes to allow the bread’s interior to set. Slice and enjoy the warm, comforting aroma of freshly baked bread.
Simple Tips For Easy Homemade White Bread Recipe
Storing And Warming Easy Homemade White Bread Recipe
Top Spreads And Dishes With Easy Homemade White Bread Recipe
Bread Variations To Try In Easy Homemade White Bread Recipe
FAQs About Easy Homemade White Bread Recipe
The frothy appearance shows the yeast is alive and active, which means your bread will rise properly. If the mixture doesn’t become foamy, your yeast might be expired or the water temperature was incorrect.
Absolutely! Hand kneading works perfectly. Just use the heel of your hand to push and fold the dough repeatedly for 8-10 minutes until it becomes smooth and elastic. It’s a great workout and traditional bread-making method.
The dough should approximately double in size and look puffy. When you gently press the dough with your finger, the indentation should slowly spring back. If it doesn’t rise, your yeast might be inactive or the environment was too cold.
Homemade bread has fresher ingredients, no preservatives, and a richer, more authentic flavor. You control the ingredients and can enjoy the satisfaction of creating something delicious from scratch.
Print
Easy Homemade White Bread Recipe
- Total Time: 2 hours 35 minutes
- Yield: 12 1x
Description
Freshly baked White Bread brings warmth and comfort straight from your kitchen. Home bakers can craft this simple loaf with basic ingredients, creating a golden-brown masterpiece that perfectly complements any meal.
Ingredients
Main Ingredients:
- 3 cups (360 g) all-purpose flour (or bread flour)
- 1 cup (240 ml) warm water (about 110°F/45°C)
Leavening Agent:
- 2 ¼ teaspoons (1 packet) active dry yeast
Flavor Enhancers and Binding Ingredients:
- 2 tablespoons granulated sugar
- 2 tablespoons unsalted butter (softened) or vegetable oil
- 1 teaspoon salt
Instructions
- Awaken the yeast by combining warm water, yeast, and sugar in a spacious mixing vessel. Allow the mixture to rest and become luxuriously frothy, signaling the yeast’s vibrant activity.
- Incorporate softened butter and salt into the activated yeast mixture. Gradually fold in flour, blending thoroughly until a cohesive, supple dough emerges.
- Transfer the dough onto a lightly dusted work surface. Massage and stretch the dough with rhythmic movements, developing its gluten structure until smooth and resilient. Professional bakers recommend kneading for approximately 8-10 minutes by hand or 5-6 minutes using a stand mixer.
- Nestle the dough into a lightly greased bowl, ensuring complete surface coverage. Drape with a damp cloth, creating a nurturing environment for fermentation. Position in a tranquil, warm location and allow the dough to expand majestically, roughly doubling in volume within 1-1.5 hours.
- Gently deflate the risen dough with careful pressing. Sculpt into a classic loaf shape and tenderly position within a prepared baking vessel. Shield and permit a secondary rise until the dough crests just above the pan’s rim.
- Calibrate the oven temperature to 375F (190C), preparing a welcoming environment for transformation.
- Slide the prepared loaf into the heated oven. Bake until the surface achieves a golden, radiant complexion and produces a hollow percussion when gently tapped.
- Carefully extract the bread from its baking sanctuary. Allow complete cooling on a wire rack, permitting internal steam to distribute evenly before slicing and savoring.
Notes
- Check yeast freshness by ensuring it creates a foamy, bubbly texture when mixed with warm water and sugar, which signals active fermentation.
- Use precise water temperature between 100-110°F to activate yeast without killing it, preventing dense or flat bread.
- Consider substituting some all-purpose flour with whole wheat or alternative flours for added nutrition and unique texture variations.
- Enhance bread’s softness by brushing melted butter on top immediately after baking, creating a tender golden crust.
- Prep Time: 20 minutes
- Cook Time: 30 minutes
- Category: Snacks, Breakfast, Lunch, Dinner
- Method: Baking
- Cuisine: American
Nutrition
- Serving Size: 12
- Calories: 150
- Sugar: 1.5 g
- Sodium: 120 mg
- Fat: 3 g
- Saturated Fat: 1.5 g
- Unsaturated Fat: 1.5 g
- Trans Fat: 0 g
- Carbohydrates: 28 g
- Fiber: 1 g
- Protein: 4 g
- Cholesterol: 5 mg
Jenna Stewart
Head Chef & Recipe Innovator
Expertise
Farm-to-Table Cooking; Seasonal Menu Development; Visual Plating Techniques; Flavor Layering and Simple Prep Hacks.
Education
The Culinary Institute of America, Hyde Park, NY
Jenna Stewart is the inventive spirit behind many of our standout dishes at Pro of Delicious Creations. A proud graduate of The Culinary Institute of America, she built her skills mastering both classic recipes and fresh, modern twists.
Now, Jenna celebrates the beauty of seasonal, local ingredients, often sourced from her garden and nearby markets, to create recipes that are bursting with flavor yet easy to follow. When she’s not experimenting in the kitchen, Jenna loves exploring nature on hikes and discovering new treasures at local co-ops.