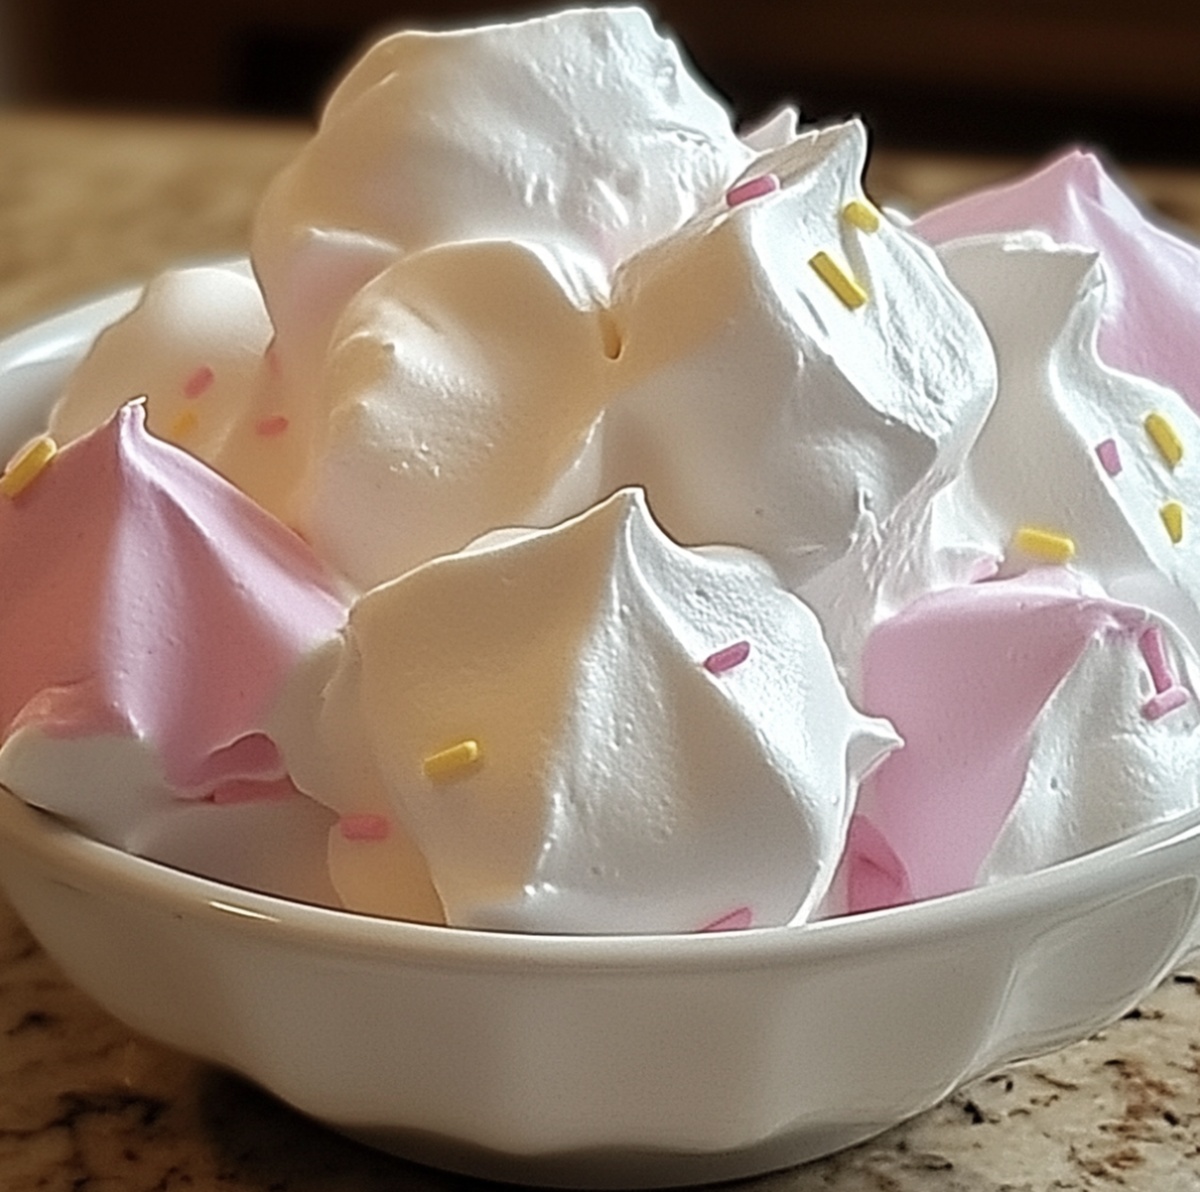
Dreamy Easy Cool Whip Candy Recipe for Sweet Moments
Sweet tooth adventures await with this cool whip candy that promises delightful creamy surprises.
Nobody expects such a simple treat to pack such incredible flavor.
Whipping up a dessert that melts smoothly across your tongue with minimal effort.
Chocolate lovers and casual snackers alike will adore these quick confections.
Small kitchen skills can produce magnificent results when you follow this straightforward method.
Minimal ingredients and just a few minutes separate you from sugary bliss.
Prepare to transform ordinary ingredients into an extraordinary sweet sensation that will impress everyone at the gathering.
Why Easy Cool Whip Candy Is a Sweet Surprise
What Goes Into Easy Cool Whip Candy
Base Ingredients:Coating Ingredients:Preparation Ingredient:Steps to Make Easy Cool Whip Candy

Step 1: Prepare the Workspace
Line a baking dish with parchment paper, ensuring some extra paper hangs over the sides for easy candy removal.
Step 2: Melt Chocolate Base
Zap chocolate chips in short bursts, stirring between each interval until they transform into a silky smooth liquid. Let the melted chocolate cool down slightly.
Step 3: Blend Creamy Mixture
Gently fold thawed Cool Whip into the slightly cooled chocolate. Mix until the ingredients create a uniform, thick consistency.
Step 4: Create Candy Slab
Spread the chocolate-Cool Whip blend evenly across the prepared baking dish. Pop the dish into the freezer for half an hour until the mixture becomes solid.
Step 5: Transform into Bite-Sized Treats
Remove the frozen slab using parchment paper overhang. Slice into small, manageable squares – aim for about 36 delightful pieces.
Step 6: Quick Freeze
Arrange the cut squares on a parchment-lined baking sheet. Return to the freezer for another 30 minutes to ensure they’re perfectly chilled.
Step 7: Prepare Chocolate Coating
Melt chocolate almond bark or candy melting wafers according to package directions until smooth and glossy.
Step 8: Dunk and Coat
Use a fork to dip each frozen square into the melted chocolate. Allow excess coating to drip off before placing on the parchment-lined sheet.
Step 9: Set the Chocolate
Let the chocolate coating harden at room temperature or speed up the process by placing the candies in the refrigerator.
Step 10: Store and Enjoy
Transfer the completed candies to an airtight container. Keep refrigerated or frozen until ready to serve. Enjoy these cool, creamy chocolate treats chilled!
Helpful Notes for Easy Cool Whip Candy
How to Store Easy Cool Whip Candy Well
Pair It Right with Easy Cool Whip Candy
Easy Cool Whip Candy Variations to Try
Easy Cool Whip Candy FAQ
These delightful treats are a super simple chocolate confection made by blending melted chocolate with Cool Whip, then coating them in additional melted chocolate for a creamy, indulgent bite-sized dessert.
Not at all! This recipe is incredibly beginner-friendly. Even if you’re new to cooking, you can easily follow the step-by-step instructions and create these delicious candies with minimal kitchen experience.
Absolutely! While the recipe calls for milk chocolate chips, you can experiment with dark chocolate, white chocolate, or even a mix of different chocolate types to suit your taste preferences.
When stored properly in an airtight container in the refrigerator or freezer, these Cool Whip Candies can last up to 2 weeks, making them a great make-ahead treat for parties or sweet cravings.
Print
Easy Cool Whip Candy Recipe
- Total Time: 1 hour 20 minutes
- Yield: 12 1x
Description
Sweet Cool Whip Candy combines creamy simplicity with delightful indulgence. Cool and quick dessert crafting brings pure pleasure to home cooks seeking effortless treats that sparkle with delicious charm.
Ingredients
Main Chocolate Ingredients:
- 3 cups (525 grams) milk chocolate chips
- 24 ounces (680 grams) chocolate almond bark or chocolate melting wafers
Cream Ingredient:
- 8 ounces (225 grams) Cool Whip, thawed
Instructions
- Prepare a parchment-lined baking dish with overhanging edges to facilitate easy candy removal.
- Gently melt milk chocolate chips in a microwave-safe bowl, stirring at brief intervals until achieving a silky, uniform consistency.
- Allow the molten chocolate to cool momentarily, then incorporate thawed Cool Whip, blending thoroughly until creating a dense, homogeneous mixture.
- Transfer the chocolate-Cool Whip blend into the prepared pan, spreading evenly to create a smooth surface.
- Chill the mixture in the freezer for approximately 30 minutes, ensuring the confection becomes completely solid and firm.
- Extract the frozen slab from the pan using parchment overhang, then slice into uniform, bite-sized squares.
- Arrange the cut pieces on a parchment-lined tray, returning them to the freezer for an additional chilling period.
- Melt chocolate almond bark or specialized coating wafers using precise temperature control to maintain a glossy, liquid texture.
- Delicately submerge each frozen square into the melted chocolate coating, gently tapping to remove excess and create a pristine finish.
- Position the enrobed candies on the parchment sheet, allowing the chocolate shell to solidify naturally or expedite the process through refrigeration.
- Once completely set, transfer the confections to an airtight storage container, maintaining them in the refrigerator or freezer to preserve texture and flavor.
Notes
- Chill all ingredients beforehand to ensure a smoother mixing process and better texture consistency.
- Use high-quality chocolate chips for a richer, more luxurious flavor profile in your candies.
- Experiment with different chocolate varieties like dark or white chocolate to create unique taste variations.
- For a lighter version, substitute low-fat Cool Whip and use sugar-free chocolate chips to reduce calories.
- Prep Time: 15 minutes
- Cook Time: 5 minutes
- Category: Desserts, Snacks
- Method: Mixing
- Cuisine: American
Nutrition
- Serving Size: 12
- Calories: 157
- Sugar: 14g
- Sodium: 25mg
- Fat: 9g
- Saturated Fat: 5g
- Unsaturated Fat: 4g
- Trans Fat: 0g
- Carbohydrates: 17g
- Fiber: 1g
- Protein: 2g
- Cholesterol: 0mg
Jenna Stewart
Head Chef & Recipe Innovator
Expertise
Farm-to-Table Cooking; Seasonal Menu Development; Visual Plating Techniques; Flavor Layering and Simple Prep Hacks.
Education
The Culinary Institute of America, Hyde Park, NY
Jenna Stewart is the inventive spirit behind many of our standout dishes at Pro of Delicious Creations. A proud graduate of The Culinary Institute of America, she built her skills mastering both classic recipes and fresh, modern twists.
Now, Jenna celebrates the beauty of seasonal, local ingredients, often sourced from her garden and nearby markets, to create recipes that are bursting with flavor yet easy to follow. When she’s not experimenting in the kitchen, Jenna loves exploring nature on hikes and discovering new treasures at local co-ops.