Homemade Dried Orange Slices Recipe: Bright & Zesty Magic
A dried orange slices adventure that brings zesty sunshine right into your kitchen.
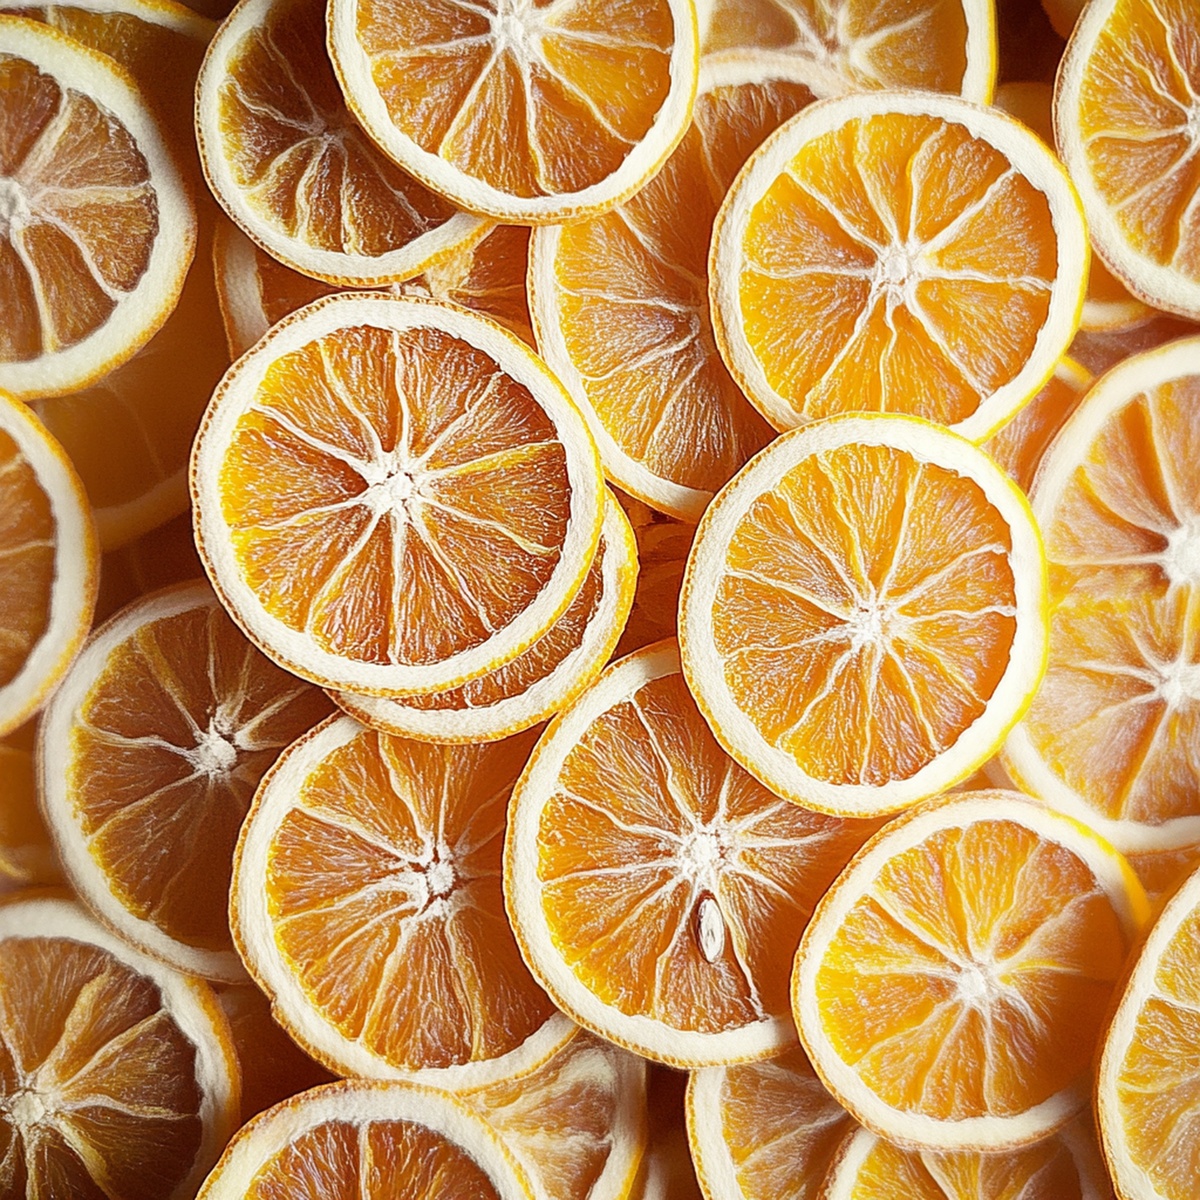
Crisp, translucent citrus rounds transform ordinary moments into sensory experiences.
Delicate and vibrant, these golden-hued treats capture Mediterranean essence with minimal effort.
Kitchen magic happens when simple ingredients meet thoughtful technique.
Serving these elegant garnishes alongside morning coffee or afternoon tea.
Fragrant and light, each slice tells a story of patience and culinary creativity.
The process might seem intimidating, but trust me – you’ll master this technique effortlessly.
Let’s unlock the secret to creating these delectable, picture-perfect orange masterpieces that will impress everyone at the table.
Why Dried Orange Slices Are Pretty And Practical
Everything You Need For Dried Orange Slices
Fresh Produce:Baking Essentials:Kitchen Tools:How To Dry Orange Slices Step By Step
Step 1: Prepare Your Workspace
Get your oven ready by setting it to a low 200F (90C). Grab a baking sheet and cover it with parchment paper or a silicone mat. This creates the perfect drying surface for your orange slices.
Step 2: Slice with Precision
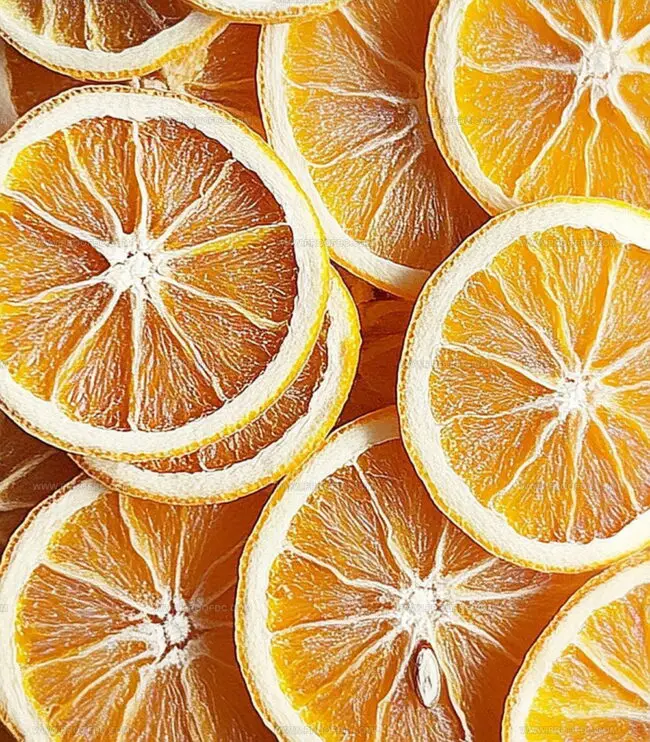
Grab your fresh oranges and give them a thorough wash. Using a sharp knife, carefully cut the oranges into delicate, translucent rounds. Aim for paper-thin slices around 1/8-inch thick. Consistency is key – try to keep each slice roughly the same thickness so they dry evenly.
Step 3: Arrange Orange Masterpieces
Gently place your orange slices onto the prepared baking sheet. Spread them out carefully, making sure no slices are touching or overlapping. This allows air to circulate and helps create perfectly dried fruit.
Step 4: Slow and Steady Drying
Slide the baking sheet into the warm oven. Set a timer and check your orange slices every hour. Carefully flip each slice to ensure even drying. The process takes about 3-4 hours. You’ll know they’re ready when the slices feel dry but still have a slight flexibility.
Step 5: Cool and Preserve
Once dried, remove the baking sheet and let the orange slices cool completely at room temperature. Transfer them to an airtight container. These beautiful dried orange slices will stay fresh for up to two weeks, perfect for decorations or garnishes.
Tips To Make Dried Orange Slices Evenly
How To Store Dried Orange Slices Without Browning
Ways To Use Dried Orange Slices With Other Foods
Fun Variations Of Dried Orange Slices
FAQs On Dried Orange Slices
Yes! They’re packed with vitamin C, antioxidants, and contain no added sugars. They’re a nutritious snack that can boost your immune system and provide natural sweetness.
Absolutely! Navel, Valencia, or blood oranges work great. Just ensure they’re ripe and have a firm texture for the best results. Thinner-skinned oranges tend to dry more quickly and evenly.
They’re incredibly versatile! Use them for holiday decorations, garnish cocktails, add to tea, create wreaths, or use as a beautiful table centerpiece. They also make wonderful gifts when packaged prettily.
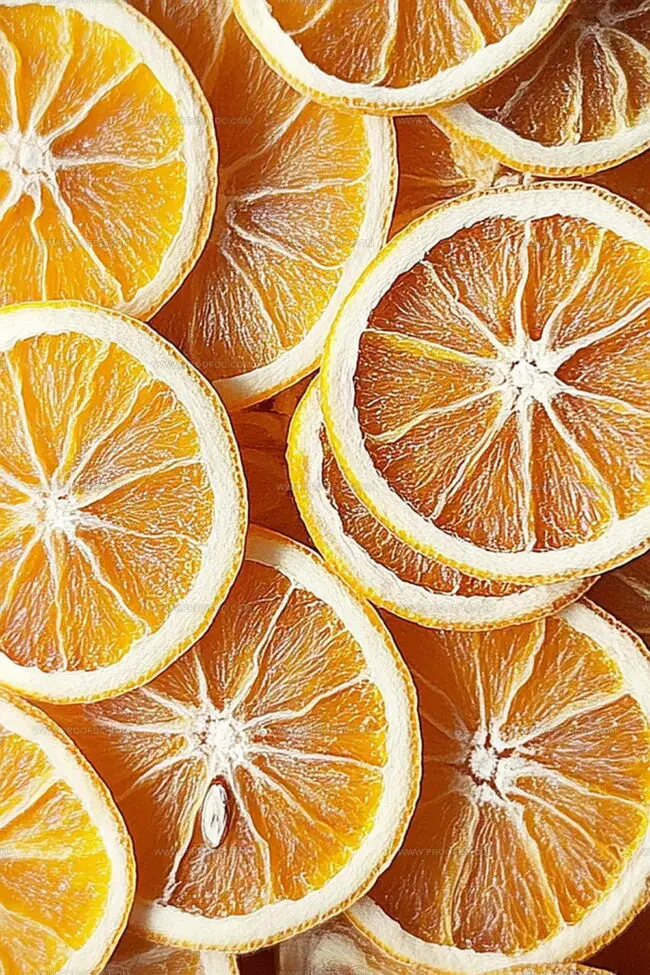
The slices should feel dry to the touch but still slightly flexible, not crispy or brittle. They should have a deep, translucent color and no moisture when you gently press them.
Print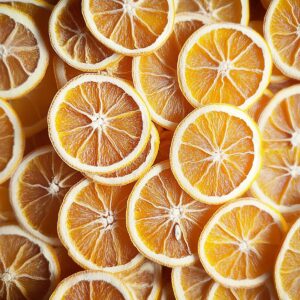
Dried Orange Slices Recipe
- Total Time: 3 hours 10 minutes 4 hours 10 minutes
- Yield: 34 1x
Description
Orange Slice Elegance offers a delightful twist on preserving citrus with minimal ingredients and maximum flavor. Home cooks can effortlessly create these golden, translucent delicacies perfect for garnishing desserts or enjoying as a delicate snack.
Ingredients
Main Ingredients (Fruit):
- 34 oranges (navel, Valencia, or blood oranges)
Preparation Ingredients:
- 1 wire rack
- 1 baking sheet
- Parchment paper
Optional Equipment:
- 1 mandoline slicer (optional)
- 1 sharp knife
Instructions
- Gently cleanse fresh oranges under cool running water, removing any surface residue or wax coating.
- Using a sharp mandoline or serrated knife, create translucent, precisely uniform circular slices approximately 1/8-inch thick, ensuring consistent width for balanced dehydration.
- Strategically position orange medallions on a parchment-lined baking sheet, allowing minimal space between each slice to facilitate even heat circulation.
- Configure oven rack in middle position and set temperature precisely to 200°F, creating an optimal low-heat environment for gentle moisture extraction.
- Carefully transfer prepared baking sheet into preheated oven, maintaining a consistent temperature for systematic dehydration process.
- Rotate baking sheet every 60 minutes, gently flipping orange slices to promote balanced drying and prevent potential uneven texture.
- Monitor transformation over 3-4 hours, observing slice edges for subtle curling and checking texture – slices should feel leathery yet flexible with no visible moisture.
- Remove baking sheet, allowing orange slices to cool completely at room temperature, which helps stabilize their dehydrated structure.
- Transfer thoroughly cooled citrus medallions into an opaque, hermetically sealed glass container, protecting them from light and humidity.
- Store preserved orange slices in a dark, cool pantry space, where they will maintain optimal quality for approximately two weeks.
Notes
- Slice oranges with a sharp mandoline or serrated knife for ultra-thin, consistent rounds that dry evenly and look professionally prepared.
- Pat orange slices gently with paper towels before baking to remove excess moisture and accelerate the drying process.
- Use low-sugar oranges like navel or Valencia for less sticky, more crisp dried slices that work beautifully in decorative arrangements or garnishes.
- Experiment with light sprinkling of cinnamon or nutmeg before drying to add subtle warming flavor that complements the natural citrus sweetness.
- Prep Time: 10 minutes
- Cook Time: 34 hours
- Category: Snacks, Desserts
- Method: Baking
- Cuisine: American
Nutrition
- Serving Size: 34
- Calories: 60
- Sugar: 12 g
- Sodium: 0 mg
- Fat: 0 g
- Saturated Fat: 0 g
- Unsaturated Fat: 0 g
- Trans Fat: 0 g
- Carbohydrates: 15 g
- Fiber: 3 g
- Protein: 1 g
- Cholesterol: 0 mg
Jenna Stewart
Head Chef & Recipe Innovator
Expertise
Farm-to-Table Cooking; Seasonal Menu Development; Visual Plating Techniques; Flavor Layering and Simple Prep Hacks.
Education
The Culinary Institute of America, Hyde Park, NY
Jenna Stewart is the inventive spirit behind many of our standout dishes at Pro of Delicious Creations. A proud graduate of The Culinary Institute of America, she built her skills mastering both classic recipes and fresh, modern twists.
Now, Jenna celebrates the beauty of seasonal, local ingredients, often sourced from her garden and nearby markets, to create recipes that are bursting with flavor yet easy to follow. When she’s not experimenting in the kitchen, Jenna loves exploring nature on hikes and discovering new treasures at local co-ops.