Dreamy White Chocolate Raspberry Cheesecake Recipe Made Simple
Creamy and decadent cheesecakes always spark joy at gatherings, and this white chocolate raspberry recipe delivers pure dessert magic.
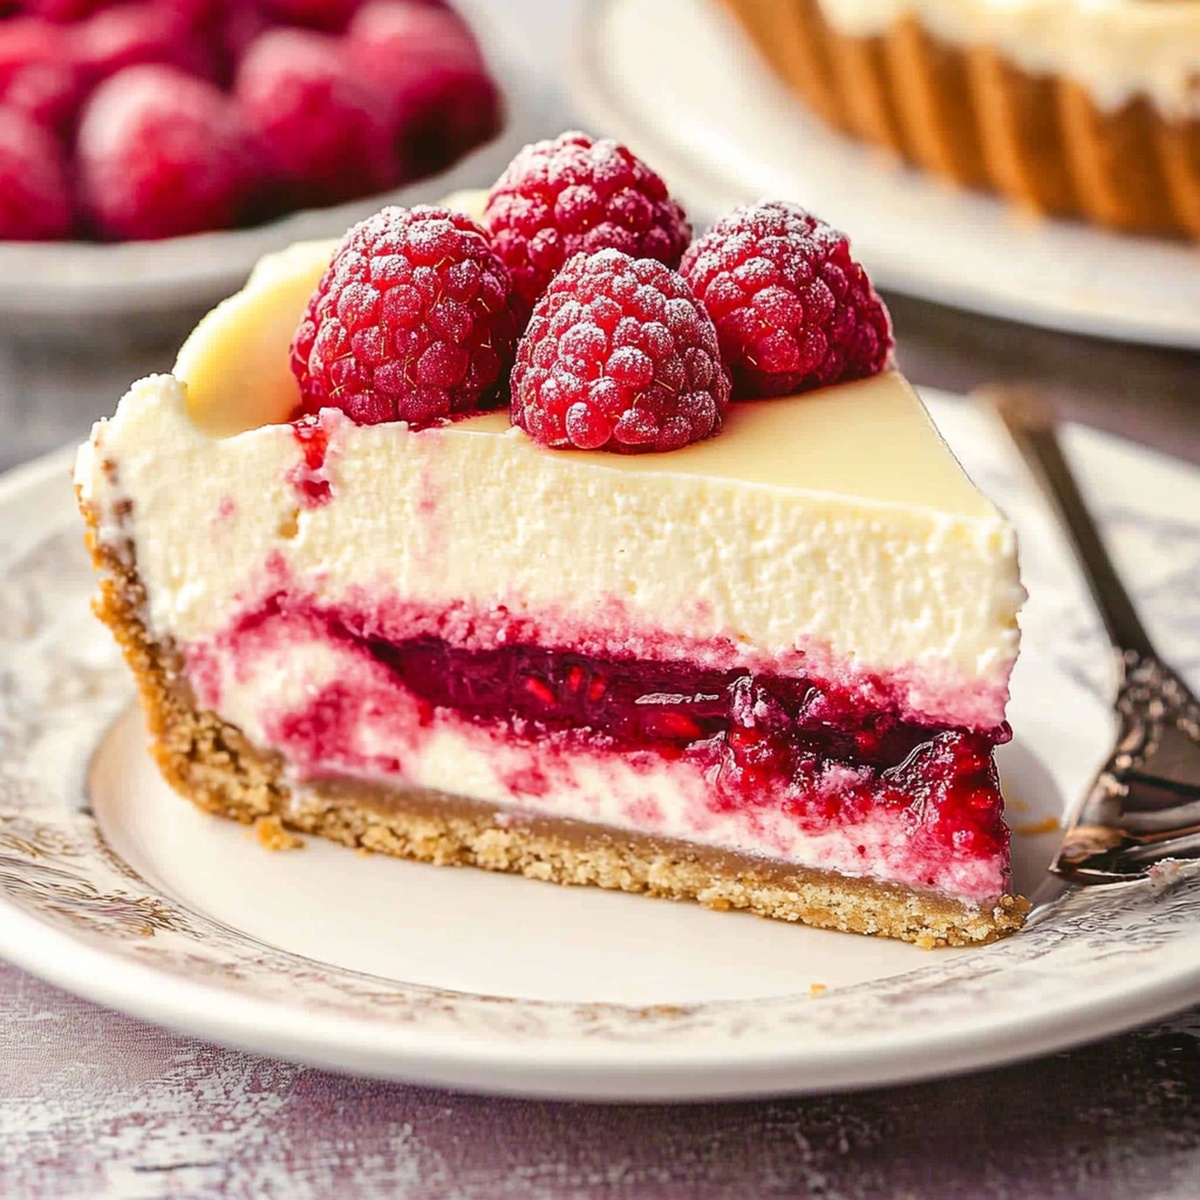
Silky smooth white chocolate blends perfectly with tangy raspberries in every luxurious bite.
The delicate balance of sweet and tart creates an irresistible flavor profile that melts on your tongue.
Rich cream cheese provides a velvety base for this elegant dessert that looks as stunning as it tastes.
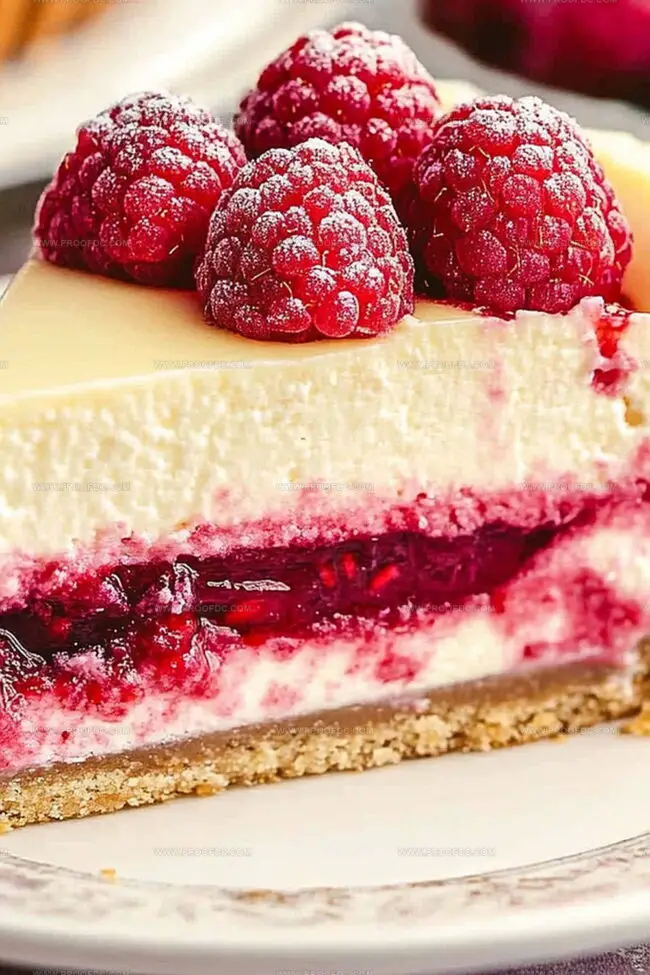
Swirls of vibrant raspberry cut through the creamy white chocolate, creating a visual masterpiece on your plate.
Each slice promises a symphony of textures and flavors that will leave your guests speechless.
You won’t be able to resist another forkful of this absolutely magnificent cheesecake that turns any occasion into a celebration.
Quick Recipe Overview
Ingredients For White Chocolate Raspberry Cheesecake
For Crust Base:For Creamy Filling Base:For Flavor and Topping:Tools To Make White Chocolate Raspberry Cheesecake
Steps To Prepare White Chocolate Raspberry Cheesecake

Crush chocolate cookies and blend with melted butter and sugar until perfectly combined. Press the mixture firmly into the bottom of a springform pan, creating a solid foundation for your dreamy dessert.
Blend cream cheese until silky smooth, then gently fold in sugar, eggs, and vanilla. Mix carefully to avoid overmixing, which can cause cracks in your delectable cheesecake.
Swirl fresh raspberry sauce throughout the creamy filling, creating beautiful crimson ribbons that will make your dessert look and taste spectacular.
Place the cheesecake in a preheated oven at 325F and bake until the center is just slightly jiggly. The edges should look set but still have a gentle wobble when you nudge the pan.
Allow the cheesecake to cool completely at room temperature, then refrigerate for several hours. This helps the texture become beautifully firm and allows the flavors to meld together deliciously.
Before serving, drizzle with extra raspberry sauce and sprinkle with white chocolate shavings for an elegant, irresistible finish that will wow your guests.
Smart Tips For White Chocolate Raspberry Cheesecake
How To Serve White Chocolate Raspberry Cheesecake
Save White Chocolate Raspberry Cheesecake Properly
Print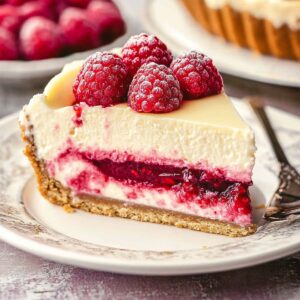
Dreamy White Chocolate Raspberry Cheesecake Recipe
- Total Time: 9 hours 30 minutes
- Yield: 9 1x
Description
Indulgent white chocolate raspberry cheesecake blends creamy richness with tangy fruit notes. Smooth cream cheese and delicate raspberries create a luxurious dessert you’ll adore.
Ingredients
- 24 oz (680 g) cream cheese, softened
- 2 cups (340 g) white chocolate chips
- 3 large eggs
- 10 oz (280 g) frozen raspberries
- ½ cup (120 ml) half-and-half cream
- 1 cup (120 g) chocolate cookie crumbs
- ½ cup (100 g) granulated sugar
- ¼ cup (57 g) unsalted butter, melted
- ½ cup (120 ml) water
- 3 tbsps (37 g) granulated sugar
- 2 tbsps (25 g) granulated sugar
- 2 tsps (5 g) cornstarch
- 1 tsp vanilla extract
Instructions
- Crust Preparation: Pulverize chocolate cookies in a food processor until they transform into a fine, consistent sandy texture, setting the stage for a robust cheesecake base.
- Binding the Crust: Cascade melted butter over the cookie crumbs, meticulously blending until the mixture achieves a cohesive, moist consistency that will hold together firmly.
- Pan Assembly: Pour the crumb mixture into a springform pan, then methodically press and compact the layer using a measuring cup or spatula, ensuring a uniform, seamless foundation that covers the entire bottom surface with precision and care.
Notes
- Crush Cookies Precisely: Ensure cookies are ground to a fine, consistent sandy texture for a smooth, compact crust that holds together perfectly.
- Butter Binding Technique: Mix melted butter thoroughly with cookie crumbs to create a cohesive base that prevents crumbling and provides rich flavor.
- Compact Crust Strategy: Use firm, even pressure when pressing the crust mixture into the pan, creating a solid, uniform layer that won’t fall apart when slicing.
- Eliminate Air Pockets: Gently tap the pan to remove trapped air, guaranteeing a dense, professional-looking crust without potential weak spots or cracking.
- Prep Time: 30 minutes
- Cook Time: 1 hour
- Category: Desserts
- Method: Baking
- Cuisine: American
Nutrition
- Serving Size: 9
- Calories: 500
- Sugar: 36 g
- Sodium: 230 mg
- Fat: 30 g
- Saturated Fat: 18 g
- Unsaturated Fat: 10 g
- Trans Fat: 0 g
- Carbohydrates: 54 g
- Fiber: 2 g
- Protein: 6 g
- Cholesterol: 100 mg
Marcus Foley
Food Critic & Kitchen Coach
Expertise
Recipe Testing and Troubleshooting; Time-Saving Kitchen Hacks; Global Flavor Exploration; Engaging Food Writing and Honest Reviews.
Education
Institute of Culinary Education (ICE), New York, NY
Marcus Foley, based in Atlanta, GA, is a friendly food expert who makes cooking fun and simple.
With hands-on training from the Institute of Culinary Education and years of tasting everything from street food to fine dining, he shares easy kitchen hacks, global flavor ideas, and step-by-step recipes that turn kitchen mishaps into delicious surprises.