Dreamy Red Velvet Cake Pops Recipe: Bite-Sized Joy on a Stick
Baking red velvet cake pops brings pure delight to every dessert lover who craves something sweet and decadent.
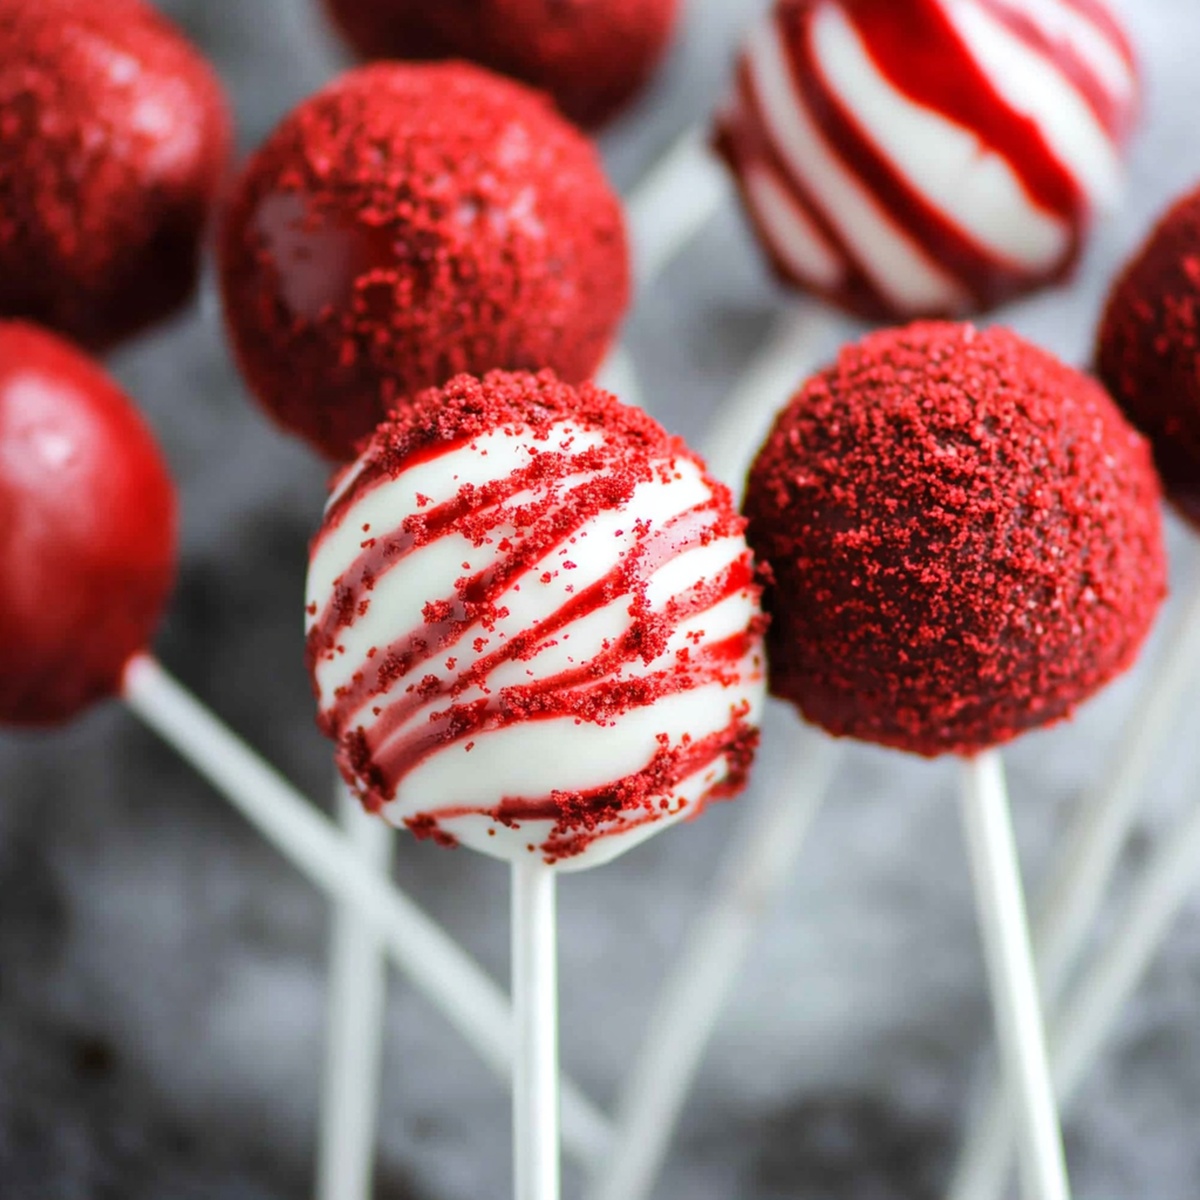
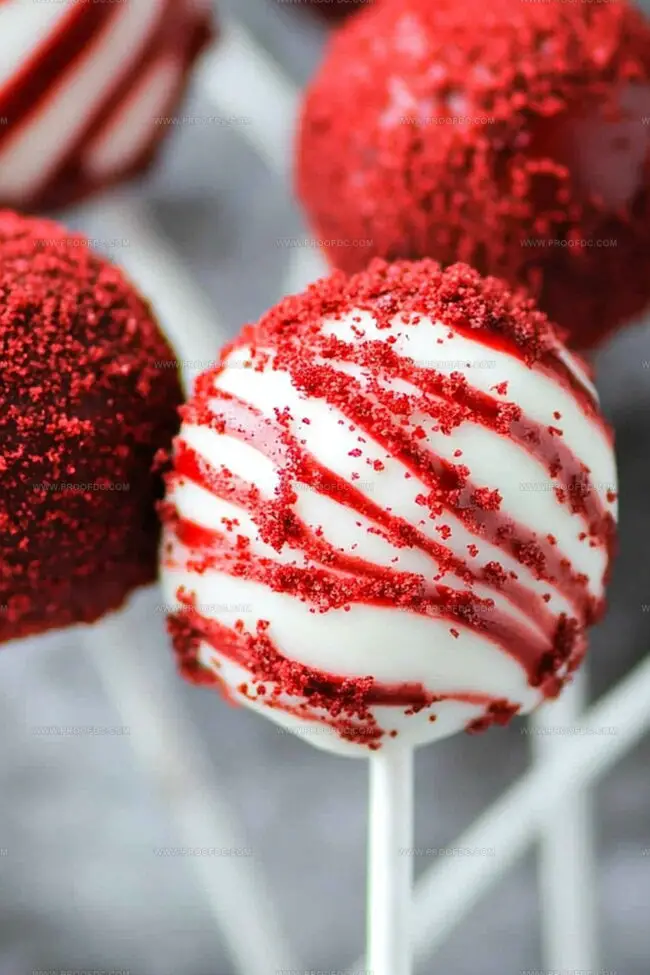
These bite-sized treats combine the rich, velvety texture of classic red velvet cake with a playful presentation that sparks joy.
Creamy cream cheese frosting perfectly complements the deep crimson cake crumbs, creating an irresistible bite-sized dessert.
Each cake pop delivers a burst of flavor that dances on your palate with its smooth chocolate undertones.
Rolling these delectable morsels in white chocolate coating adds a luxurious finish that makes them impossible to resist.
Perfectly portioned and beautifully decorated, these cake pops are sure to be the star of any gathering or celebration.
Dive into this delightful recipe and let your baking creativity shine.
Quick Recipe Overview
Everything You’ll Need For Red Velvet Cake Pops Recipe
For Cake Base:For Wet Ingredients:For Coating and Decoration:Tools That Make Red Velvet Cake Pops Recipe Simple
Steps To Assemble Red Velvet Cake Pops Recipe

Craft a delectable red velvet cake foundation by mixing dry ingredients like flour, cocoa, and sugar. Blend wet components including eggs, buttermilk, and food coloring until smooth. Bake in a preheated oven until perfectly cooked and cooled.
Whip cream cheese and butter into a silky mixture. Gradually fold in powdered sugar and vanilla, creating a luxurious binding agent for your cake pops.
Crumble the cooled cake into fine pieces. Incorporate frosting gradually, creating a moldable texture. Shape into compact bite-sized spheres and chill thoroughly to ensure stability.
Melt white chocolate or candy melts smoothly. Insert lollipop sticks into chilled cake balls. Carefully dunk each ball, ensuring complete coverage. Allow excess chocolate to drip off gently.
Enhance your cake pops with elegant drizzles of contrasting chocolate. Sprinkle delicate decorations before the coating sets. Let them rest until completely hardened and ready to delight.
Ways To Customize Red Velvet Cake Pops Recipe
Serving Up Red Velvet Cake Pops Recipe The Fun Way
How To Keep Red Velvet Cake Pops Recipe Fresh And Soft
Print
Dreamy Red Velvet Cake Pops Recipe
- Total Time: 2 hours
- Yield: 23 1x
Description
Red velvet cake pops weave Southern charm into bite-sized confections that blend rich cocoa flavor with cream cheese frosting. Sweet morsels invite dessert enthusiasts to savor classic Southern baking in a playful, handheld treat.
Ingredients
- 1 ¼ cups (296 ml) all-purpose flour
- 1 cup (200 g) granulated sugar
- ½ cup (120 ml) vegetable oil
- ½ cup (120 ml) buttermilk
- 1 large egg
- 2 tbsps unsweetened cocoa powder
- 1 tbsp red food coloring
- 1 tsp vanilla extract
- 1 tsp distilled white vinegar
- ½ tsp baking soda
- ½ tsp salt
- 4 oz (113 g) cream cheese, softened
- 2 tbsps unsalted butter, softened
- 1 cup (120 g) powdered sugar
- ½ tsp vanilla extract
- 12 oz (340 g) white chocolate or candy melts
- 2 oz (57 g) dark chocolate or colored candy melts (optional, for drizzling)
- Sprinkles (optional)
Instructions
- Oven Preparation: Preheat oven to 350F (175C) and line an 8-inch round cake pan with parchment paper.
- Dry Ingredient Composition: Sift flour, sugar, cocoa powder, baking soda, and salt into a mixing bowl.
- Wet Ingredient Fusion: Whisk egg, vegetable oil, buttermilk, red food coloring, vanilla extract, and vinegar until well combined.
- Batter Creation: Merge wet and dry ingredients, stirring until a smooth, crimson batter forms, then pour into prepared pan.
- Baking Process: Bake for 25-30 minutes, confirming doneness with a toothpick test. Cool cake completely at room temperature.
- Frosting Preparation: Blend cream cheese and butter until light and fluffy, then gradually incorporate powdered sugar and vanilla extract.
- Cake Pop Base: Crumble cooled cake thoroughly and mix with cream cheese frosting until the mixture holds its shape.
- Shaping and Chilling: Form mixture into 1-inch spheres, place on a parchment-lined sheet, and refrigerate for 1 hour or freeze for 15-20 minutes.
- Chocolate Coating: Melt white chocolate or candy melts in the microwave, stirring until smooth and glossy.
- Final Assembly: Dip lollipop stick tips in melted chocolate, insert into cake balls, then fully coat each pop, tapping off excess chocolate.
- Decoration and Setting: Optionally drizzle with dark chocolate or add sprinkles, then allow cake pops to set at room temperature or in the refrigerator.
Notes
- Master Temperature Control: Maintain precise oven temperature at 350F to prevent cake from becoming dry or undercooked, ensuring consistent texture and moisture.
- Prevent Cake Ball Crumbling: Add cream cheese frosting gradually and mix thoroughly to create cohesive mixture that holds shape without falling apart during coating process.
- Optimize Chocolate Coating Technique: Melt chocolate in short microwave intervals and stir consistently to achieve smooth, glossy texture without burning or developing lumps.
- Enhance Cake Pop Stability: Chill cake balls for at least one hour before dipping to guarantee structural integrity and easier handling during chocolate coating stage.
- Prep Time: 30 minutes
- Cook Time: 30 minutes
- Category: Desserts, Snacks
- Method: Baking
- Cuisine: American
Nutrition
- Serving Size: 23
- Calories: 150
- Sugar: 12 g
- Sodium: 120 mg
- Fat: 8 g
- Saturated Fat: 4 g
- Unsaturated Fat: 3 g
- Trans Fat: 0 g
- Carbohydrates: 20 g
- Fiber: 0.5 g
- Protein: 2 g
- Cholesterol: 15 mg
Marcus Foley
Food Critic & Kitchen Coach
Expertise
Recipe Testing and Troubleshooting; Time-Saving Kitchen Hacks; Global Flavor Exploration; Engaging Food Writing and Honest Reviews.
Education
Institute of Culinary Education (ICE), New York, NY
Marcus Foley, based in Atlanta, GA, is a friendly food expert who makes cooking fun and simple.
With hands-on training from the Institute of Culinary Education and years of tasting everything from street food to fine dining, he shares easy kitchen hacks, global flavor ideas, and step-by-step recipes that turn kitchen mishaps into delicious surprises.