Chewy Peanut Butter Blossom Bars Recipe: A Sweet Twist
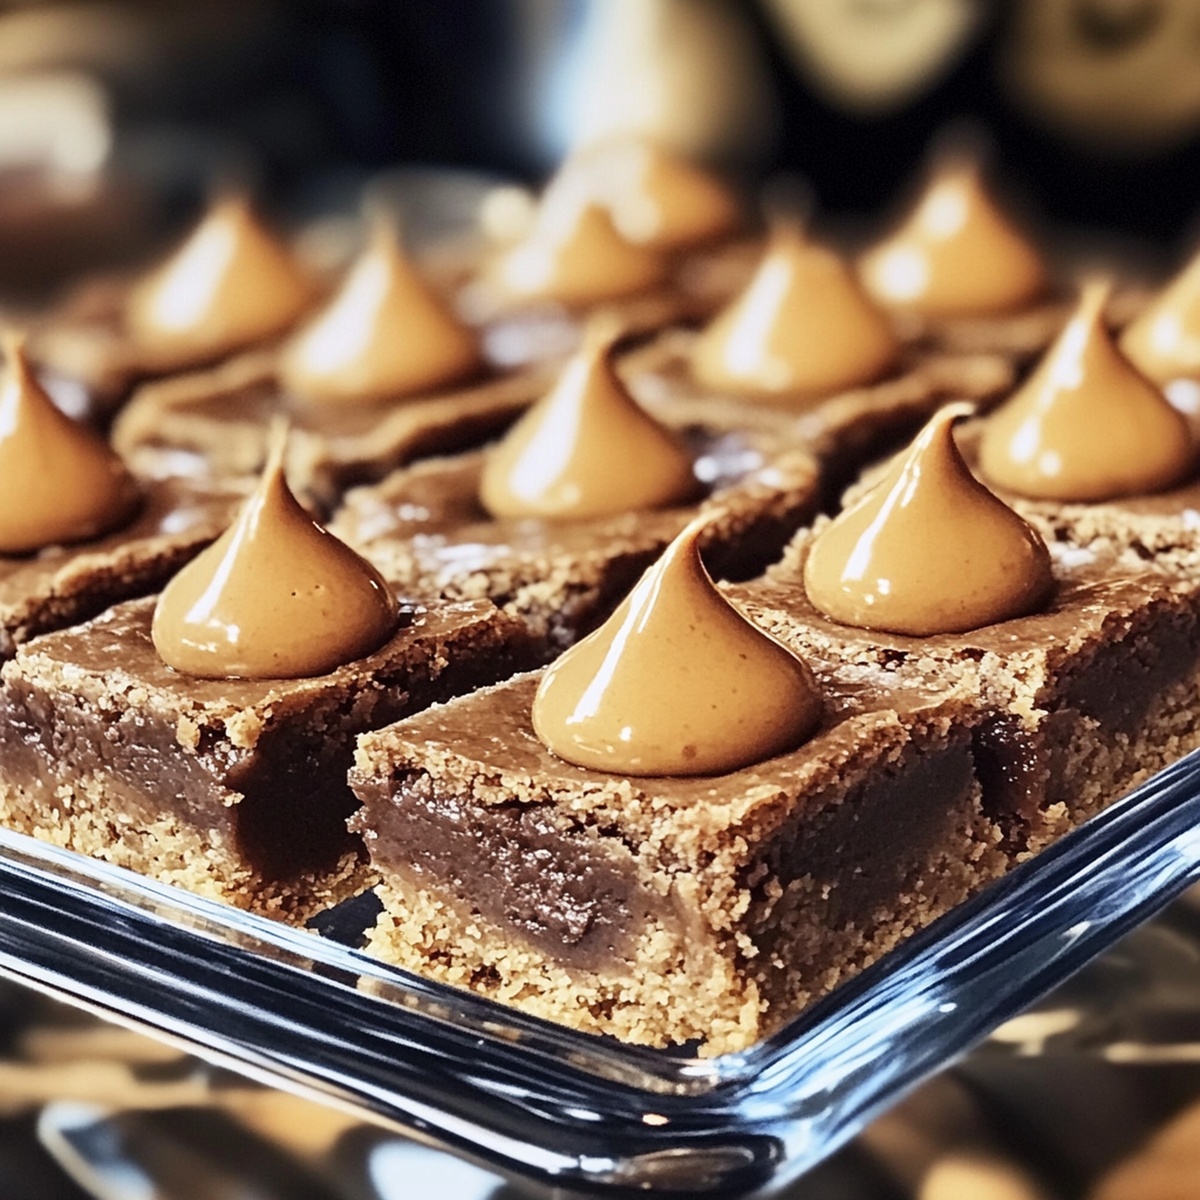
Soft, chewy bars studded with chocolate kisses and a rich peanut butter blossom bars recipe spark joy in every bite.
These delectable treats blend classic cookie flavors into an irresistible dessert.
Homemade goodness radiates from each square with nostalgic charm.
The combination of crumbly peanut butter base and smooth chocolate creates pure comfort.
Decadent yet simple, these bars come together quickly with minimal effort.
Everyone from kids to adults will adore this crowd-pleasing dessert.
Prepare to fall in love with a new family favorite that promises sweet memories.
Quick Recipe Overview
What You’ll Need For Peanut Butter Blossom Bars
For The Base Group:For Dry Ingredients Group:For Topping Group:Baking Tools For Peanut Butter Blossom Bars
Steps To Make Peanut Butter Blossom Bars
Crank the oven to a toasty 350F. Grab your baking pan and line it with parchment paper or give it a quick spray of cooking oil.
In a big mixing bowl, blend butter, peanut butter, and sugars until they’re super smooth. Toss in the egg and vanilla, mixing until everything looks silky. In another bowl, mix the dry ingredients with a quick whisk. Slowly fold the dry mix into the wet stuff, stirring until just combined.
Spread the dough evenly across the pan like a delicious blanket. Slide into the oven and bake for about 20-22 minutes. You’ll know it’s done when the edges turn a gorgeous golden brown and a toothpick comes out clean.
Pull the pan out of the oven and immediately dot the surface with chocolate kisses. Press them gently into the warm surface. Let the bars cool completely so the chocolate can set perfectly.
Once cooled, slice into delectable squares. Time to enjoy your mouthwatering creation!
Baking Tips For Peanut Butter Blossom Bars
Ways To Serve Peanut Butter Blossom Bars
How To Store Peanut Butter Blossom Bars Properly
Print
Dreamy Peanut Butter Blossom Bars Recipe
- Total Time: 30 minutes
- Yield: 13 1x
Description
Irresistible peanut butter blossom bars combine classic cookie flavors in a delightful dessert bar. Chocolate kisses nestled atop rich peanut butter base create a perfect sweet treat you won’t want to miss.
Ingredients
- ¾ cup (170 g) creamy peanut butter
- ½ cup (113 g) unsalted butter, softened
- 1 large egg
- ¾ cup (165 g) brown sugar, packed
- ¼ cup (50 g) granulated sugar
- 1 ¼ cups (156 g) all-purpose flour
- 1 tsp vanilla extract
- ½ tsp baking soda
- ½ tsp baking powder
- ¼ tsp salt
- 24 chocolate kisses, unwrapped
Instructions
- Preparation: Preheat the oven to 350°F (175°C) and line a baking pan with parchment paper or lightly grease to prevent adhesion.
- Creaming: Blend softened butter, peanut butter, brown sugar, and granulated sugar in a large mixing bowl until achieving a smooth, homogeneous texture.
- Wet Ingredients: Incorporate egg and vanilla extract into the sugar mixture, ensuring complete integration and a consistent liquid base.
- Dry Ingredient Combination: Sift flour, baking soda, baking powder, and salt together in a separate bowl, eliminating potential clumps.
- Dough Formation: Gently fold dry ingredients into wet mixture, stirring until a uniform dough emerges without excessive manipulation.
- Pan Distribution: Spread the dough evenly across the prepared baking pan, creating a level surface using a spatula.
- Baking Process: Slide the pan into the preheated oven and bake for 20-22 minutes, monitoring for a golden-brown edge and checking center doneness with a toothpick.
- Chocolate Embellishment: Immediately after removing from the oven, strategically press chocolate kisses into the warm surface, spacing them uniformly.
- Cooling and Setting: Allow bars to cool completely at room temperature, permitting chocolate to solidify and flavors to harmonize.
- Serving Preparation: Once cooled, slice into 16 precise squares, creating delectable, ready-to-enjoy treats.
Notes
- Choose Quality Ingredients: Select creamy, smooth peanut butter and fresh chocolate kisses for the best flavor and texture.
- Prevent Overmixing: Gently fold dry ingredients into wet mixture to maintain a tender, soft bar texture and avoid tough, dense results.
- Temperature Control: Allow butter and eggs to reach room temperature before mixing to ensure smooth, even blending and consistent dough.
- Check Baking Doneness: Test bars with a toothpick inserted in the center – it should come out with a few moist crumbs, indicating perfect moisture level.
- Prep Time: 10 minutes
- Cook Time: 20 minutes
- Category: Desserts, Snacks
- Method: Baking
- Cuisine: American
Nutrition
- Serving Size: 13
- Calories: 221
- Sugar: 15 g
- Sodium: 90 mg
- Fat: 11 g
- Saturated Fat: 4 g
- Unsaturated Fat: 7 g
- Trans Fat: 0 g
- Carbohydrates: 29 g
- Fiber: 1 g
- Protein: 5 g
- Cholesterol: 24 mg
Marcus Foley
Food Critic & Kitchen Coach
Expertise
Recipe Testing and Troubleshooting; Time-Saving Kitchen Hacks; Global Flavor Exploration; Engaging Food Writing and Honest Reviews.
Education
Institute of Culinary Education (ICE), New York, NY
Marcus Foley, based in Atlanta, GA, is a friendly food expert who makes cooking fun and simple.
With hands-on training from the Institute of Culinary Education and years of tasting everything from street food to fine dining, he shares easy kitchen hacks, global flavor ideas, and step-by-step recipes that turn kitchen mishaps into delicious surprises.