Moist & Magical Dr. Pepper Cake Recipe for Sweet Treats
Dr.
Pepper weaves magic into this decadent cake that promises pure indulgence.
Southern bakers have long celebrated unexpected ingredient combinations.
A dessert where fizzy soda becomes a secret weapon of moisture and rich flavor.
Each slice tells a story of culinary creativity and bold experimentation.
Chocolatey layers infused with caramel undertones will make you swoon with delight.
Baking enthusiasts and sweet lovers unite around this remarkable treat that defies traditional recipe boundaries.
Let’s transform an ordinary afternoon into an extraordinary dessert experience.
Why Dr. Pepper Cake Is A Fun Twist On A Favorite
What You’ll Need For Dr. Pepper Cake
Cake Base Ingredients:Wet Ingredients:Leavening and Flavor Enhancers:How To Make Dr. Pepper Cake With Simple Steps
Step 1: Prepare Baking Equipment
Preheat the oven to 350 degrees Fahrenheit. Grease a 9×13-inch baking pan thoroughly or line it with parchment paper to ensure easy cake removal.
Step 2: Mix Dry Ingredients
In a large mixing bowl, combine:Whisk these ingredients together until well blended and no lumps remain.
Step 3: Create Liquid Mixture
In a separate bowl, whisk together:Blend these ingredients until they are completely smooth and integrated.
Step 4: Combine Wet and Dry Ingredients
Pour the liquid mixture into the dry ingredients. Stir gently with a wooden spoon or rubber spatula until just combined. Do not overmix, as this can create a tough cake texture.
Step 5: Pour and Spread Batter
Transfer the cake batter into the prepared baking pan. Use a spatula to spread the batter evenly across the pan, ensuring it reaches all corners.
Step 6: Bake the Cake
Place the pan in the preheated oven and bake for 35-40 minutes. To check doneness, insert a toothpick into the center of the cake. If it comes out clean or with just a few moist crumbs, the cake is ready.
Step 7: Cool and Prepare for Frosting
Remove the cake from the oven and let it cool completely in the pan on a wire rack. This allows the cake to set and makes frosting easier.
Step 8: Make Chocolate Dr. Pepper Frosting
In a mixing bowl, combine:Beat these ingredients until smooth and creamy.
Step 9: Frost the Cake
Once the cake has cooled, spread the chocolate Dr. Pepper frosting evenly across the top using an offset spatula or butter knife.
Step 10: Serve and Enjoy
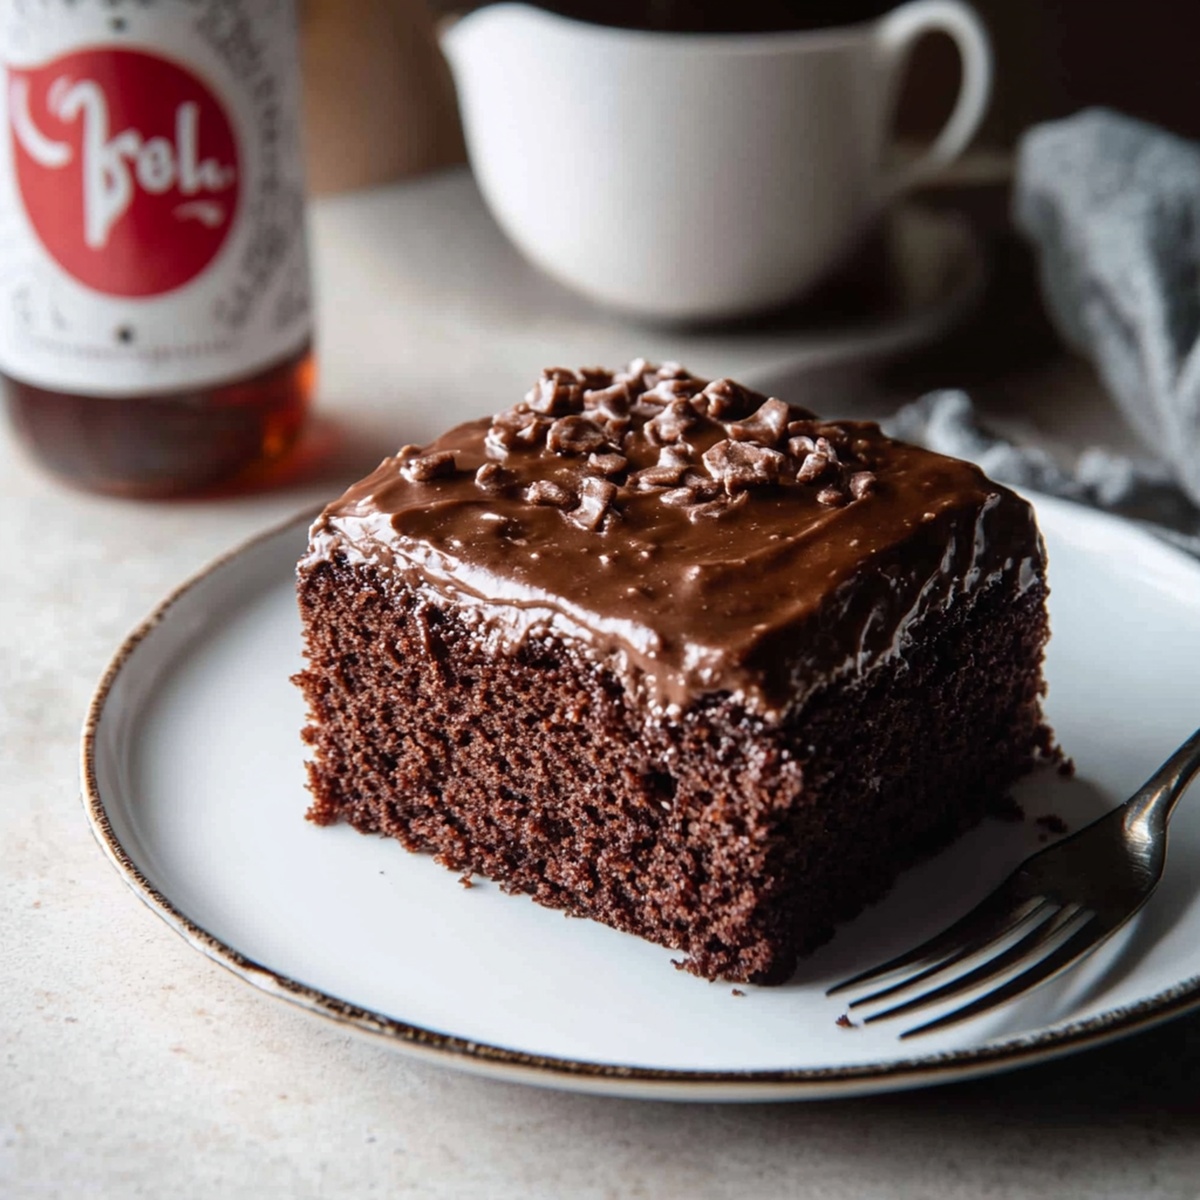
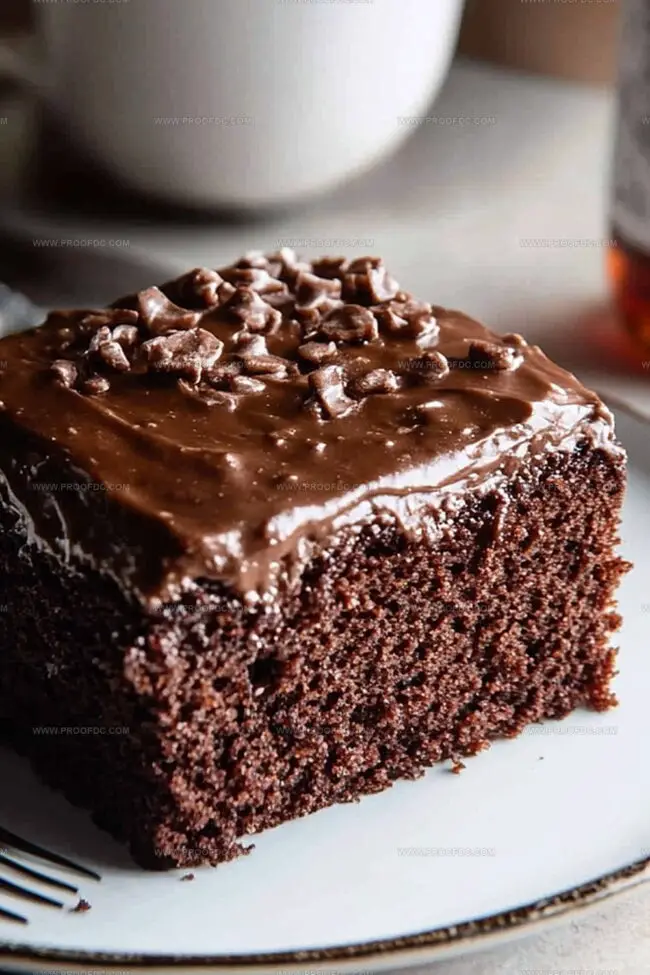
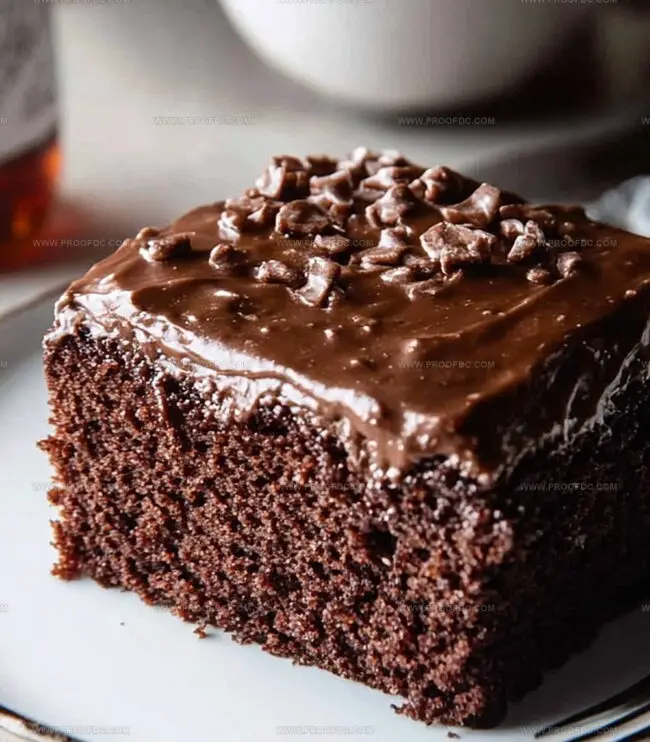
Cut the cake into squares and serve. This rich, moist chocolate cake with a hint of Dr. Pepper is perfect for parties or a delightful dessert any day.
Helpful Tips For Baking Dr. Pepper Cake
How To Store And Reheat Dr. Pepper Cake Properly
What Goes Great With Dr. Pepper Cake
Unique Twists On Dr. Pepper Cake
FAQs About Dr. Pepper Cake
The unique soda adds incredible moisture and a subtle caramel-like flavor to the cake, creating a rich and tender dessert that’s unlike traditional chocolate cakes.
While you technically can, regular Dr. Pepper is recommended because the sugar content helps create the cake’s signature texture and depth of flavor. Diet versions might result in a slightly different consistency.
Absolutely! The Dr. Pepper doesn’t make the cake taste like soda. Instead, it enhances the chocolate flavor and adds a complex, slightly sweet undertone that most people find delicious.
The combination of cocoa powder and Dr. Pepper creates a deep, moist chocolate flavor that’s more nuanced and interesting than standard chocolate cakes.
Print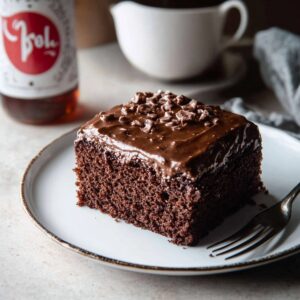
Dr. Pepper Cake Recipe
- Total Time: 50 minutes
- Yield: 12 1x
Description
Sweet Southern comfort meets bold flavor in this dr. pepper cake, blending rich chocolate depths with fizzy cola magic. Moist layers drizzled with tangy glaze promise a delightful dessert you’ll crave again and again.
Ingredients
Main Dry Ingredients:
- 2 cups (250 g) all-purpose flour
- 1 ½ cups (300 g) granulated sugar
- ½ cup (40 g) unsweetened cocoa powder
- 1 teaspoon baking soda
- ½ teaspoon salt
Liquid and Binding Ingredients:
- 1 cup (240 milliliters) Dr. Pepper soda (not diet)
- ½ cup (115 grams) unsalted butter, melted
- 2 large eggs
- ½ cup (120 milliliters) buttermilk
- 1 teaspoon vanilla extract
Optional Frosting Ingredients:
- ¼ cup (60 milliliters) Dr. Pepper soda
- ¼ cup (115 grams) unsalted butter
- 2 tablespoons (15 grams) unsweetened cocoa powder
- 2 cups (240 grams) powdered sugar
- ½ teaspoon vanilla extract
Instructions
- Prepare the baking vessel by thoroughly coating a 9×13-inch pan with a fine layer of cooking spray or butter, ensuring complete coverage to prevent sticking.
- Combine the cake’s dry ingredients in a spacious mixing bowl, whisking them together until uniformly blended and free of lumps.
- In a separate large mixing bowl, cream together the wet ingredients, incorporating each component smoothly and creating a silky, consistent mixture.
- Gradually fold the dry ingredient mixture into the wet ingredients, stirring gently to maintain a light, airy texture without overmixing.
- Pour the Dr. Pepper into the batter, stirring carefully to distribute the soda evenly and create a rich, moist foundation for the cake.
- Transfer the liquid batter into the prepared baking pan, using a spatula to spread it evenly and tap the pan gently to release any potential air bubbles.
- Slide the pan into the preheated oven, positioning it in the center for balanced heat distribution.
- Bake until a slender toothpick inserted into the cake’s center emerges clean, indicating the cake has reached perfect doneness.
- Remove the cake from the oven and allow it to cool completely within the pan before applying frosting or decorative toppings.
Notes
- Choose a dark, non-stick baking pan to ensure even heat distribution and prevent cake edges from burning.
- Room temperature ingredients blend more smoothly, creating a more consistent cake texture with fewer lumps.
- For a richer flavor, swap regular Dr. Pepper with a craft or specialty version that has deeper caramel or spice notes.
- Allow the cake to cool completely before frosting to prevent the icing from sliding or melting off the warm surface.
- Prep Time: 15 minutes
- Cook Time: 35 minutes
- Category: Desserts
- Method: Baking
- Cuisine: American
Nutrition
- Serving Size: 12
- Calories: 345
- Sugar: 38 g
- Sodium: 200 mg
- Fat: 15 g
- Saturated Fat: 9 g
- Unsaturated Fat: 6 g
- Trans Fat: 0 g
- Carbohydrates: 50 g
- Fiber: 1 g
- Protein: 3 g
- Cholesterol: 60 mg
Jenna Stewart
Head Chef & Recipe Innovator
Expertise
Farm-to-Table Cooking; Seasonal Menu Development; Visual Plating Techniques; Flavor Layering and Simple Prep Hacks.
Education
The Culinary Institute of America, Hyde Park, NY
Jenna Stewart is the inventive spirit behind many of our standout dishes at Pro of Delicious Creations. A proud graduate of The Culinary Institute of America, she built her skills mastering both classic recipes and fresh, modern twists.
Now, Jenna celebrates the beauty of seasonal, local ingredients, often sourced from her garden and nearby markets, to create recipes that are bursting with flavor yet easy to follow. When she’s not experimenting in the kitchen, Jenna loves exploring nature on hikes and discovering new treasures at local co-ops.