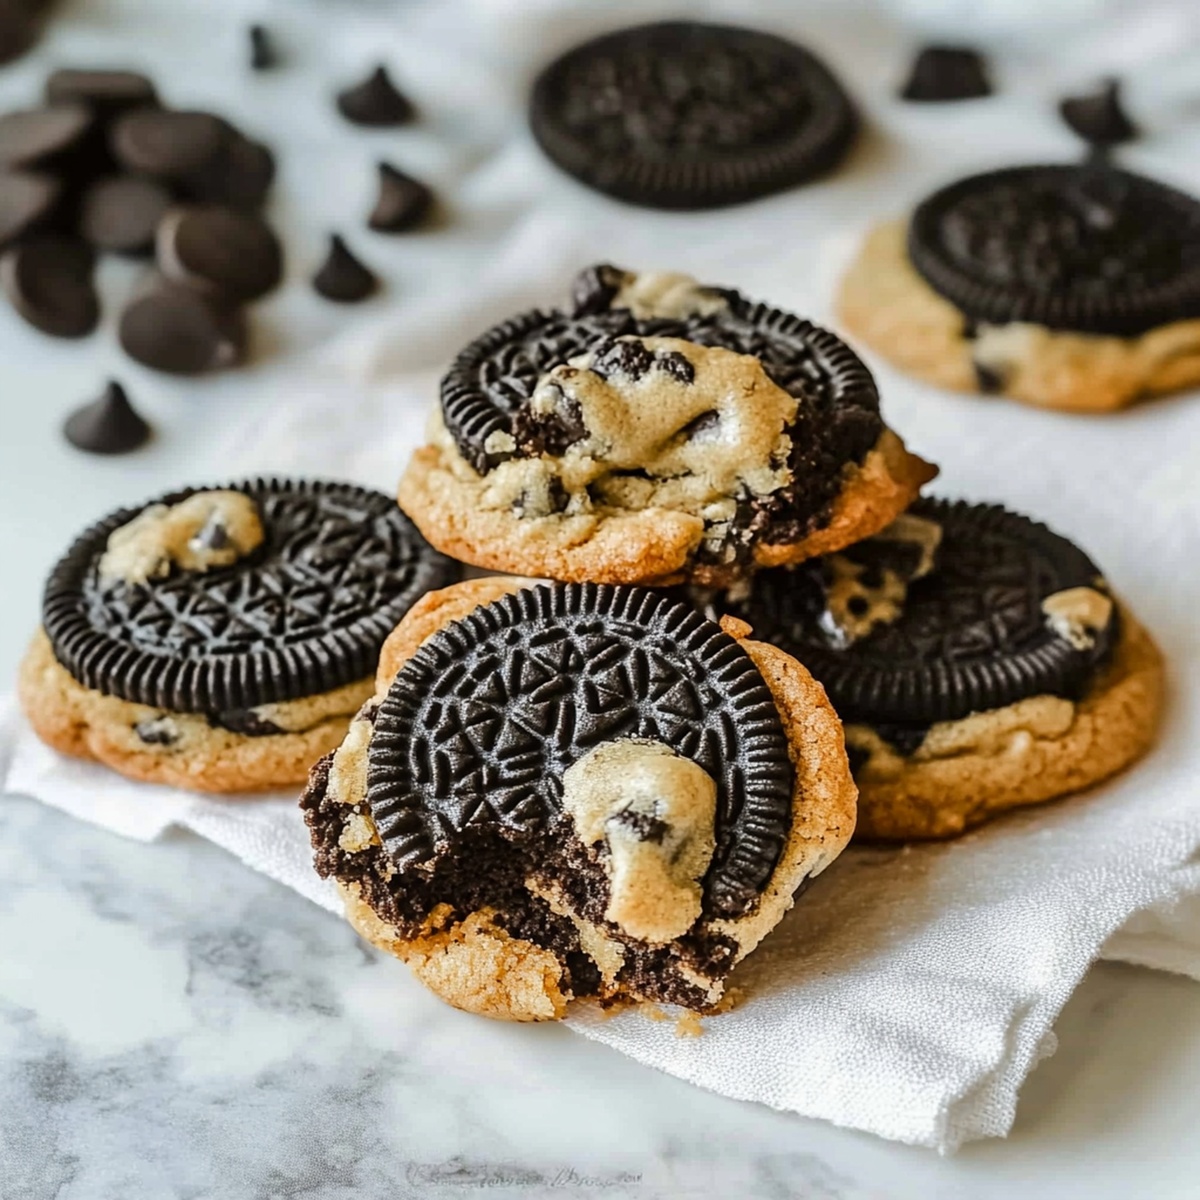
Bakery-Style Oreo Cookies Recipe with Chunky Bites
Decadent and irresistible, these homemade bakery-style oreo cookies will transport you to dessert paradise.
Crisp chocolate wafers sandwich a luscious cream filling that rivals any store-bought treat.
Crafting these iconic cookies at home means controlling every delicious detail.
Each bite delivers a nostalgic crunch that melts perfectly on your tongue.
The rich cocoa and creamy center create a harmony of flavors that dance across your palate.
Simple ingredients come together to produce an extraordinary dessert that looks and tastes professionally made.
Bake a batch and watch them disappear faster than you can count.
Quick Recipe Overview
What Goes Into Bakery-Style Oreo Cookies
For Dry Ingredients:For Wet Ingredients:For Mix-Ins:Kitchen Tools For Bakery-Style Oreo Cookies
How To Make Bakery-Style Oreo Cookies
Gather your favorite mixing bowl and prepare for a delightful baking adventure. Combine your dry ingredients with a gentle whisk, creating a smooth, even mixture that will become the heart of your cookie magic.
In a separate large bowl, transform butter and sugars into a fluffy cloud of sweetness. Introduce eggs one by one, watching your mixture become silky and irresistible. Add a splash of vanilla for that classic bakery aroma.
Slowly marry your dry and wet ingredients, stirring until just combined. Gently fold in crushed Oreo pieces and white chocolate chips, creating pockets of delicious surprise in every bite.
Scoop generous dollops of dough onto a parchment-lined baking sheet. Each cookie should have plenty of personal space. Slide into a preheated oven and let the magic happen until edges turn golden and centers remain soft and inviting.
Allow cookies to rest briefly on the baking sheet, letting them catch their breath. Transfer to a cooling rack and prepare for a moment of pure cookie bliss. Grab a cold glass of milk and savor your bakery-style creation.
Helpful Tips For Bakery-Style Oreo Cookies
Serving Bakery-Style Oreo Cookies With Fun
Storage Help For Bakery-Style Oreo Cookies
Print
Divine Oreo Cookies Recipe
- Total Time: 22 minutes
- Yield: 23 1x
Description
Bakery-style oreo cookies deliver nostalgic comfort with professional-grade results. Crafted with rich cocoa and creamy filling, these homemade treats will delight sweet tasters who crave classic cookie perfection.
Ingredients
- 1 cup (2 sticks/226 g) unsalted butter, softened
- 2 large eggs
- 2 tsps vanilla extract
- 1 cup brown sugar, packed
- 0.5 cup granulated sugar
- 2.5 cups all-purpose flour
- 10 Oreo cookies, crushed into chunks
- 1 cup white chocolate chips (or semisweet chocolate chips)
- 1 tsp baking soda
- 0.5 tsp salt
Instructions
- Preparation: Preheat oven to 350F (175C) and line baking sheet with parchment paper for optimal baking conditions.
- Dry Ingredients: Whisk flour, baking soda, and salt in a medium bowl, creating a foundational mixture that will provide structure to the cookies.
- Butter Mixture: Cream butter with brown and granulated sugars until light and fluffy, developing a rich base that will enhance the cookie’s texture.
- Wet Components: Blend eggs into the sugar-butter mixture individually, then add vanilla extract to deepen the flavor profile and create a smooth, uniform batter.
- Dough Formation: Gently fold dry ingredients into wet mixture, stirring minimally to maintain a tender dough consistency, then delicately fold in crushed Oreo cookies and white chocolate chips for maximum flavor distribution.
- Shaping: Scoop generous dough balls onto prepared baking sheet, spacing them adequately to allow for proper spreading during baking.
- Baking Process: Bake for 10-12 minutes, watching for golden edges while preserving soft, chewy centers that promise a delectable texture.
- Cooling Stage: Rest cookies on baking sheet for 5 minutes, then transfer to a wire rack to complete cooling, ensuring they set perfectly and develop their final texture.
- Serving Suggestion: Enjoy cookies while slightly warm, ideally paired with a cold glass of milk for the ultimate bakery-style indulgence.
Notes
- Chill Dough for Enhanced Texture: Refrigerate the cookie dough for 30 minutes before baking to prevent excessive spreading and create a more compact, bakery-style cookie with defined edges.
- Crush Oreos Strategically: Crush Oreo cookies into varying sizes – some fine crumbs and some larger chunks – to provide diverse texture and visual interest throughout the cookie.
- Monitor Baking Time Carefully: Watch cookies closely during the 10-12 minute baking window; remove when edges are golden but centers appear slightly underbaked for that coveted soft, chewy interior.
- Use Room Temperature Ingredients: Ensure butter, eggs, and other dairy components are at room temperature to guarantee smooth incorporation and consistent cookie texture.
- Prep Time: 10 minutes
- Cook Time: 12 minutes
- Category: Desserts, Snacks
- Method: Baking
- Cuisine: American
Nutrition
- Serving Size: 23
- Calories: 200
- Sugar: 14 g
- Sodium: 150 mg
- Fat: 10 g
- Saturated Fat: 6 g
- Unsaturated Fat: 3 g
- Trans Fat: 0 g
- Carbohydrates: 26 g
- Fiber: 1 g
- Protein: 2 g
- Cholesterol: 40 mg
Marcus Foley
Food Critic & Kitchen Coach
Expertise
Recipe Testing and Troubleshooting; Time-Saving Kitchen Hacks; Global Flavor Exploration; Engaging Food Writing and Honest Reviews.
Education
Institute of Culinary Education (ICE), New York, NY
Marcus Foley, based in Atlanta, GA, is a friendly food expert who makes cooking fun and simple.
With hands-on training from the Institute of Culinary Education and years of tasting everything from street food to fine dining, he shares easy kitchen hacks, global flavor ideas, and step-by-step recipes that turn kitchen mishaps into delicious surprises.