Zesty Dill Pickle Cheese Balls Recipe Everyone Will Adore
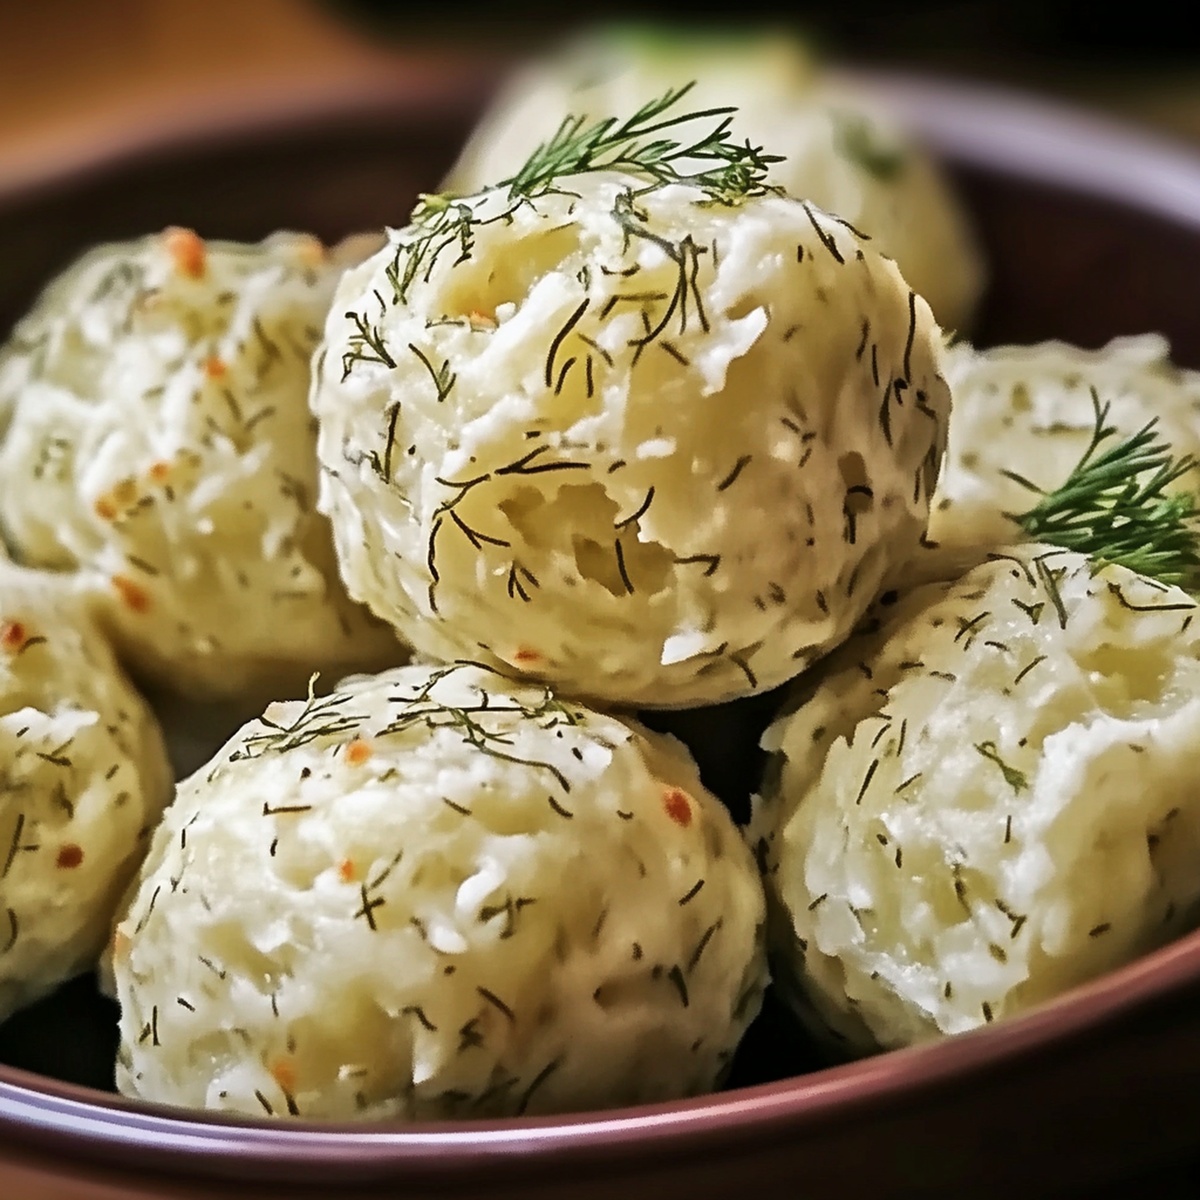
Creamy cheese balls sprinkled with zesty dill pickle bits promise a snack that’ll make taste buds dance with excitement.
Crispy exterior giving way to smooth, tangy goodness that melts in your mouth.
These bite-sized delights combine unexpected flavors for an irresistible appetizer.
Crunchy breadcrumbs coat each morsel, creating a perfect textural contrast to the rich cheese interior.
Simple ingredients transform an ordinary gathering into a memorable culinary experience.
Some recipes sound complicated, but this one comes together quickly with minimal fuss.
Curious snack lovers won’t be able to resist these addictive little flavor bombs – so let’s get mixing!
Why Dill Pickle Cheese Balls Are Worth A Try
What Goes Inside Dill Pickle Cheese Balls
Cheese Ingredients:Pickle and Seasoning Ingredients:Coating Ingredients:Steps To Make Dill Pickle Cheese Balls
Step 1: Whip Up the Creamy Base
Grab a mixing bowl and toss in softened cream cheese. Sprinkle in shredded cheddar cheese, then add:Blend everything together until smooth and well-combined. The mixture should look creamy and inviting, with specks of green pickle throughout.
Step 2: Chill and Firm Up the Mixture
Cover the bowl with plastic wrap and slide it into the refrigerator. Let the mixture hang out and get cool for about 30 minutes. This quick chill helps the cheese firm up, making it super easy to roll into perfect little balls.
Step 3: Shape Delicious Cheese Spheres
Pull out the chilled mixture. Using your hands, scoop out small portions and roll them into bite-sized balls. Aim for golf ball-sized treats that will be easy to pop into your mouth.
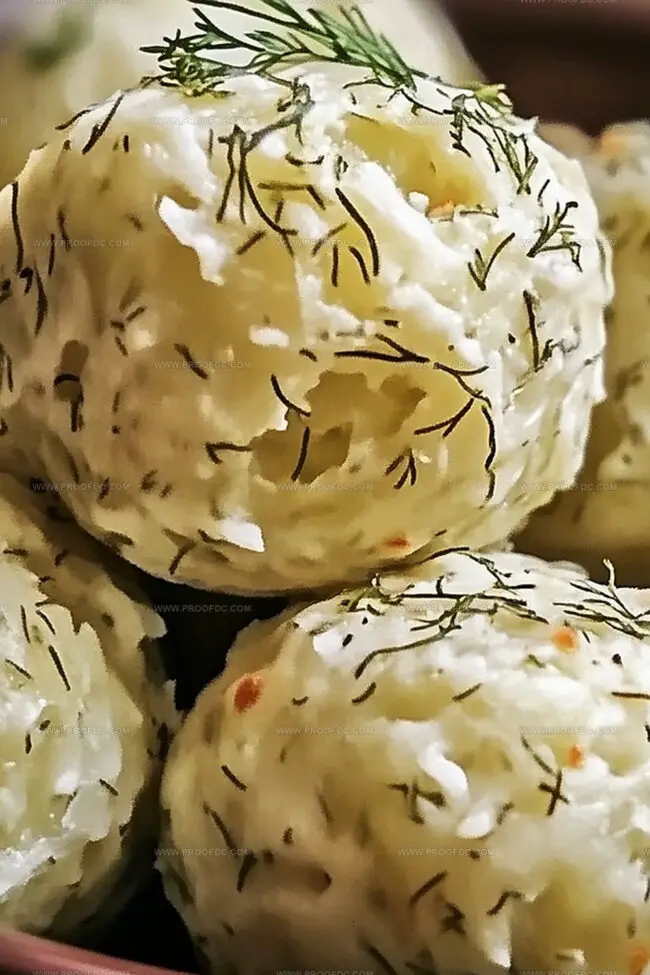
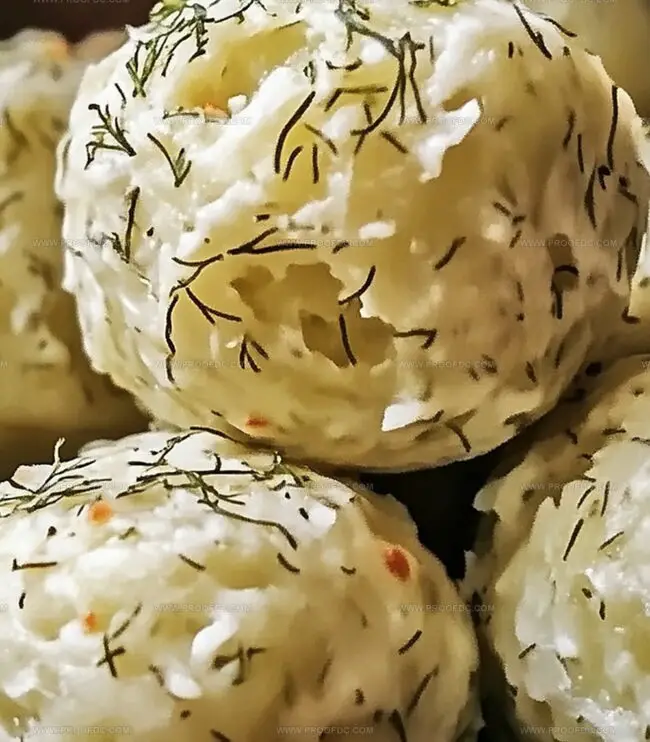
Step 4: Create a Crunchy Coating
Prepare a shallow dish with:Roll each cheese ball in this zesty coating, gently pressing to make sure the mixture sticks. The extra crunch will add a delightful texture to your cheese balls.
Step 5: Final Chill and Serve
Place the coated cheese balls on a serving plate. Cover and return to the refrigerator for at least an hour. This extra time lets all the flavors mingle and get to know each other.
When ready to serve, pull out your tangy treasure and pair with:Pro Tip: These cheese balls are perfect for parties, game nights, or when you’re craving a seriously tasty snack!
Tips For Better Dill Pickle Cheese Balls
How To Store And Warm Dill Pickle Cheese Balls
Best Bites To Pair With Dill Pickle Cheese Balls
New Takes On Dill Pickle Cheese Balls
FAQs About Dill Pickle Cheese Balls
These cheese balls combine the tangy flavor of dill pickles with creamy cheese, creating a unique and addictive appetizer that’s perfect for parties and snacking.
Absolutely! You can prepare these cheese balls up to 2 days in advance. Just keep them refrigerated in an airtight container until you’re ready to serve.
Yes! These are a dream come true for pickle lovers. The recipe incorporates both chopped pickles and pickle juice, giving an intense pickle flavor that pickle enthusiasts will absolutely adore.
Not at all! You just need a mixing bowl, your hands to roll the balls, and a shallow dish for coating. It’s a super simple recipe that doesn’t require any fancy kitchen tools.
Print
Dill Pickle Cheese Balls Recipe
- Total Time: 1 hour 15 minutes
- Yield: 24 1x
Description
Irresistible dill pickle cheese balls blend creamy textures with tangy zest, creating a crowd-pleasing appetizer that dances between classic comfort and bold flavors. These bite-sized delights will spark conversation and delight guests at any gathering.
Ingredients
Main Cheese Ingredients:
- 1 cup (100 g) shredded sharp cheddar cheese
- 8 ounces (225 g) cream cheese, softened
Flavor Enhancers and Seasonings:
- ½ cup (75 g) finely chopped dill pickles
- 12 tablespoons pickle juice
- 1 tablespoon fresh dill, finely chopped (or 1 teaspoon dried dill)
- 1 teaspoon garlic powder
- 1 teaspoon onion powder
- ¼ teaspoon black pepper
Coating Ingredients:
- ½ cup (75 g) chopped dill pickles
- ¼ cup (15 g) chopped fresh dill or parsley
Instructions
- Craft a zesty blend by whisking cream cheese, cheddar, finely diced dill pickles, pickle juice, garlic powder, onion powder, dried dill, and black pepper in a spacious mixing bowl until the texture becomes uniformly smooth and creamy.
- Shield the mixture with plastic wrap and nestle it in the refrigerator for approximately half an hour, allowing the ingredients to solidify and become more manageable for shaping.
- Retrieve the chilled mixture and delicately sculpt uniform spherical portions using gentle hands, aiming for consistent bite-sized cheese orbs.
- Prepare a rustic coating station by combining additional chopped dill pickles with freshly minced dill or parsley in a shallow dish, creating a vibrant garnish.
- Tenderly roll each cheese sphere through the pickle-herb mixture, ensuring a delicate yet complete coverage that adheres seamlessly to the exterior.
- Arrange the coated cheese spheres on a clean serving plate, then return them to the refrigerator for a minimum of one hour, permitting the flavors to harmonize and intensify.
- When ready to serve, present the chilled cheese balls alongside an assortment of crisp crackers, raw vegetable sticks, or crunchy pretzels for a delightful appetizer experience.
Notes
- Enhance the cheese mixture’s tang by using extra-sharp cheddar or adding a splash of hot sauce for a spicy kick.
- Experiment with different pickle varieties like bread-and-butter or garlic pickles to create unique flavor profiles.
- Prepare cheese balls ahead of time and store in the refrigerator for up to 3 days, making them perfect for make-ahead party appetizers.
- Adapt the recipe for gluten-free diets by using gluten-free crackers or vegetable sticks as serving options.
- Prep Time: 15 minutes
- Cook Time: 1 hour
- Category: Snacks, Appetizer
- Method: Mixing
- Cuisine: American
Nutrition
- Serving Size: 24
- Calories: 80
- Sugar: 1 g
- Sodium: 180 mg
- Fat: 6 g
- Saturated Fat: 3 g
- Unsaturated Fat: 2 g
- Trans Fat: 0 g
- Carbohydrates: 3 g
- Fiber: 0 g
- Protein: 4 g
- Cholesterol: 20 mg
Jenna Stewart
Head Chef & Recipe Innovator
Expertise
Farm-to-Table Cooking; Seasonal Menu Development; Visual Plating Techniques; Flavor Layering and Simple Prep Hacks.
Education
The Culinary Institute of America, Hyde Park, NY
Jenna Stewart is the inventive spirit behind many of our standout dishes at Pro of Delicious Creations. A proud graduate of The Culinary Institute of America, she built her skills mastering both classic recipes and fresh, modern twists.
Now, Jenna celebrates the beauty of seasonal, local ingredients, often sourced from her garden and nearby markets, to create recipes that are bursting with flavor yet easy to follow. When she’s not experimenting in the kitchen, Jenna loves exploring nature on hikes and discovering new treasures at local co-ops.