
Dreamy Bite-Sized Treats: Simple Cake Pop Recipe for Everyone
Delectable cake pops have become a sensation among dessert enthusiasts who love simple, bite-sized treats.
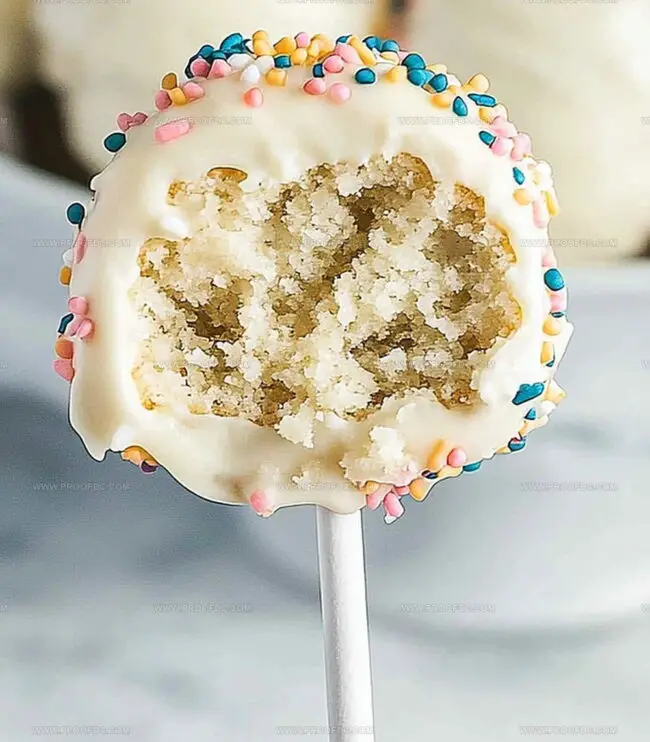
These adorable confections combine the rich taste of crumbled cake with a smooth, glossy coating that delights every sweet tooth.
Mixing cake crumbs with frosting creates the perfect texture for molding into irresistible spheres of sweetness.
Rolling and dipping each pop transforms ordinary cake into an extraordinary dessert that looks professionally crafted.
Chocolate, vanilla, or colorful sprinkle variations make these treats versatile for any celebration or casual snack time.
Decorating cake pops lets you unleash creativity while satisfying sugar cravings with minimal effort.
Dive into this foolproof recipe and craft the most delightful, crowd-pleasing dessert that will have everyone asking for seconds.
Quick Recipe Overview

All Ingredients For Easy Cake Pop Recipe
For Cake Base:For Binding and Flavor:For Decoration and Coating:Tools You’ll Need For Easy Cake Pop Recipe
Steps To Make Easy Cake Pop Recipe
Whip up a delightful cake using your favorite box mix. Let the cake cool down completely, giving it time to relax and settle.
Gently crumble the cooled cake into tiny, delicate pieces in a spacious mixing bowl. The cake should look like soft, fluffy breadcrumbs.
Blend cake crumbs with creamy frosting, creating a magical mixture that sticks together perfectly. The consistency should be just right – not too dry, not too wet.
Roll the mixture into adorable little balls. Nestle these cute spheres onto a parchment-lined tray and chill them in the refrigerator to firm up.
Melt your chocolate or candy coating with care. A touch of oil can help create a smooth, glossy finish if needed.
Dip cake pop sticks into melted chocolate, then gently insert them into the chilled cake balls. This creates a secure foundation for your sweet treats.
Submerge each cake ball into the melted chocolate, ensuring a complete and even coating. Tap off excess chocolate and sprinkle with fun decorations while the coating is still wet.
Stand your cake pops upright to dry, creating a beautiful display of sweet, bite-sized delights.
Tips For Sweet And Smooth Easy Cake Pop Recipe
Serving Easy Cake Pop Recipe With Flair
Storage Tips For Easy Cake Pop Recipe
Print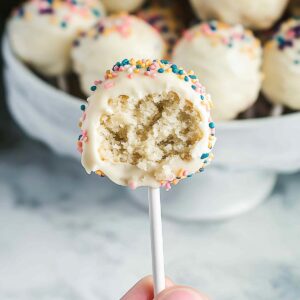
Delightful Cake Pop Recipe
- Total Time: 1 hour 15 minutes
- Yield: 23 1x
Description
Baking bliss awaits with this delightful cake pop recipe that combines playful sweetness and nostalgic charm. Creamy frosting and tender cake crumbles create irresistible bite-sized treats for parties or personal indulgence.
Ingredients
- 1 (225 g) box cake mix (any flavor)
- ½ cup (120 ml) frosting (store-bought or homemade)
- 2 cups (340 g) chocolate or candy melts (any color)
- 3 large eggs
- ⅓ cup (80 ml) vegetable oil
- ½ cup (120 ml) water
- cake pop sticks
- sprinkles or decorations (optional)
Instructions
- Cake Crumbling: Pulverize the baked cake into fine, uniform crumbs using fingertips or a fork, eliminating any substantial fragments.
- Mixture Preparation: Blend frosting into cake crumbles, creating a cohesive mixture with a sand-like consistency that compresses easily into compact spheres.
- Shaping: Craft smooth, uniform cake balls by gently rolling the mixture between palms, ensuring consistent size and seamless surfaces without cracks.
- Chilling: Arrange cake spheres on a parchment-lined tray and refrigerate for 25-35 minutes to solidify their structural integrity.
- Chocolate Preparation: Melt chocolate or candy melts in a microwave-safe container, stirring intermittently to achieve a glossy, silky texture.
- Stick Insertion: Dip cake pop sticks’ ends into melted chocolate, then carefully embed them midway into chilled cake spheres, using chocolate as a binding agent.
- Coating and Decoration: Fully immerse each cake pop in molten chocolate, rotating to ensure complete coverage and eliminate excess drips. While chocolate remains wet, immediately adorn with sprinkles or chosen embellishments.
- Setting: Position cake pops vertically in a specialized holder or foam block, allowing them to set and maintain their elegant, spherical configuration.
Notes
- Crumb Consistency: Ensure cake crumbs are ultra-fine and uniform, breaking down any large pieces to create a smooth, cohesive mixture that binds perfectly.
- Moisture Management: Add frosting gradually, checking texture frequently – the mix should hold together when pressed without being too wet or too dry, similar to moist sandbox sand.
- Chill for Stability: Refrigeration is crucial for structural integrity; cold cake balls prevent crumbling and make chocolate coating process much smoother and more controlled.
- Coating Technique: Melt chocolate at low temperature, stirring constantly to prevent burning, and dip cake pops at a 45-degree angle for clean, even chocolate coverage without excess dripping.
- Prep Time: 45 minutes
- Cook Time: 30 minutes
- Category: Desserts, Snacks
- Method: Baking
- Cuisine: American
Nutrition
- Serving Size: 23
- Calories: 150
- Sugar: 10 g
- Sodium: 200 mg
- Fat: 7 g
- Saturated Fat: 1 g
- Unsaturated Fat: 6 g
- Trans Fat: 0 g
- Carbohydrates: 20 g
- Fiber: 0 g
- Protein: 2 g
- Cholesterol: 30 mg
Marcus Foley
Food Critic & Kitchen Coach
Expertise
Recipe Testing and Troubleshooting; Time-Saving Kitchen Hacks; Global Flavor Exploration; Engaging Food Writing and Honest Reviews.
Education
Institute of Culinary Education (ICE), New York, NY
Marcus Foley, based in Atlanta, GA, is a friendly food expert who makes cooking fun and simple.
With hands-on training from the Institute of Culinary Education and years of tasting everything from street food to fine dining, he shares easy kitchen hacks, global flavor ideas, and step-by-step recipes that turn kitchen mishaps into delicious surprises.