Dreamy No-Fuss Coconut Cream Pie Recipe for Sweet Moments
Sinking your fork into a luscious coconut cream pie that whispers tropical dreams with every bite.
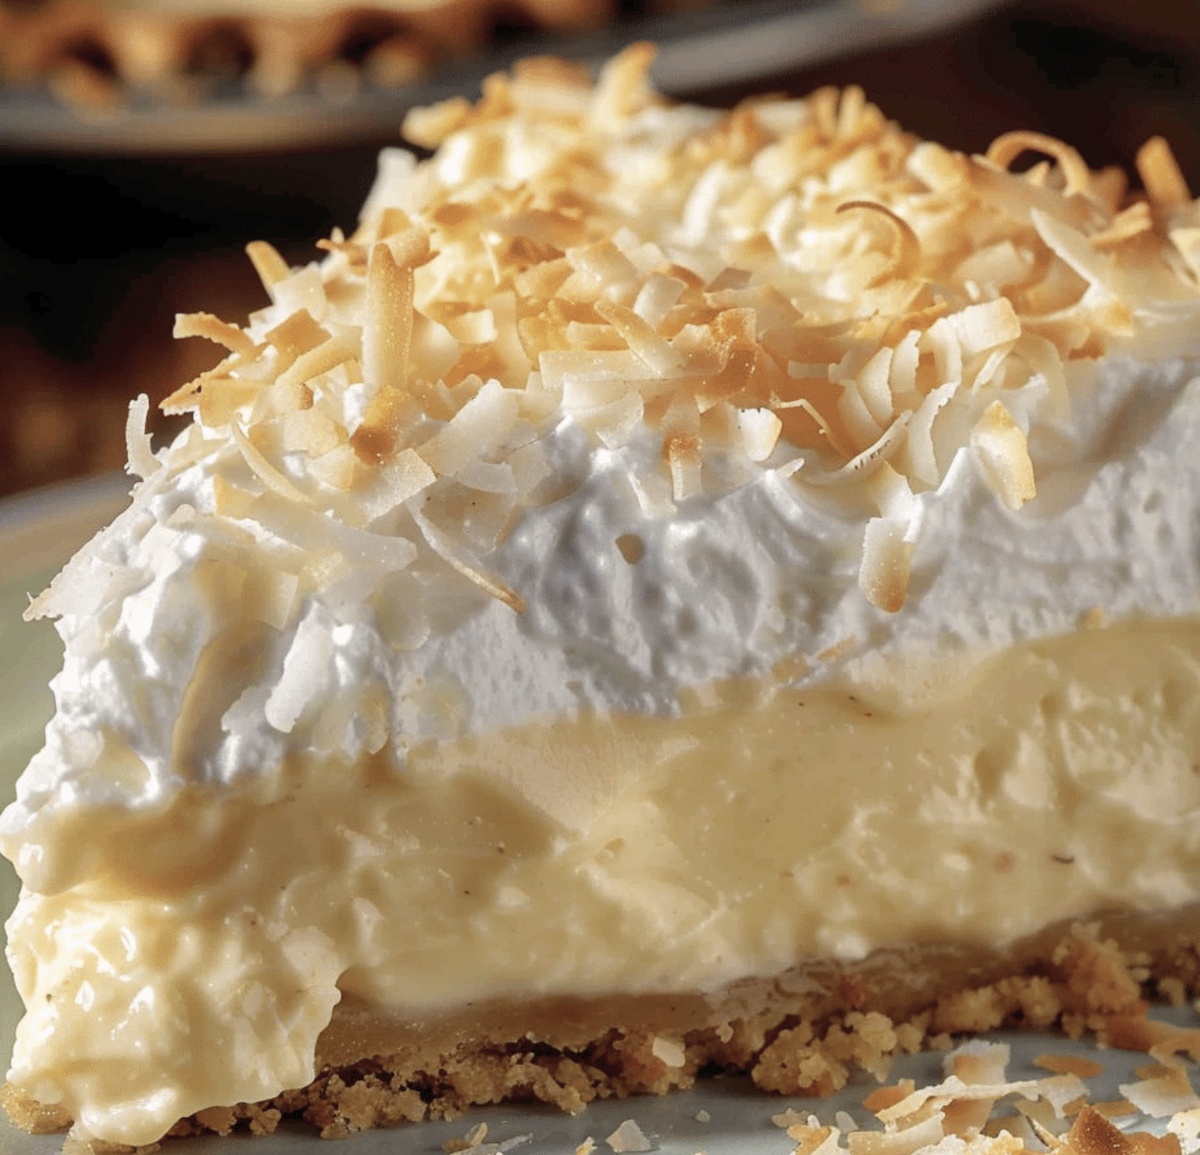
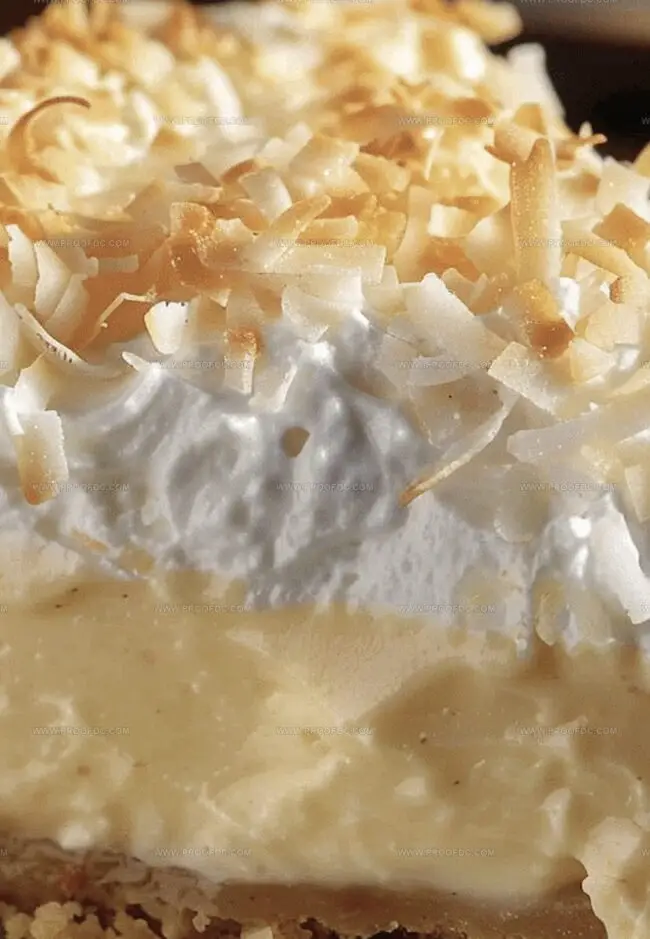
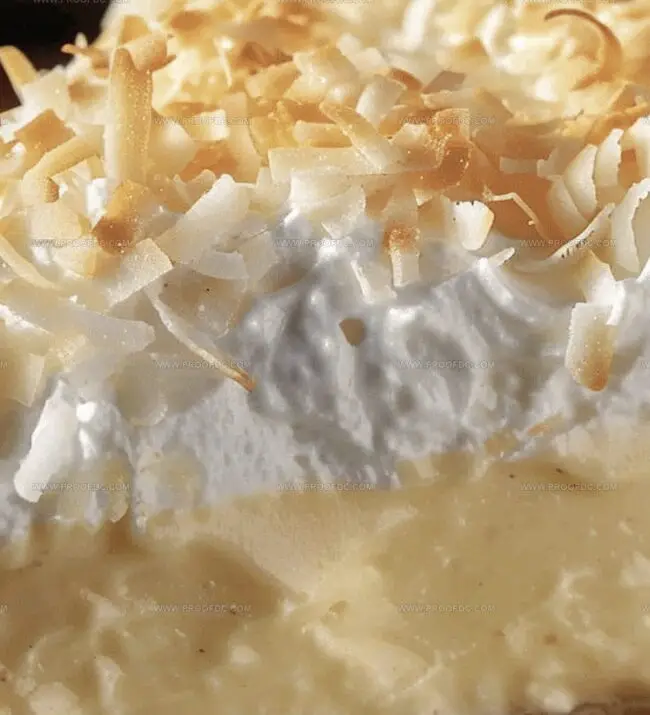
Billowy clouds of silky custard dance beneath a blanket of toasted coconut flakes.
Sweet memories of island breezes waft through your kitchen as you craft this dreamy dessert.
The delicate balance of creamy richness and nutty undertones creates pure magic on your plate.
Crisp, buttery crust cradles the smooth filling, promising a symphony of textures that will delight your senses.
Layers of pure comfort await you in this classic pie that turns ordinary moments into something extraordinary.
This recipe invites you to become a dessert artist, transforming simple ingredients into a masterpiece of indulgence.
Why Coconut Cream Pie Is A Slice Of Island Bliss
What Goes In A Coconut Cream Pie
Custard Base:Flavoring:Pie Crust:How To Make Coconut Cream Pie From Scratch
Step 1: Blend Silky Filling
In a medium saucepan, whisk all ingredients together until completely smooth. Ensure no lumps remain by mixing thoroughly, creating a luxurious base for your pie.
Step 2: Cook and Thicken Filling
Place the saucepan over medium heat, stirring constantly with a whisk. Keep a close eye on the mixture as it gradually transforms from liquid to a thick, pudding-like consistency. The filling will begin to bubble and look glossy when it’s ready. This process takes about 5-7 minutes of continuous stirring.
Step 3: Enhance with Flavor
Remove the pan from heat and introduce two magical ingredients: vanilla extract and shredded coconut. Stir gently to distribute the flavors evenly throughout the creamy mixture.
Step 4: Fill and Smooth Pie Shell
Carefully pour the warm, fragrant filling into a pre-baked pie crust. Use a spatula to create a perfectly smooth surface, ensuring every bite will be equally delightful.
Step 5: Chill and Set
Refrigerate the pie for at least 3-4 hours or overnight. This allows the filling to set completely and develops a rich, luxurious texture that will make your taste buds dance with joy.
Pro Tip: For an extra touch of indulgence, top the pie with whipped cream and toasted coconut flakes just before serving.
Tips For The Creamiest Coconut Cream Pie
How To Keep Coconut Cream Pie Fresh And Fluffy
Tasty Pairings For Coconut Cream Pie
Delicious Variations On Coconut Cream Pie
Coconut Cream Pie FAQs
This recipe uses both coconut milk and whole milk, creating a richer, more intense coconut flavor that sets it apart from traditional cream pies.
Whole milk is recommended because its higher fat content helps create a creamier, more luxurious custard texture. Low-fat milk might result in a less smooth filling.
Watch for two key signs: the mixture will thicken significantly and start to bubble. Constant whisking is crucial to prevent burning and ensure a smooth consistency.
The shredded coconut adds texture and enhances the coconut flavor. If you prefer a smoother filling, you can reduce the amount or omit it, but it provides a delightful traditional coconut cream pie experience.
Print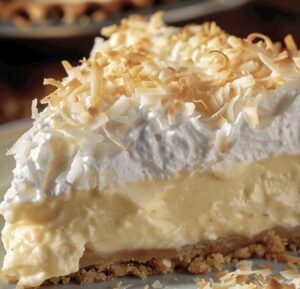
Coconut Cream Pie Recipe
- Total Time: 4 hours 20 minutes
- Yield: 8 1x
Description
Silky smooth coconut cream pie brings tropical paradise right to your dessert plate. Creamy filling nestled in a buttery crust delivers pure indulgence you’ll savor with each delightful bite.
Ingredients
Primary Ingredients:
- 1 pre-baked 9-inch pie crust (homemade or store-bought)
- 400 ml (13.5 ounces) coconut milk
- 300 ml whole milk
- 4 large egg yolks
- 50 g (½ cup) sweetened shredded coconut
Sweeteners and Thickeners:
- 150 g (¾ cup) granulated sugar
- 60 g (¼ cup) cornstarch
- 2 tablespoons powdered sugar
Flavor Enhancers and Garnish:
- ¼ teaspoon salt
- 1 teaspoon vanilla extract
- 240 ml (1 cup) heavy whipping cream
- ½ teaspoon vanilla extract
- 30 g (¼ cup) toasted coconut flakes
Instructions
- Combine coconut milk, whole milk, sugar, egg yolks, cornstarch, and salt in a saucepan, ensuring all ingredients are thoroughly blended without lumps.
- Position the saucepan over medium heat, engaging in continuous, vigorous whisking to prevent any ingredient from settling or burning at the bottom.
- Monitor the mixture closely as it gradually transforms, thickening and developing a glossy, pudding-like consistency with small bubbles emerging around the edges.
- Once the custard reaches a rich, velvety texture and coats the back of a spoon, immediately remove from heat to prevent overcooking.
- Introduce vanilla extract and shredded coconut, gently folding them into the warm custard to distribute evenly and infuse additional flavor throughout the mixture.
- Carefully transfer the fragrant custard into the pre-baked pie crust, using a silicone spatula to spread the filling smoothly and create an even surface.
- Allow the pie to cool at room temperature for approximately 30 minutes before refrigerating, which will help the custard set and develop a firmer texture.
Notes
- Opt for full-fat coconut milk to ensure a rich, creamy texture that enhances the pie’s luxurious flavor profile.
- Continuously whisk the custard mixture to prevent lumps and achieve a silky-smooth consistency that glides across the palate.
- Toast shredded coconut before adding to the filling for an extra layer of depth and nutty complexity that elevates the overall taste experience.
- For a gluten-free version, use a nut-based or gluten-free graham cracker crust to accommodate dietary restrictions without compromising deliciousness.
- Prep Time: 20 minutes
- Cook Time: 4 hours
- Category: Desserts
- Method: Simmering
- Cuisine: American
Nutrition
- Serving Size: 8
- Calories: 370
- Sugar: 24 g
- Sodium: 150 mg
- Fat: 25 g
- Saturated Fat: 16 g
- Unsaturated Fat: 7 g
- Trans Fat: 0 g
- Carbohydrates: 37 g
- Fiber: 1 g
- Protein: 4 g
- Cholesterol: 110 mg
Jenna Stewart
Head Chef & Recipe Innovator
Expertise
Farm-to-Table Cooking; Seasonal Menu Development; Visual Plating Techniques; Flavor Layering and Simple Prep Hacks.
Education
The Culinary Institute of America, Hyde Park, NY
Jenna Stewart is the inventive spirit behind many of our standout dishes at Pro of Delicious Creations. A proud graduate of The Culinary Institute of America, she built her skills mastering both classic recipes and fresh, modern twists.
Now, Jenna celebrates the beauty of seasonal, local ingredients, often sourced from her garden and nearby markets, to create recipes that are bursting with flavor yet easy to follow. When she’s not experimenting in the kitchen, Jenna loves exploring nature on hikes and discovering new treasures at local co-ops.