Grandma’s Golden Classic Apple Pie Recipe You’ll Adore
Sweet memories of autumn dance through kitchens when classic apple pie recipe hits the countertop.
Golden pastry and tender apples create a symphony of comfort and warmth.
Bakers across generations have cherished this timeless dessert that connects us to simple culinary traditions.
Crisp, seasonal fruits nestle between flaky layers of buttery crust, promising delectable moments of pure joy.
Cinnamon and nutmeg whisper subtle hints of nostalgia with every bite.
Crafted with love and patience, this pie transforms ordinary ingredients into an extraordinary experience.
Dive into this delightful recipe and let its rich flavors transport you to cozy afternoons filled with happiness.
Quick Recipe Overview
Ingredients That Make Classic Apple Pie Truly Timeless
For Pie Crust:For Filling:For Finishing and Baking:Essential Tools For Classic Apple Pie Baking
How To Prepare Classic Apple Pie At Home
Mix flour, salt, and sugar in a bowl. Gently break cold butter into tiny pieces until the mixture looks like rough sand. Add chilled water slowly, stirring until the dough forms a soft ball. Split the dough into two round shapes and let them rest in the refrigerator for about an hour.
Slice apples and toss them with sweet sugars, flour, warming spices, and a splash of citrus. Make sure each apple piece gets coated with the delicious mixture.
Warm up the oven to a toasty 375F. Roll out the first dough disc into a large circle and nestle it into a pie dish. Pour the spiced apple mixture into the crust and dot with small butter pieces. Cover with the second dough disc, pinching the edges to create a beautiful seal. Cut a few playful slits on top to let steam escape.
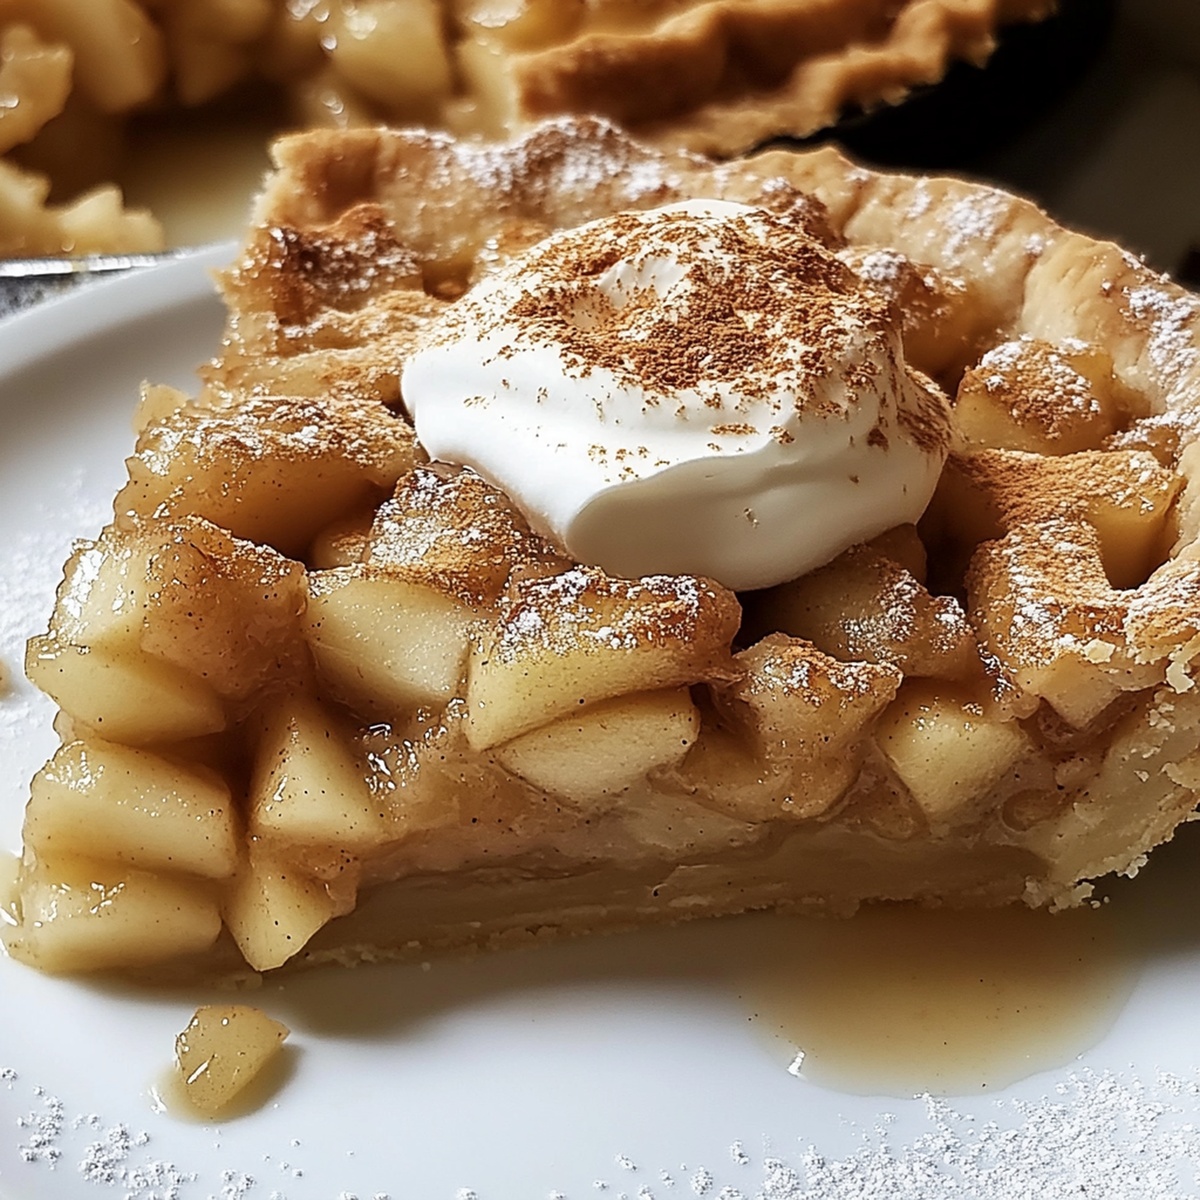
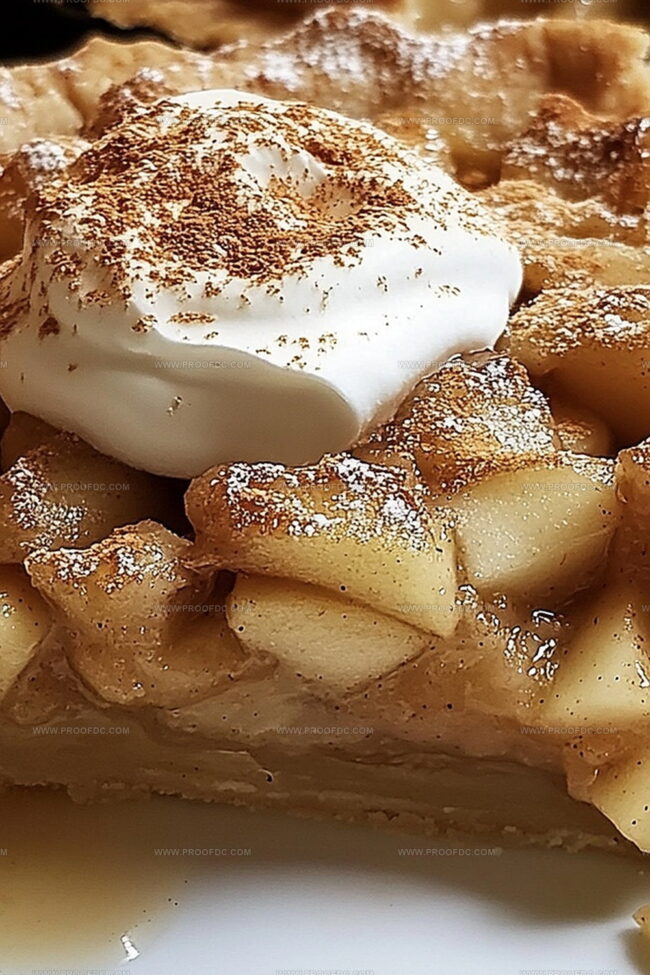
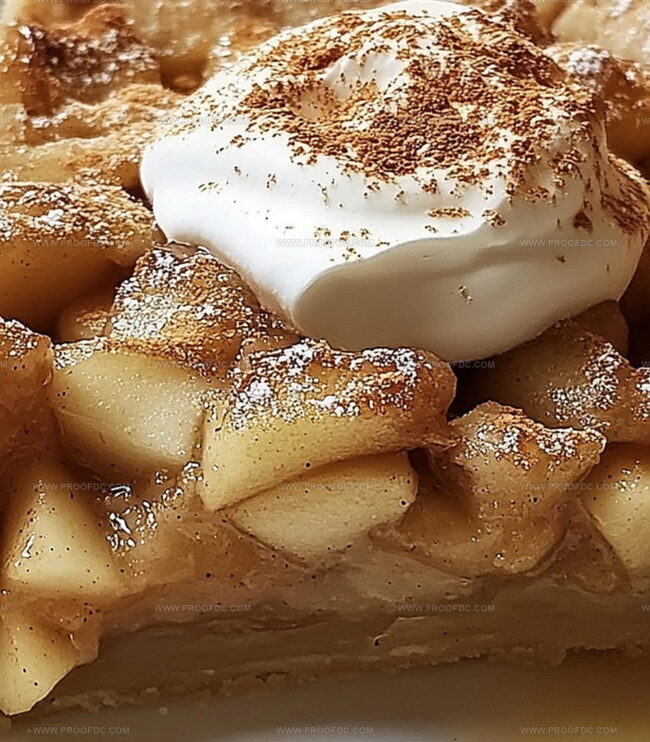
Brush the top crust with a beaten egg and sprinkle with sugar crystals to create a sparkling, golden surface.
Slide the pie onto a baking sheet. Bake until the crust turns a rich golden brown and the filling bubbles with excitement. If the edges darken too quickly, gently protect them with foil.
Let the pie rest for a couple of hours so the filling settles perfectly. Serve with a scoop of creamy vanilla ice cream for pure comfort.
Ideas To Update Classic Apple Pie Flavor
Serving Classic Apple Pie With Style
Preserving Classic Apple Pie For Later Enjoyment
Print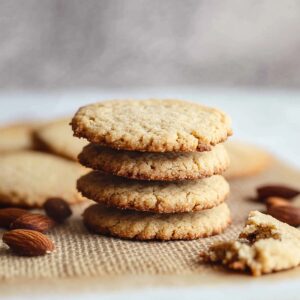
Almond Flour Cookies Recipe
- Total Time: 22 minutes
- Yield: 12 1x
Description
Irresistible almond flour cookies bring European bakery charm straight to home kitchens, offering gluten-free delights packed with nutty richness. Crisp edges and tender centers promise sweet satisfaction with each delectable bite you’ll savor.
Ingredients
Primary Ingredients:
- 2 cups (200 grams) almond flour
- 1 large egg, at room temperature
- ¼ cup (60 milliliters) coconut oil or unsalted butter, melted
- ⅓ cup (70 grams) granulated sugar (or a sugar substitute like coconut sugar)
Flavor Enhancers:
- 1 teaspoon vanilla extract
- ¼ cup (40 grams) chocolate chips or chopped nuts (optional)
Dry Seasonings:
- ½ teaspoon baking soda
- ¼ teaspoon salt
Instructions
- Arrange the oven rack in the middle position and warm the oven to 350F (175C). Create a non-stick surface on a baking sheet using parchment paper or a silicone mat.
- Gather a medium mixing bowl and thoroughly blend almond flour, baking soda, and salt using a whisk, ensuring uniform distribution of dry ingredients.
- Select a large bowl and vigorously whisk melted coconut oil or butter with sugar, incorporating the egg and vanilla extract until the mixture achieves a smooth, homogeneous consistency.
- Gradually introduce the dry ingredient mixture into the wet ingredients, stirring carefully to develop a cohesive, soft dough. If desired, gently fold chocolate chips or chopped nuts into the developing mixture.
- Utilize a tablespoon to portion the dough, rolling each segment into uniform spheres. Position these dough balls strategically on the prepared baking sheet, maintaining approximately two inches of separation between each cookie.
- Apply gentle pressure with fingertips or the back of a spoon to slightly flatten each dough ball, creating a more traditional cookie silhouette.
- Slide the baking sheet into the preheated oven and monitor for 10-12 minutes, watching for delicate golden edges that indicate optimal baking.
- Allow cookies to rest on the baking sheet for five minutes, facilitating initial stabilization. Transfer to a wire cooling rack, permitting complete cooling and texture refinement.
- Serve these delectable almond flour cookies as a delightful accompaniment to your favorite beverage or enjoy them as a standalone treat.
Notes
- Swap coconut oil with softened butter for a richer, more traditional cookie texture that enhances flavor depth.
- Use monk fruit sweetener or stevia for a low-carb, diabetic-friendly alternative that maintains the cookie’s sweet profile.
- Chill the dough for 15-20 minutes before baking to prevent spreading and create a more compact, dense cookie structure.
- For a protein boost, incorporate a scoop of unflavored protein powder without changing the recipe’s fundamental consistency.
- Prep Time: 10 minutes
- Cook Time: 12 minutes
- Category: Desserts, Snacks
- Method: Baking
- Cuisine: American
Nutrition
- Serving Size: 12
- Calories: 150
- Sugar: 6 g
- Sodium: 70 mg
- Fat: 12 g
- Saturated Fat: 6 g
- Unsaturated Fat: 4 g
- Trans Fat: 0 g
- Carbohydrates: 10 g
- Fiber: 2 g
- Protein: 4 g
- Cholesterol: 30 mg
Marcus Foley
Food Critic & Kitchen Coach
Expertise
Recipe Testing and Troubleshooting; Time-Saving Kitchen Hacks; Global Flavor Exploration; Engaging Food Writing and Honest Reviews.
Education
Institute of Culinary Education (ICE), New York, NY
Marcus Foley, based in Atlanta, GA, is a friendly food expert who makes cooking fun and simple.
With hands-on training from the Institute of Culinary Education and years of tasting everything from street food to fine dining, he shares easy kitchen hacks, global flavor ideas, and step-by-step recipes that turn kitchen mishaps into delicious surprises.