
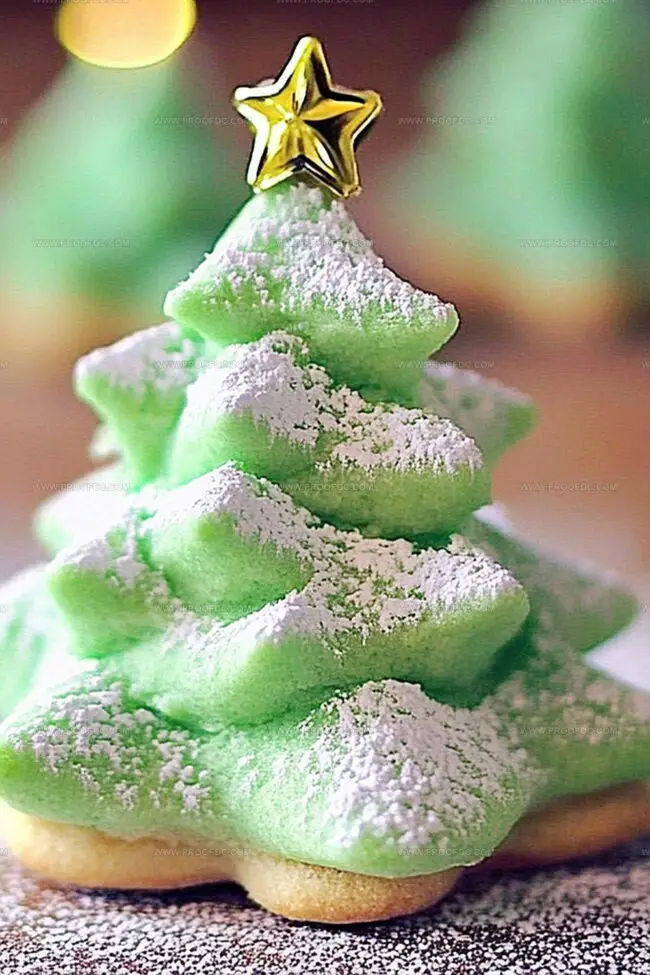
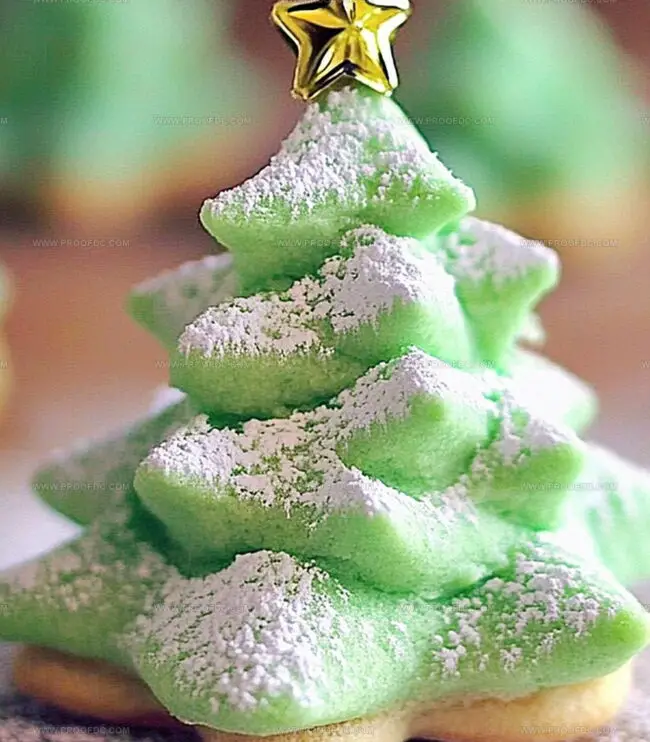
Magical Christmas Tree Cookies Recipe for Holiday Joy
Magical Christmas tree cookies bring sparkly wonder to your holiday table.
Sweet memories dance through every delicate, green-frosted bite.
Festive baking creates moments of pure childhood joy.
Each carefully crafted cookie tells a story of celebration and love.
Young and old gather around, eager to decorate these whimsical treats.
Sprinkles and icing transform simple sugar cookies into miniature edible forests.
You’ll want to savor every crumb of these delightful seasonal delicacies.
Bake these charming cookies and watch smiles bloom across every face.
Fun Things About Christmas Tree Cookies
Christmas Tree Cookies Ingredient List
Dry Ingredients:Wet Ingredients:Flavor Enhancers:Easy Method for Christmas Tree Cookies
Step 1: Prepare Dry Ingredients
Grab a medium-sized mixing bowl and whisk together flour, baking powder, and salt until they’re perfectly blended. The key is to create a smooth, lump-free mixture that will give your cookies a delightful texture.
Step 2: Cream Butter and Sugar
In a large mixing bowl, use an electric mixer to beat softened butter and sugar. Whip them together until the mixture becomes incredibly light, airy, and fluffy. This process should take about 2-3 minutes, creating a creamy base that will make your cookies melt-in-your-mouth delicious.
Step 3: Add Wet Ingredients
Introduce these flavor-packed ingredients to your butter mixture:Mix these until they’re perfectly incorporated and create a smooth, golden batter.
Step 4: Combine Dry and Wet Ingredients
Slowly add the dry ingredient mixture to your wet ingredients. Gently mix until just combined – be careful not to overmix! The goal is a soft, pliable cookie dough that’s ready to be transformed into adorable Christmas tree shapes.
Step 5: Chill the Dough
Wrap the dough in plastic wrap and refrigerate for at least an hour. This helps the cookies maintain their shape and develops a richer flavor.
Step 6: Roll and Cut Cookies
On a lightly floured surface, roll out the chilled dough. Use Christmas tree-shaped cookie cutters to create festive cookie shapes that will bring holiday cheer to your kitchen.
Step 7: Bake to Perfection
Preheat the oven and bake the cookies until the edges are lightly golden. Allow them to cool completely before decorating with festive icing, sprinkles, or powdered sugar.
Tips to Get Perfect Christmas Tree Cookies
How to Keep and Reheat Christmas Tree Cookies
Great Matches for Christmas Tree Cookies
New Spins on Christmas Tree Cookies
Answers About Christmas Tree Cookies
These cookies are festive sugar cookies shaped like Christmas trees, perfect for holiday baking with a delightful blend of vanilla and optional almond extract that gives them a unique, aromatic flavor.
Absolutely! The almond extract is optional. If you don’t have it or prefer not to use it, simply skip that ingredient – the cookies will still taste delicious with just vanilla extract.
The key is to beat the butter and sugar until light and fluffy (about 2-3 minutes) and to mix the dry ingredients gradually. This helps create a smooth, consistent dough that’s easy to work with and bakes beautifully.
Yes! These cookies are great for family baking. Kids can help mix ingredients, and with adult supervision, they can enjoy rolling out and cutting the dough into festive Christmas tree shapes.
Print
Christmas Tree Cookies Recipe
- Total Time: 2 hours 10 minutes
- Yield: 24 1x
Description
Festive Christmas tree cookies sparkle with holiday cheer, bringing sweet memories of family gatherings. Green-tinted sugar cookies decorated with sprinkles and chocolate drizzle invite seasonal joy for cookie enthusiasts.
Ingredients
Main Ingredients:
- 2 ¾ cups (350 g) all-purpose flour
- 1 cup (225 g) unsalted butter, softened
- 1 cup (200 g) granulated sugar
- 1 large egg
Flavoring Ingredients:
- 1 ½ teaspoons vanilla extract
- ½ teaspoon almond extract (optional)
- 1 teaspoon baking powder
- ¼ teaspoon salt
Decorating Ingredients:
- 3 cups (375 g) powdered sugar, sifted
- 2 large egg whites or 3 tablespoons meringue powder + 6 tablespoons water
- 1 teaspoon vanilla extract
- Green gel food coloring
- Assorted sprinkles, edible glitter, or nonpareils
- Star-shaped candies or sprinkles for tree toppers
Instructions
- Combine flour, baking powder, and salt in a medium mixing vessel, whisking thoroughly to ensure even distribution of dry ingredients.
- Cream butter and sugar in a spacious bowl, using an electric mixer to achieve a cloud-like, airy texture that appears pale and voluminous.
- Introduce egg and aromatic extracts (vanilla and almond) to the butter mixture, blending until smooth and integrated.
- Gradually fold the dry ingredient mixture into the wet components, stirring gently until a cohesive dough forms without overmixing.
- Wrap the freshly prepared dough in plastic film and refrigerate for optimal consistency, allowing flavors to meld and dough to firm up.
- When ready to bake, preheat the oven and prepare a clean work surface with a light dusting of flour for rolling.
- Roll out the chilled dough to an even thickness, using a festive Christmas tree-shaped cookie cutter to create precise holiday-themed shapes.
- Transfer delicate cookie cutouts to a lined baking sheet, spacing them evenly to ensure uniform baking and prevent potential spreading.
- Bake in a preheated oven until edges turn a delicate golden hue, signaling perfect doneness and crisp texture.
- Allow cookies to cool completely on a wire rack before decorating or serving, preserving their intricate shape and delightful flavor.
Notes
- Precision matters when measuring flour; use the spoon and level method to avoid dense cookies.
- Softened butter at room temperature ensures smooth, even mixing and helps create a lighter texture.
- Consider chilling the dough for 30 minutes before rolling to prevent spreading and maintain the tree-shaped cutout’s crisp edges.
- For a festive twist, experiment with different extracts like peppermint or orange to add unique holiday flavor profiles.
- Prep Time: 30 minutes
- Cook Time: 40 minutes
- Category: Desserts, Snacks
- Method: Mixing
- Cuisine: American
Nutrition
- Serving Size: 24
- Calories: 164
- Sugar: 10 g
- Sodium: 54 mg
- Fat: 7 g
- Saturated Fat: 4 g
- Unsaturated Fat: 3 g
- Trans Fat: 0 g
- Carbohydrates: 23 g
- Fiber: 0.5 g
- Protein: 1.5 g
- Cholesterol: 21 mg
Jenna Stewart
Head Chef & Recipe Innovator
Expertise
Farm-to-Table Cooking; Seasonal Menu Development; Visual Plating Techniques; Flavor Layering and Simple Prep Hacks.
Education
The Culinary Institute of America, Hyde Park, NY
Jenna Stewart is the inventive spirit behind many of our standout dishes at Pro of Delicious Creations. A proud graduate of The Culinary Institute of America, she built her skills mastering both classic recipes and fresh, modern twists.
Now, Jenna celebrates the beauty of seasonal, local ingredients, often sourced from her garden and nearby markets, to create recipes that are bursting with flavor yet easy to follow. When she’s not experimenting in the kitchen, Jenna loves exploring nature on hikes and discovering new treasures at local co-ops.