Jolly Christmas Cookie Bars Recipe for Holiday Magic
Sweet memories often bloom around festive Christmas cookie bars that spark joy in every household.
Grandma’s secret recipe whispers tales of warmth and togetherness during holiday gatherings.
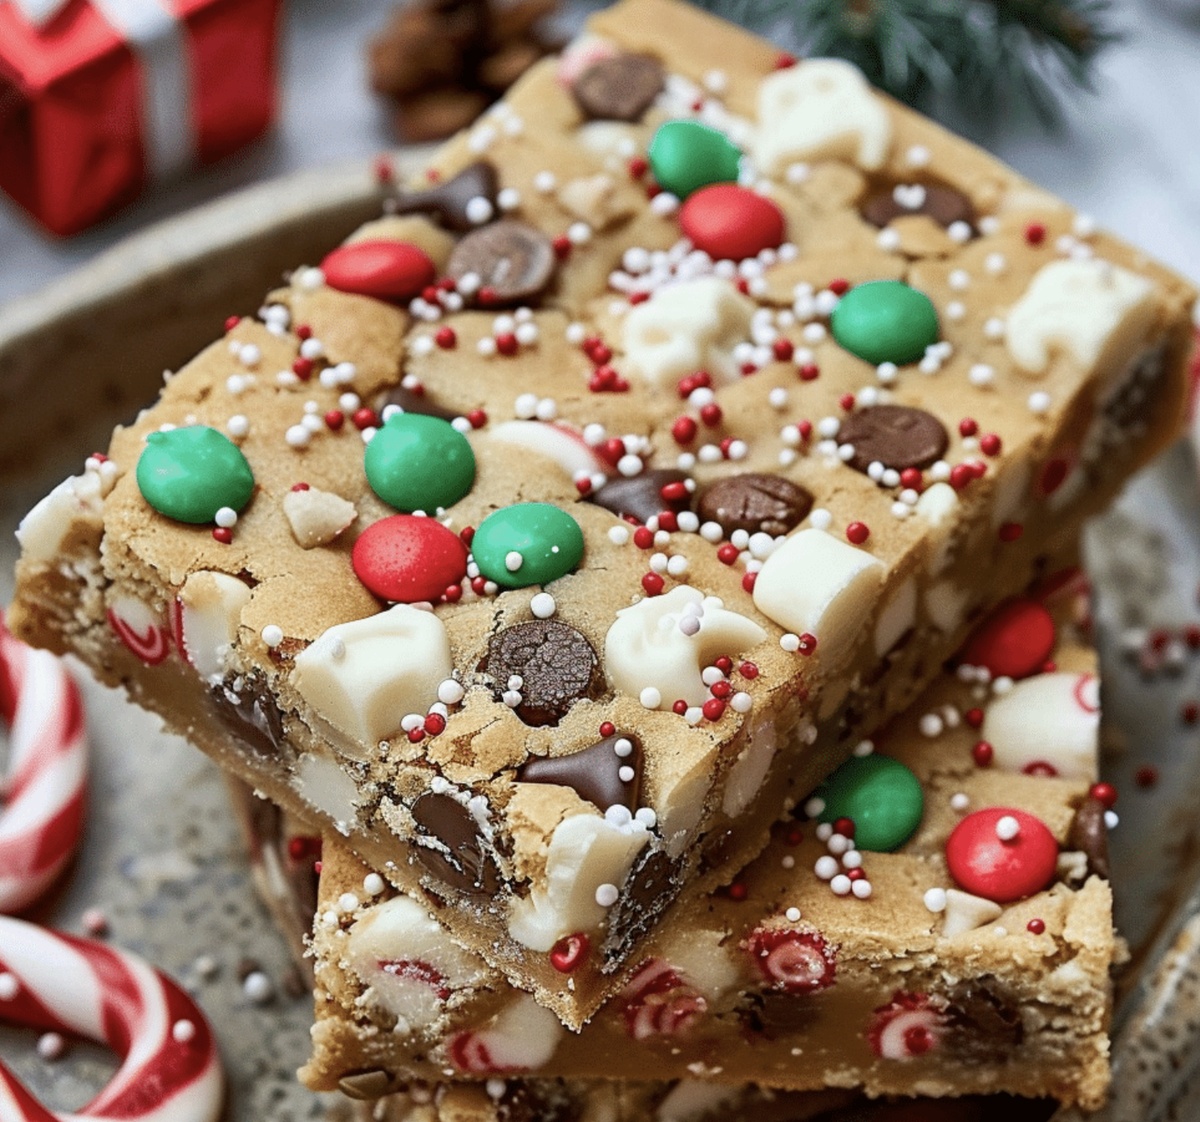
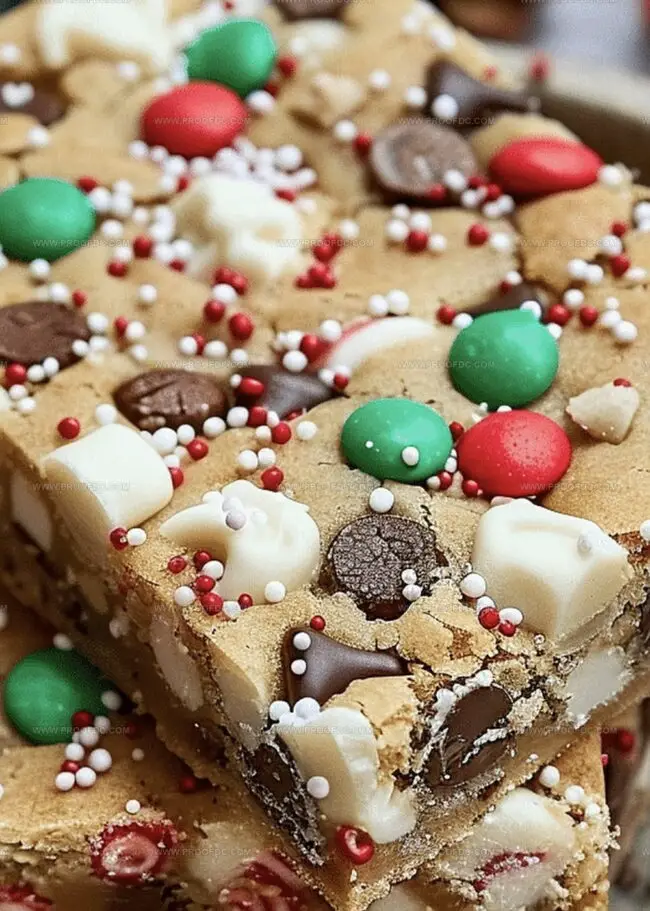
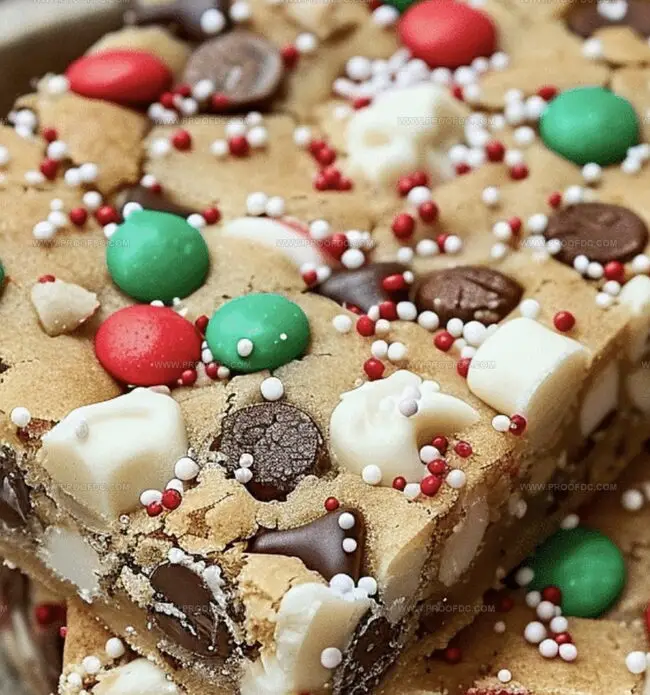
Soft, chewy edges blended with rich chocolate chips create an irresistible treat that melts hearts instantly.
Gathering loved ones in the kitchen, sharing laughter while mixing ingredients and spreading cheer.
Weekend baking becomes a delightful adventure with these simple yet magical bars that promise pure happiness.
Professional bakers and kitchen novices alike can craft these delectable morsels with minimal effort.
One bite transports you to childhood winters filled with comfort and celebration.
Grab a napkin and let the delicious journey begin!
What Makes Christmas Cookie Bars So Special
All You Need For Christmas Cookie Bars
Base Ingredients:Binding and Moisture Ingredients:Leavening and Seasoning Ingredients:Mix-Ins and Decorative Ingredients:Easy Guide To Bake Christmas Cookie Bars
Step 1: Prepare Baking Station
Grab a 9×13-inch baking pan and get it ready by either coating it with cooking spray or lining it with parchment paper. Set your oven to warm up at 350 Fahrenheit (175 Celsius).
Step 2: Create Creamy Base
In a large mixing bowl, blend together:Whip these ingredients until they become light and fluffy. Crack eggs one at a time, mixing thoroughly after each addition. Pour in vanilla extract and blend smoothly.
Step 3: Combine Dry Ingredients
In a separate bowl, whisk together:Slowly incorporate the dry mixture into the wet ingredients, stirring gently until just combined.
Step 4: Add Festive Mix-ins
Fold into the dough:Mix delicately to distribute goodies evenly throughout the batter.
Step 5: Spread and Decorate
Transfer the cookie dough into the prepared pan. Use a spatula to create an even surface. Sprinkle additional holiday sprinkles across the top for extra cheer.
Step 6: Bake to Perfection
Slide the pan into the preheated oven. Bake for 20-25 minutes until edges turn golden and center looks set.
Step 7: Cool and Slice
Allow the bars to cool completely inside the pan. Once cooled, slice into delightful squares.
Step 8: Serve and Enjoy
Cut into 16-20 squares. Serve alongside hot cocoa or as a stunning addition to your holiday dessert spread. Watch friends and family devour these delicious treats!
Tips For The Best Christmas Cookie Bars
How To Store Christmas Cookie Bars Properly
Tasty Matches For Christmas Cookie Bars
Ways To Mix Up Christmas Cookie Bars
Most Asked Questions About Christmas Cookie Bars
These bars combine the festive spirit of holiday sprinkles with classic chocolate chips, creating a fun and delicious treat that captures the magic of Christmas in every bite.
Absolutely! You can mix and match chocolate chips like milk chocolate, dark chocolate, or even caramel chips to create your own unique flavor combination.
Look for lightly golden edges and a set center. The bars should look slightly underbaked in the middle, as they’ll continue to set while cooling, ensuring a soft and chewy texture.
Yes! These bars are perfect for holiday gift-giving. You can cut them into neat squares, wrap them in festive packaging, and they’ll make a delightful homemade gift for friends and family.
Print
Christmas Cookie Bars Recipe
- Total Time: 40 minutes
- Yield: 24 1x
Description
Sweet holiday magic unfolds with these Christmas cookie bars, blending festive spices and rich chocolate into a nostalgic dessert. Crumbly edges and gooey centers promise delightful moments you’ll savor during seasonal celebrations.
Ingredients
Main Ingredients:
- 1 cup (225 grams / 8 ounces) unsalted butter, softened
- 2 large eggs
- 3 cups (375 grams / 13.2 ounces) all-purpose flour
- 1 cup (200 grams / 7 ounces) granulated sugar
- 1 cup (220 grams / 7.8 ounces) brown sugar, packed
Chocolate and Chips:
- 1 cup (170 grams / 6 ounces) semi-sweet chocolate chips
- 1 cup (170 grams / 6 ounces) white chocolate chips or chunks
Flavor and Texture Enhancers:
- 2 teaspoons vanilla extract
- 1 teaspoon baking soda
- ½ teaspoon baking powder
- ½ teaspoon salt
- ½ cup (80 grams / 2.8 ounces) red and green holiday sprinkles
- Extra sprinkles, for topping
Instructions
- Prepare the baking workspace by positioning the oven rack in the center and heating to 350F (175C). Coat a 9×13-inch pan with non-stick spray or line with parchment paper, ensuring complete coverage.
- In a spacious mixing vessel, thoroughly blend softened butter with granulated and brown sugars until the mixture achieves a creamy, pale consistency. Incorporate eggs individually, whisking thoroughly after each addition to maintain a smooth texture.
- Gently integrate vanilla extract into the wet mixture, stirring until harmoniously combined.
- Sift together flour, baking soda, baking powder, and salt in a separate container. Gradually fold the dry ingredients into the wet mixture, stirring minimally to prevent overworking the dough.
- Delicately incorporate semi-sweet chocolate chips, white chocolate chips, and holiday sprinkles into the batter, ensuring even distribution throughout the mixture.
- Transfer the dough into the prepared pan, using a flexible spatula to spread evenly and create a uniform surface. Scatter additional holiday sprinkles across the top for a festive appearance.
- Position the pan in the preheated oven and bake for 22-27 minutes. Look for golden edges and a slightly firm center as indicators of perfect doneness.
- Remove from the oven and allow the bars to cool completely within the pan. This resting period helps the bars set and makes cutting easier.
- Once thoroughly cooled, slice into neat squares and arrange on a decorative platter. These delectable treats pair wonderfully with warm beverages or as a delightful holiday dessert option.
Notes
- Softening butter to room temperature ensures smooth, even mixing and helps create a perfectly tender cookie bar texture.
- Avoid overmixing the dough after adding dry ingredients, as this can make the bars tough and dense instead of soft and chewy.
- Rotate the baking pan halfway through cooking to guarantee even browning and prevent any potential burning on one side.
- For gluten-free variations, swap all-purpose flour with a cup-for-cup gluten-free flour blend, maintaining the same measurements and mixing technique.
- Prep Time: 15 minutes
- Cook Time: 25 minutes
- Category: Desserts, Snacks
- Method: Baking
- Cuisine: American
Nutrition
- Serving Size: 24
- Calories: 200
- Sugar: 14g
- Sodium: 100mg
- Fat: 9g
- Saturated Fat: 5g
- Unsaturated Fat: 4g
- Trans Fat: 0g
- Carbohydrates: 28g
- Fiber: 1g
- Protein: 2g
- Cholesterol: 30mg
Jenna Stewart
Head Chef & Recipe Innovator
Expertise
Farm-to-Table Cooking; Seasonal Menu Development; Visual Plating Techniques; Flavor Layering and Simple Prep Hacks.
Education
The Culinary Institute of America, Hyde Park, NY
Jenna Stewart is the inventive spirit behind many of our standout dishes at Pro of Delicious Creations. A proud graduate of The Culinary Institute of America, she built her skills mastering both classic recipes and fresh, modern twists.
Now, Jenna celebrates the beauty of seasonal, local ingredients, often sourced from her garden and nearby markets, to create recipes that are bursting with flavor yet easy to follow. When she’s not experimenting in the kitchen, Jenna loves exploring nature on hikes and discovering new treasures at local co-ops.