Delightful Chocolate Snowball Cookies Recipe for Winter Magic
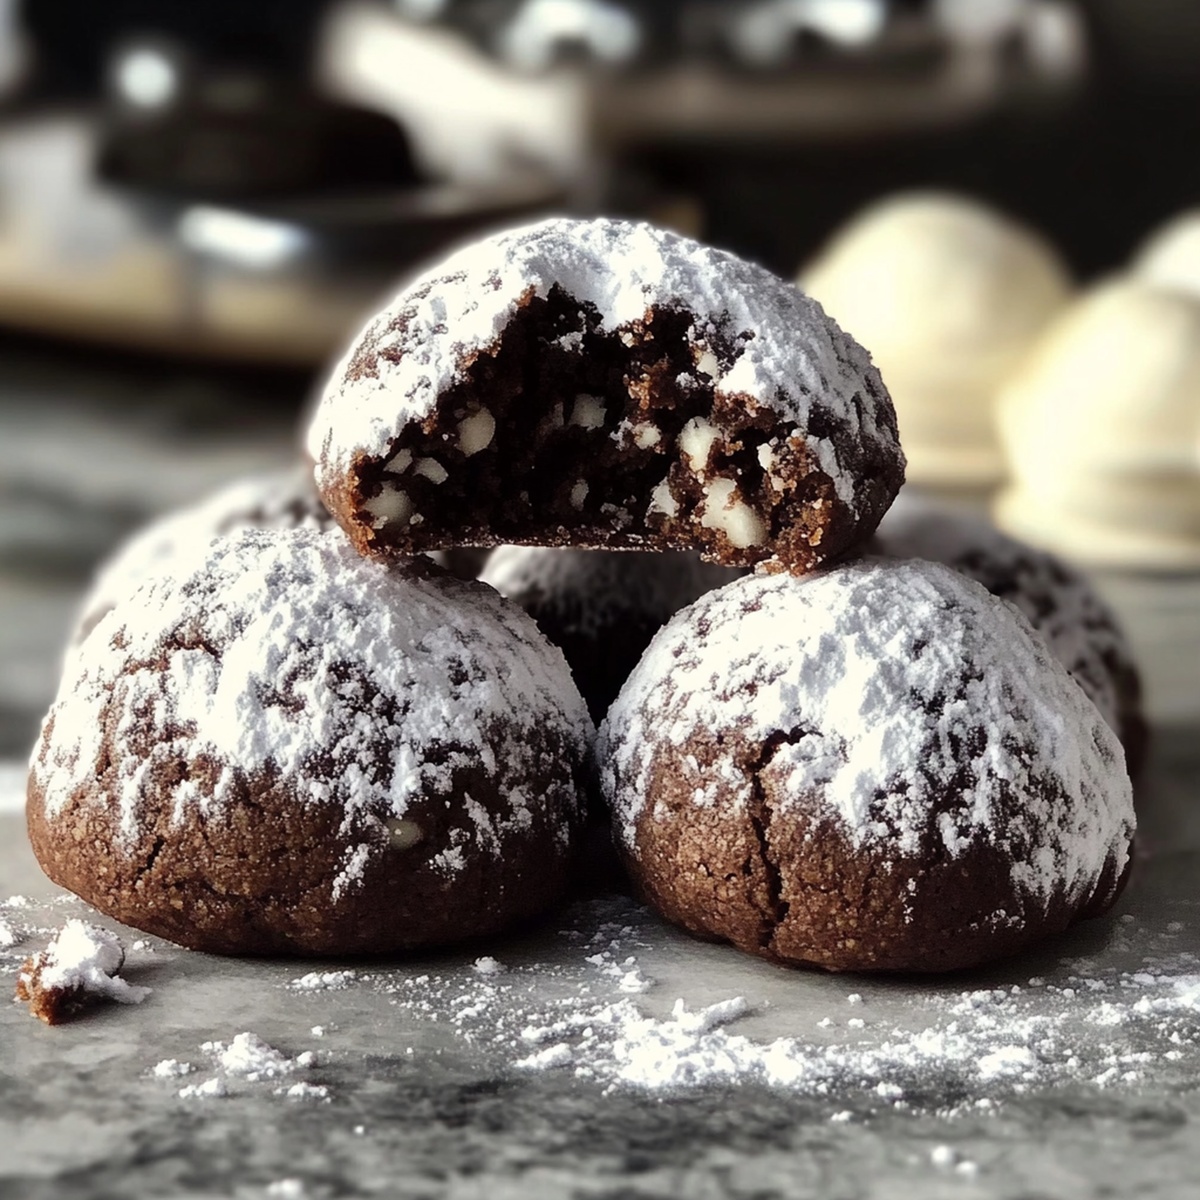
Biting into a soft, powdery chocolate snowball cookie that melts instantly on your tongue.
These delightful treats capture winter’s whimsy in every delicate crumb.
Sweet memories of childhood holidays dance through each sugary sphere.
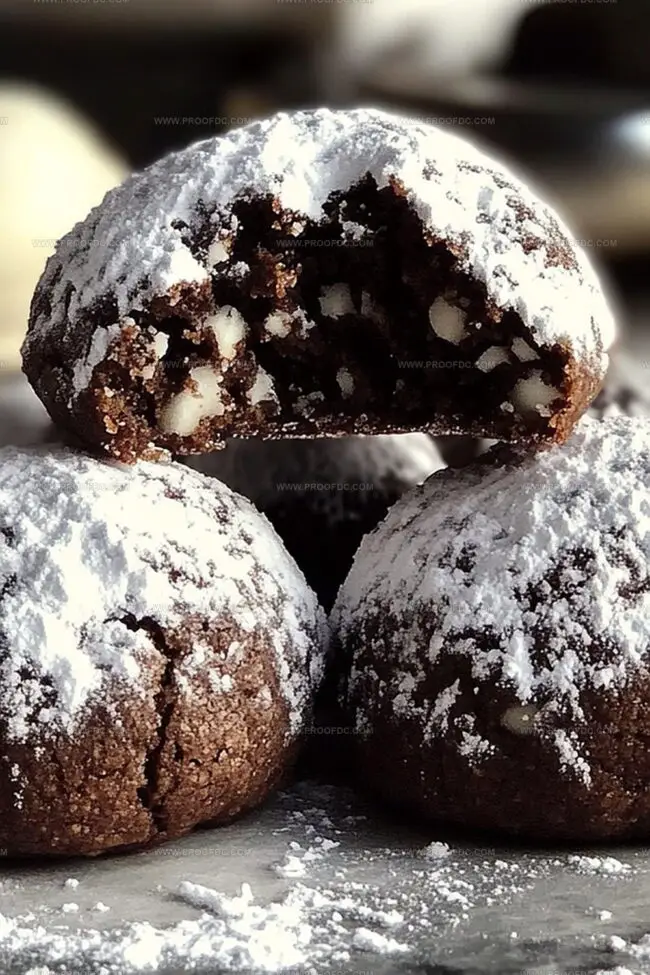
Delicate rounds dusted with pristine powdered sugar resemble miniature snowdrifts waiting to be devoured.
The subtle crunch giving way to rich, buttery chocolate that whispers comfort.
Nothing beats sharing these magical morsels with loved ones gathered around a warm kitchen.
Each bite promises a moment of pure, uncomplicated joy that connects generations through simple, delicious magic.
Ready to transform your afternoon with these irresistible little wonders?
What Makes Chocolate Snowball Cookies Special
Chocolate Snowball Cookies Ingredient List
Primary Ingredients:
Butter Base: – Unsalted Butter: Provides rich, creamy foundation for cookie texture, best when softened at room temperature.
Flour Base: – All-Purpose Flour, Cocoa Powder: Creates structure and chocolate depth, select high-quality cocoa for intense flavor.
Sweet Components:
Sugar Group: – Powdered Sugar, Vanilla Extract: Adds sweetness and classic flavor, powdered sugar creates signature snowball coating.
Texture and Crunch Enhancers:
Nutty Optional Component: – Chopped Nuts: Introduces pleasant crunch and complementary flavor, optional but recommended for texture variation.
Additional Components:
Binding Ingredients: – Salt: Balances sweetness and enhances overall flavor profile.
How To Make Chocolate Snowball Cookies Easily
Step 1: Warm Up the Oven
Fire up your oven to 350°F (175°C). Grab two baking sheets and line them with parchment paper or silicone mats for a smooth cookie-baking adventure.
Step 2: Whip Up the Chocolatey Base
In a spacious mixing bowl, dance the softened butter and powdered sugar together until they become a creamy dream. Splash in vanilla extract and a pinch of salt, mixing them into a harmonious blend. Gently fold in:Keep mixing until the dough forms a delightful chocolatey mass.
Step 3: Shape Tasty Chocolate Spheres
Scoop out tablespoon-sized portions of dough and roll them into perfect little balls. Arrange these chocolate treasures on your prepared baking sheets, giving each one a bit of breathing room about an inch apart.
Step 4: Bake to Chocolatey Perfection
Slide the baking sheets into the oven and bake for 10-12 minutes. You’re looking for cookies that are set but not darkened. Let them rest on the baking sheets for 5 minutes, catching their breath.
Step 5: Create a Snowy Sugar Coating
While the cookies are still warm and cozy, roll them in a cloud of powdered sugar until they’re completely dressed in white. Transfer them to a wire rack and let them cool down. Once they’ve chilled out, give them another loving roll in powdered sugar for that magical snow-covered look.
Enjoy your delectable Chocolate Snowball Cookies that are sure to melt hearts and tantalize taste buds!
Smart Tips For Chocolate Snowball Cookies
Best Way To Store Chocolate Snowball Cookies
What Goes Well With Chocolate Snowball Cookies
Mix Things Up With Chocolate Snowball Cookies
FAQs About Chocolate Snowball Cookies
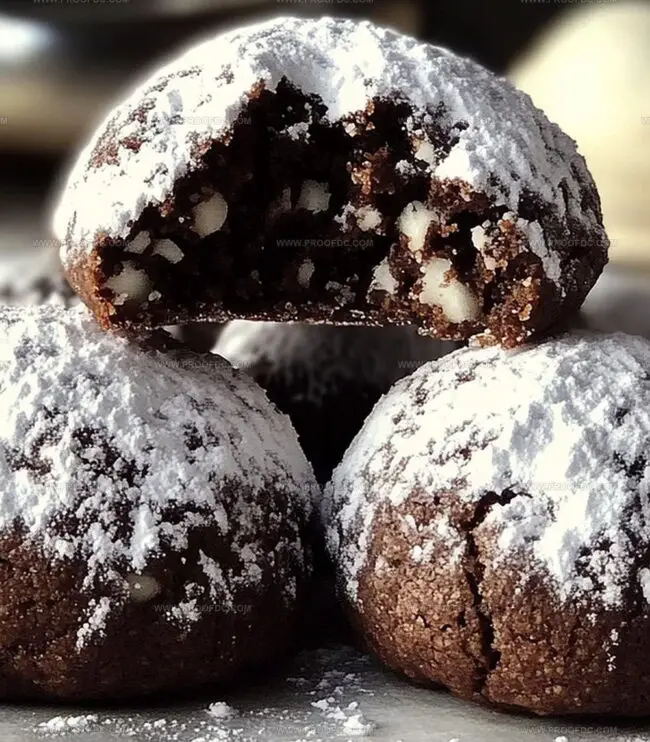
These cookies get their name from their white powdered sugar coating that looks like snow-covered balls, giving them a wintery, festive appearance.
Absolutely! The nuts are optional, so you can easily skip them if you have allergies or simply don’t enjoy nuts in your cookies. The recipe will still turn out delicious.
Roll the cookies while they’re still slightly warm and handle them gently. The warmth helps the sugar stick better, and a light touch ensures they maintain their round shape without breaking.
Use unsweetened cocoa powder for the richest chocolate flavor. Dutch-processed or natural cocoa powder both work well in this recipe, so choose your favorite.
Print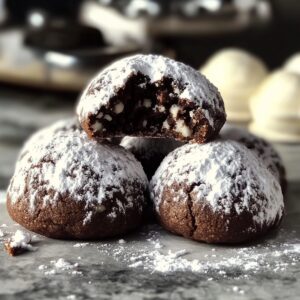
Chocolate Snowball Cookies Recipe
- Total Time: 37 minutes
- Yield: 24 1x
Description
Sweet Mexican wedding cookies become winter magic with Chocolate Snowball Cookies. Powdery cocoa-dusted treats melt delicately on your palate, promising pure holiday comfort in each buttery, nutty bite.
Ingredients
Chocolate Snowball Cookies Ingredients:
Main Ingredients:
- 2 cups (250 g / 8.8 oz) all-purpose flour
- 1 cup (230 g / 8 oz) unsalted butter, softened
- ¼ cup (25 g / 0.9 oz) unsweetened cocoa powder
Supplemental Ingredients:
- ½ cup (60 g / 2.1 oz) powdered sugar
- ¾ cup (90 g / 3.2 oz) finely chopped pecans or walnuts (optional)
Finishing Ingredients:
- 1 cup (120 g / 4.2 oz) powdered sugar
- 1 teaspoon vanilla extract
- ¼ teaspoon salt
Instructions
- Prepare the oven environment by heating to 350F (175C) and lining baking sheets with parchment paper, ensuring even surface coverage for optimal cookie performance.
- Create a luxurious dough foundation by whipping softened butter and powdered sugar into a silky smooth mixture, incorporating vanilla extract and salt for depth of flavor. Gradually fold in flour, cocoa powder, and chopped nuts, gently blending until a cohesive dough forms.
- Carefully craft uniform cookie spheres by portioning the dough into tablespoon-sized rounds, meticulously rolling each into perfect balls. Arrange these delicate orbs on prepared baking sheets, maintaining precise spacing to allow proper expansion.
- Transform the raw dough into delectable treats through precise baking, watching carefully for approximately 10-12 minutes. The cookies should set without developing excessive browning, maintaining their delicate chocolate essence.
- Initiate the first powdered sugar coating while cookies remain slightly warm, gently tumbling each cookie to achieve a complete white dusting. Transfer to a cooling rack, allowing them to reach room temperature before executing a final powdered sugar roll, creating a mesmerizing snowball-like appearance that mimics a gentle winter landscape.
Notes
- Chill the dough briefly before shaping to prevent sticking and make rolling easier, ensuring uniform cookie sizes.
- Finely chop nuts for a more delicate texture and even distribution throughout the cookie, enhancing the overall flavor profile.
- Use high-quality cocoa powder for a richer chocolate taste, preferably Dutch-processed for a deeper, more intense chocolate flavor.
- Customize the recipe by substituting nuts with mini chocolate chips or using gluten-free flour for those with dietary restrictions, making the cookies more versatile and inclusive.
- Prep Time: 15 minutes
- Cook Time: 10 minutes
- Category: Desserts, Snacks
- Method: Baking
- Cuisine: American
Nutrition
- Serving Size: 24
- Calories: 157
- Sugar: 10 g
- Sodium: 30 mg
- Fat: 11 g
- Saturated Fat: 7 g
- Unsaturated Fat: 4 g
- Trans Fat: 0 g
- Carbohydrates: 16 g
- Fiber: 1 g
- Protein: 2 g
- Cholesterol: 30 mg
Jenna Stewart
Head Chef & Recipe Innovator
Expertise
Farm-to-Table Cooking; Seasonal Menu Development; Visual Plating Techniques; Flavor Layering and Simple Prep Hacks.
Education
The Culinary Institute of America, Hyde Park, NY
Jenna Stewart is the inventive spirit behind many of our standout dishes at Pro of Delicious Creations. A proud graduate of The Culinary Institute of America, she built her skills mastering both classic recipes and fresh, modern twists.
Now, Jenna celebrates the beauty of seasonal, local ingredients, often sourced from her garden and nearby markets, to create recipes that are bursting with flavor yet easy to follow. When she’s not experimenting in the kitchen, Jenna loves exploring nature on hikes and discovering new treasures at local co-ops.