Dreamy Chocolate Peanut Butter Poke Cake Recipe for Sweet Fans
Sinking your fork into a decadent chocolate peanut butter poke cake that promises pure indulgence.
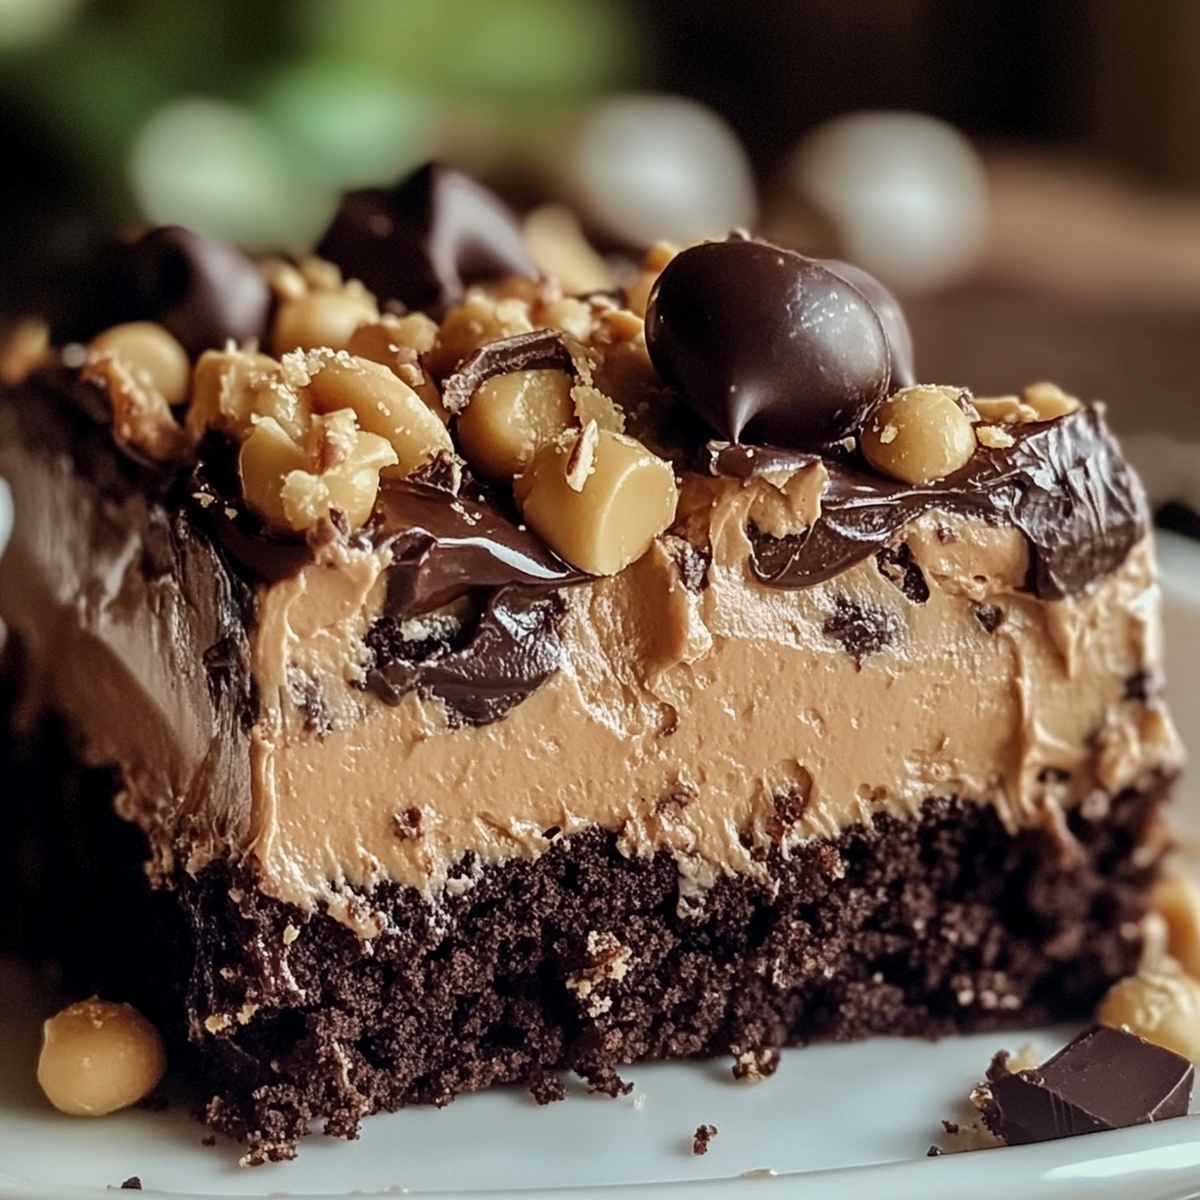
This dreamy dessert combines rich, velvety chocolate with creamy peanut butter in every single bite.
Pockets of sweet, silky filling dance through moist cake layers, creating a symphony of flavors you can’t resist.
chocolate lovers and peanut butter enthusiasts will find this recipe absolutely irresistible.
Each slice delivers a perfect balance of intense chocolate and nutty smoothness that melts in your mouth.
The magic happens when warm cake absorbs luscious pudding, creating irresistible moisture and depth.
Trust me, one taste and you’ll be falling head over heels for this incredible dessert.
Grab a plate and let the deliciousness begin!
Top Reasons To Love Chocolate Peanut Butter Poke Cake
Chocolate Peanut Butter Poke Cake Ingredient List
Main Ingredients:
Chocolate Cake Base:Filling and Topping Ingredients:
Peanut Butter Layer:Topping Ingredients:Optional Variations:How To Prepare Chocolate Peanut Butter Poke Cake
Step 1: Whip Up the Chocolate Base
Grab your favorite chocolate cake mix and follow the package instructions. Pour the batter into a 9×13-inch baking pan. Bake until a toothpick comes out clean, then let the cake cool for about 10 minutes. The warm cake will be your canvas for this delightful dessert.
Step 2: Create Flavor Tunnels
Take a wooden spoon handle or a straw and start poking holes all over the cake. Space the holes about an inch apart, creating little pathways for the upcoming magical filling.
Step 3: Craft the Creamy Peanut Butter Filling
In a mixing bowl, combine:Whisk these ingredients until they become a silky, dreamy mixture. Carefully pour the filling over the cake, making sure it seeps into every single hole. Let the cake cool completely – either at room temperature or in the refrigerator.
Step 4: Crown with Fluffy Topping
Once the cake has cooled, spread a generous layer of whipped topping across the entire surface. Make it smooth and even for that picture-perfect look.
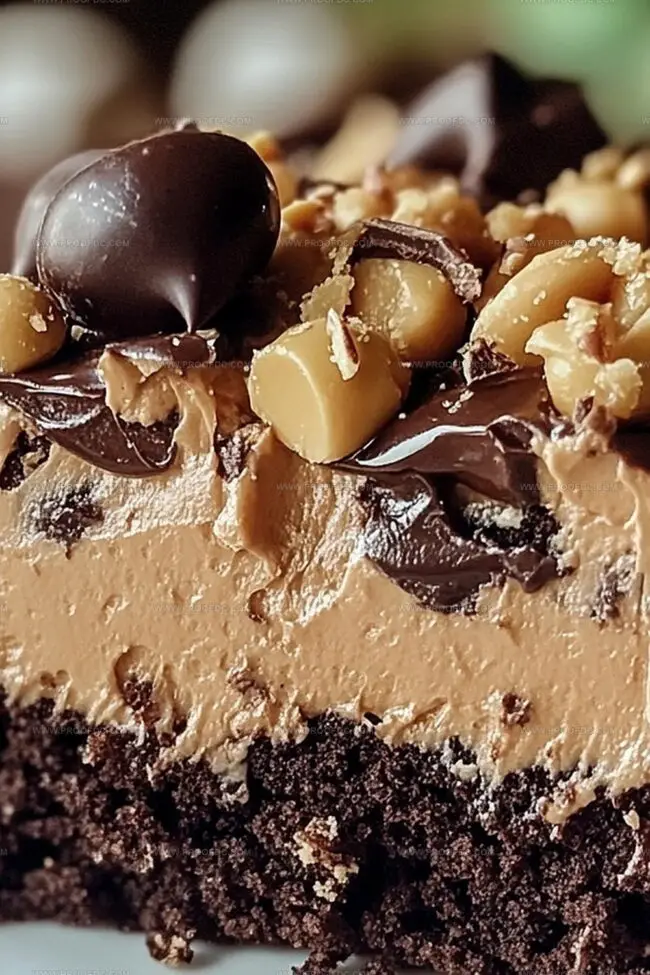
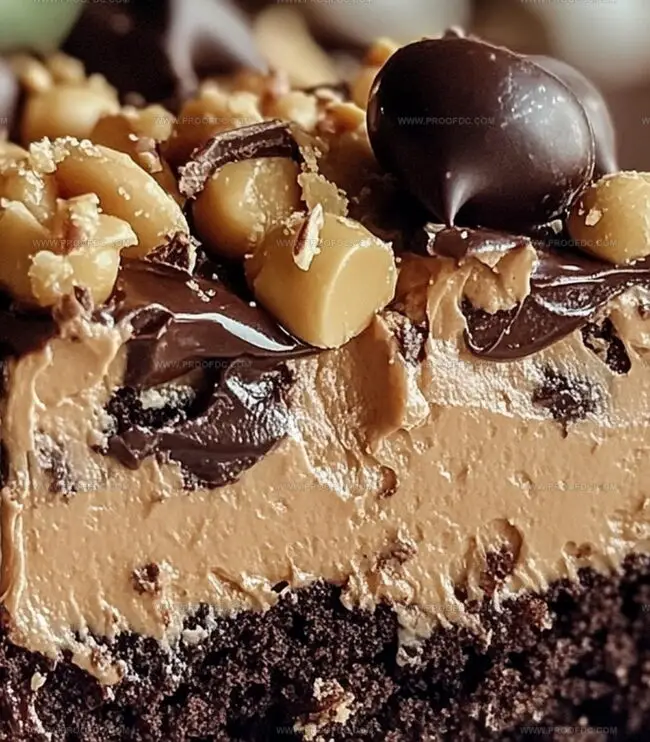
Step 5: Add Tempting Decorations
Sprinkle the top with:Let your creativity run wild and cover the cake with these delicious extras.
Step 6: Chill and Indulge
Refrigerate the cake for at least an hour. This allows all the flavors to mingle and create a truly irresistible dessert. When you’re ready, slice into this heavenly creation and prepare for a taste explosion that’ll make your taste buds dance!
Helpful Advice For Chocolate Peanut Butter Poke Cake
Store And Reheat Chocolate Peanut Butter Poke Cake Easily
Pair Chocolate Peanut Butter Poke Cake With These
Ways To Mix Up Chocolate Peanut Butter Poke Cake
Chocolate Peanut Butter Poke Cake Common Questions
The rich, creamy peanut butter perfectly complements the deep chocolate flavor, creating a classic taste combination that’s both indulgent and irresistible. The sweet-salty balance makes each bite incredibly satisfying.
Yes! Homemade whipped cream works great. Just whip heavy cream with a bit of powdered sugar until stiff peaks form. It’ll give the cake an even fresher taste and texture.
Absolutely! The poke cake method ensures the cake stays moist and light, while the peanut butter and condensed milk filling adds rich flavor without being too heavy. It’s a perfect balance of decadence and lightness.
Cover the entire surface with holes about 1 inch apart. This ensures the peanut butter mixture gets absorbed evenly, giving you delicious flavor in every single bite of the cake.
Print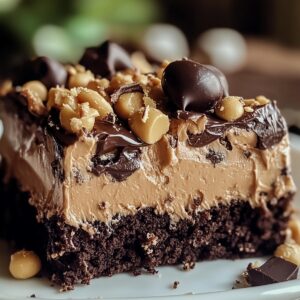
Chocolate Peanut Butter Poke Cake Recipe
- Total Time: 2 hours 45 minutes
- Yield: 12 1x
Description
Chocolate lovers rejoice with this irresistible Chocolate Peanut Butter Poke Cake that blends rich cocoa and creamy peanut butter in a delightful dessert experience. Indulgent layers promise pure bliss with each heavenly spoonful, inviting you to savor every delectable bite.
Ingredients
Cake Base:
- 1 box (425 g / 15 ounces) chocolate cake mix
- Eggs (as per box instructions)
- Oil (as per box instructions)
- Water (as per box instructions)
Peanut Butter Components:
- 1 cup (250 ml / 8.5 fluid ounces) creamy peanut butter
- ½ cup (125 ml / 4.2 fluid ounces) creamy peanut butter, melted
Filling and Topping:
- 1 can (14 ounces / 397 g) sweetened condensed milk
- 1 container (8 ounces / 225 g) whipped topping, thawed
- ½ cup (50 g / 1.75 ounces) mini chocolate chips or chocolate shavings
- ½ cup (75 g / 2.6 ounces) chopped Reeses or peanut butter cups
Instructions
- Mix the chocolate cake batter according to package guidelines and pour into a rectangular baking dish. Bake in a preheated oven until a toothpick inserted comes out clean, then allow to rest for approximately 10 minutes.
- While the cake is still warm, create consistent holes across the entire surface using a wooden spoon handle or thick drinking straw. Ensure the holes are evenly distributed to allow maximum flavor absorption.
- Whisk sweetened condensed milk and creamy peanut butter in a mixing bowl until the mixture transforms into a smooth, unified liquid. Gradually pour the blend over the warm cake, carefully ensuring the liquid penetrates each prepared hole.
- Let the cake rest and cool completely at room temperature, allowing the peanut butter and condensed milk to fully saturate the interior of the dessert.
- Once the cake has reached room temperature, generously spread whipped topping across the entire surface, creating a uniform layer that covers all previous additions.
- Embellish the cake’s top with a delightful sprinkle of miniature chocolate chips and chopped Reeses peanut butter cups, creating an appealing and tempting visual presentation.
- Refrigerate the decorated cake for a minimum of one hour to solidify the layers and enhance the overall flavor profile. Slice and serve chilled for maximum enjoyment.
Notes
- Check cake mix consistency carefully to ensure a moist, rich chocolate base that doesn’t dry out during baking.
- Warm cake helps peanut butter mixture absorb better, creating deeper flavor penetration and more decadent texture.
- Consider using a squeeze bottle for precise peanut butter and condensed milk filling to distribute evenly into cake holes.
- Swap regular peanut butter with natural or sugar-free versions for healthier dietary modifications without compromising taste.
- Prep Time: 15 minutes
- Cook Time: 2 hours
- Category: Desserts
- Method: Baking
- Cuisine: American
Nutrition
- Serving Size: 12
- Calories: 450
- Sugar: 30 g
- Sodium: 300 mg
- Fat: 25 g
- Saturated Fat: 10 g
- Unsaturated Fat: 15 g
- Trans Fat: 0 g
- Carbohydrates: 50 g
- Fiber: 2 g
- Protein: 8 g
- Cholesterol: 30 mg
Jenna Stewart
Head Chef & Recipe Innovator
Expertise
Farm-to-Table Cooking; Seasonal Menu Development; Visual Plating Techniques; Flavor Layering and Simple Prep Hacks.
Education
The Culinary Institute of America, Hyde Park, NY
Jenna Stewart is the inventive spirit behind many of our standout dishes at Pro of Delicious Creations. A proud graduate of The Culinary Institute of America, she built her skills mastering both classic recipes and fresh, modern twists.
Now, Jenna celebrates the beauty of seasonal, local ingredients, often sourced from her garden and nearby markets, to create recipes that are bursting with flavor yet easy to follow. When she’s not experimenting in the kitchen, Jenna loves exploring nature on hikes and discovering new treasures at local co-ops.