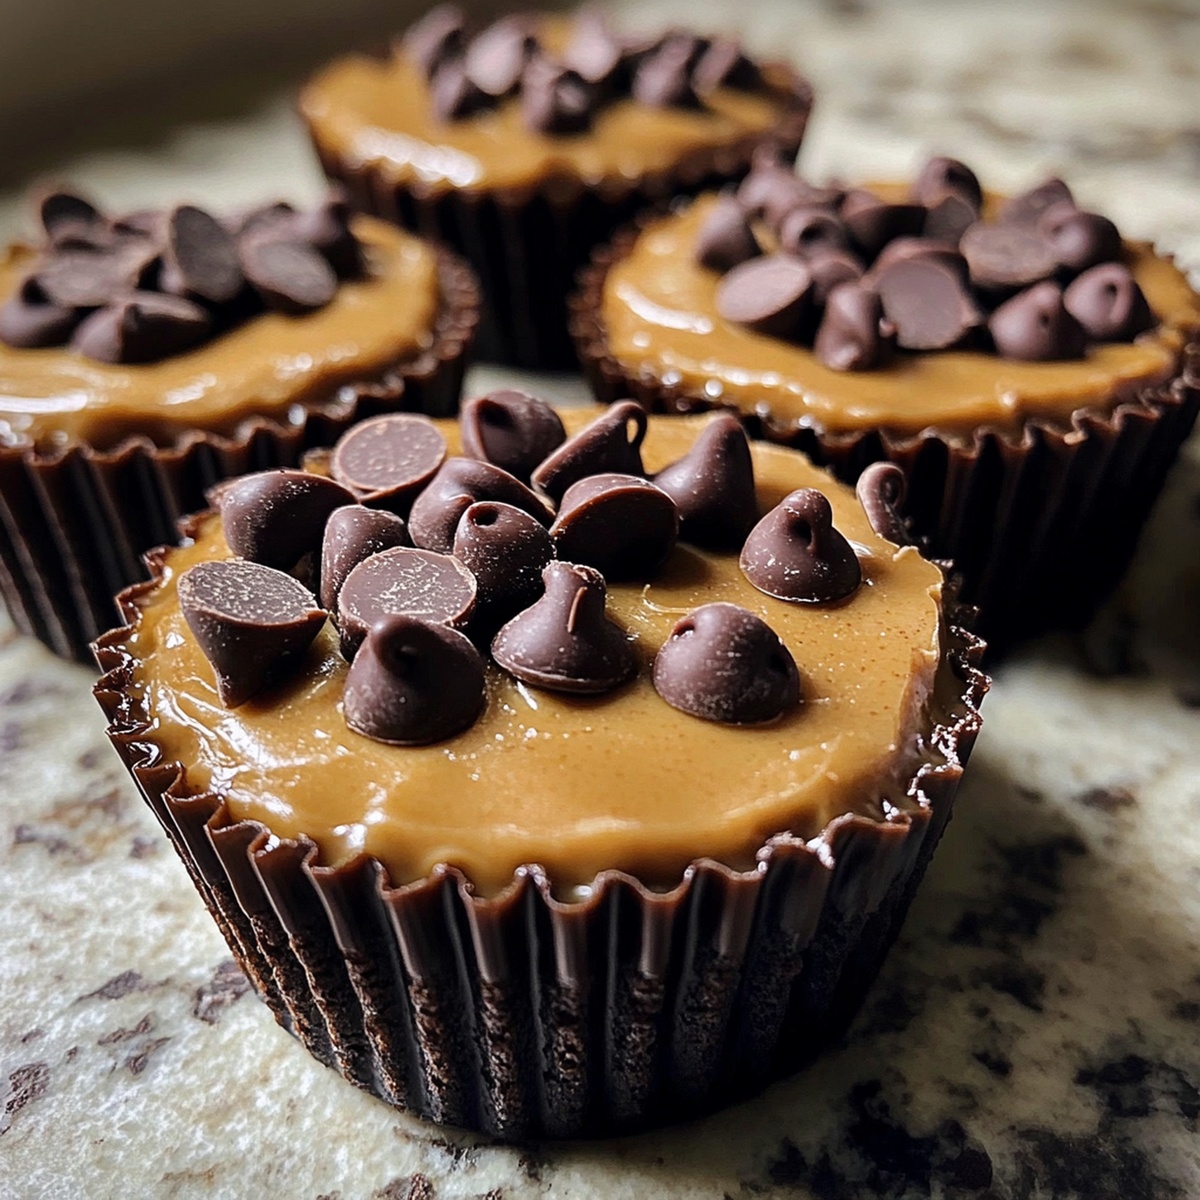
Irresistibly Gooey Chocolate Chip Peanut Butter Cups Recipe
Curious chocolate chip peanut butter cups have been haunting my dessert dreams lately.
Sweet and salty cravings always lead me down delicious paths.
My kitchen adventures often start with unexpected ingredient combinations.
Rich chocolate meets creamy peanut butter in this irresistible treat.
Biting into a perfectly balanced morsel that melts on your tongue.
Each cup promises a delightful explosion of complementary flavors.
This recipe will transform your snack time into a moment of pure indulgence.
Grab your apron and let’s create something magical together.
Why Chocolate Chip Peanut Butter Cups Are So Loved
What You’ll Use In Chocolate Chip Peanut Butter Cups
Peanut Butter Base:Chocolate Components:Preparation Support:Steps To Prepare Chocolate Chip Peanut Butter Cups
Step 1: Whip Up Creamy Peanut Butter Filling
In a mixing bowl, blend these delightful ingredients:Stir everything until the mixture becomes silky smooth and fully incorporated, creating a dreamy base for your treats.
Step 2: Sprinkle Chocolate Magic
Gently fold mini chocolate chips into the peanut butter mixture, distributing them evenly throughout. The tiny chips will add delightful bursts of chocolatey goodness to every bite.
Step 3: Chill and Prepare
Pop the bowl into the refrigerator for 10-15 minutes. This quick cooling session will help the mixture firm up, making it easier to handle and shape. While waiting, grab your favorite muffin tin or silicone molds.
Step 4: Shape Delectable Cups
Once the mixture is slightly firmer, scoop small portions and press them into your chosen molds. Use your fingers or a spoon to create smooth, even layers that will become your irresistible peanut butter cups.
Step 5: Final Chocolate Coating
Melt chocolate using a double boiler or microwave. Carefully pour or drizzle melted chocolate over the peanut butter base, ensuring complete coverage. Tap the molds gently to remove any air bubbles.
Step 6: Freeze to Perfection
Place the filled molds in the freezer for about 30 minutes. This will help the chocolate set and create a satisfying snap when you bite into your homemade treat.
Step 7: Serve and Enjoy
Remove the peanut butter cups from the molds. Let them sit at room temperature for a few minutes before serving. Watch as friends and family devour these decadent homemade delights!
Top Tips For Chocolate Chip Peanut Butter Cups
Storage And Reheating For Chocolate Chip Peanut Butter Cups
Tasty Pairings With Chocolate Chip Peanut Butter Cups
Try A Twist On Chocolate Chip Peanut Butter Cups
Common Questions On Chocolate Chip Peanut Butter Cups
Natural peanut butter might be too runny. Stick with creamy, traditional peanut butter that has a thicker consistency to help the mixture hold together properly.
Chilling the mixture in the refrigerator for 10-15 minutes helps firm it up, making it easier to shape and work with. This step ensures your peanut butter cups maintain their structure.
Mini chocolate chips work best because they distribute more evenly throughout the peanut butter mixture. Regular chocolate chips might create larger chunks that make shaping more difficult.
Use softened butter and mix all ingredients thoroughly with a spatula or hand mixer. Make sure there are no lumps of powdered sugar or butter for a silky, consistent texture.
Print
Chocolate Chip Peanut Butter Cups Recipe
- Total Time: 50 minutes
- Yield: 12 1x
Description
Homemade chocolate chip peanut butter cups deliver irresistible layers of creamy sweetness and rich chocolate charm. Crafted with simple ingredients, these delightful treats melt in your mouth and satisfy deepest dessert cravings.
Ingredients
Main Ingredients:
- 1 ½ cups (260 g) semi-sweet chocolate chips
- ½ cup (120 g) creamy peanut butter
- ¼ cup (60 g) unsalted butter, softened
Filling Enhancers:
- ¼ cup (30 g) powdered sugar, sifted
- ½ teaspoon vanilla extract
- ¼ cup (45 g) mini chocolate chips
Optional Ingredient:
- 1 tablespoon coconut oil or vegetable oil (for a smoother finish)
Instructions
- Thoroughly blend peanut butter, softened butter, powdered sugar, and vanilla extract in a medium mixing bowl until achieving a silky, homogeneous consistency.
- Gently incorporate mini chocolate chips into the creamy mixture, ensuring even distribution throughout the base.
- Transfer the bowl to the refrigerator and allow the preparation to chill for 10-15 minutes, enabling the mixture to slightly solidify and become more manageable for shaping.
- Remove the chilled mixture from the refrigerator and prepare to form compact, uniform balls or cups using your hands or a small scoop.
- Shape the peanut butter mixture into consistent-sized portions, rolling or pressing them carefully to maintain structural integrity.
- Place the formed peanut butter cups on a parchment-lined tray or plate, ensuring they are not touching each other.
- For optimal texture and flavor development, return the shaped cups to the refrigerator and allow them to set completely for an additional 30 minutes before serving.
- Optional: Drizzle melted chocolate over the chilled peanut butter cups or roll them in additional mini chocolate chips for enhanced presentation and taste complexity.
Notes
- Chill the mixture for optimal texture, allowing it to become slightly firmer and easier to shape into cups.
- Use room temperature butter and peanut butter to ensure smooth blending and prevent lumpy consistency.
- Opt for mini chocolate chips to distribute evenly throughout the peanut butter mixture, creating a balanced flavor in every bite.
- For a healthier twist, substitute powdered sugar with monk fruit sweetener or stevia to reduce sugar content while maintaining sweetness.
- Prep Time: 20 minutes
- Cook Time: 30 minutes
- Category: Desserts, Snacks
- Method: Mixing
- Cuisine: American
Nutrition
- Serving Size: 12
- Calories: 232
- Sugar: 10 g
- Sodium: 70 mg
- Fat: 17 g
- Saturated Fat: 8 g
- Unsaturated Fat: 9 g
- Trans Fat: 0 g
- Carbohydrates: 19 g
- Fiber: 1 g
- Protein: 4 g
- Cholesterol: 15 mg
Jenna Stewart
Head Chef & Recipe Innovator
Expertise
Farm-to-Table Cooking; Seasonal Menu Development; Visual Plating Techniques; Flavor Layering and Simple Prep Hacks.
Education
The Culinary Institute of America, Hyde Park, NY
Jenna Stewart is the inventive spirit behind many of our standout dishes at Pro of Delicious Creations. A proud graduate of The Culinary Institute of America, she built her skills mastering both classic recipes and fresh, modern twists.
Now, Jenna celebrates the beauty of seasonal, local ingredients, often sourced from her garden and nearby markets, to create recipes that are bursting with flavor yet easy to follow. When she’s not experimenting in the kitchen, Jenna loves exploring nature on hikes and discovering new treasures at local co-ops.