Dreamy Chocolate Chip Ice Cream Pops Recipe: Summer Joy on a Stick
Crafting delightful chocolate chip ice cream pops that instantly transport you to childhood summers.
Sweet memories swirl with each creamy bite of this frozen treat.
Cool refreshment meets nostalgic flavors in these simple yet magical dessert companions.
Kids and adults alike will adore the rich, smooth texture melting on their tongues.
Homemade goodness beats store-bought treats every single time with minimal ingredients and maximum enjoyment.
Summer afternoons demand something special, and these pops deliver pure happiness in a single frozen moment.
You’ll want to bookmark this recipe for countless delicious memories ahead.
Why Chocolate Chip Ice Cream Pops Are A Cool Snack Hit
Everything You Need For Chocolate Chip Ice Cream Pops
Ice Cream Base:Chocolate Shell Coating:Topping Options:Utensil Necessities:How To Make Chocolate Chip Ice Cream Pops Quickly
Step 1: Whip Up the Creamy Base
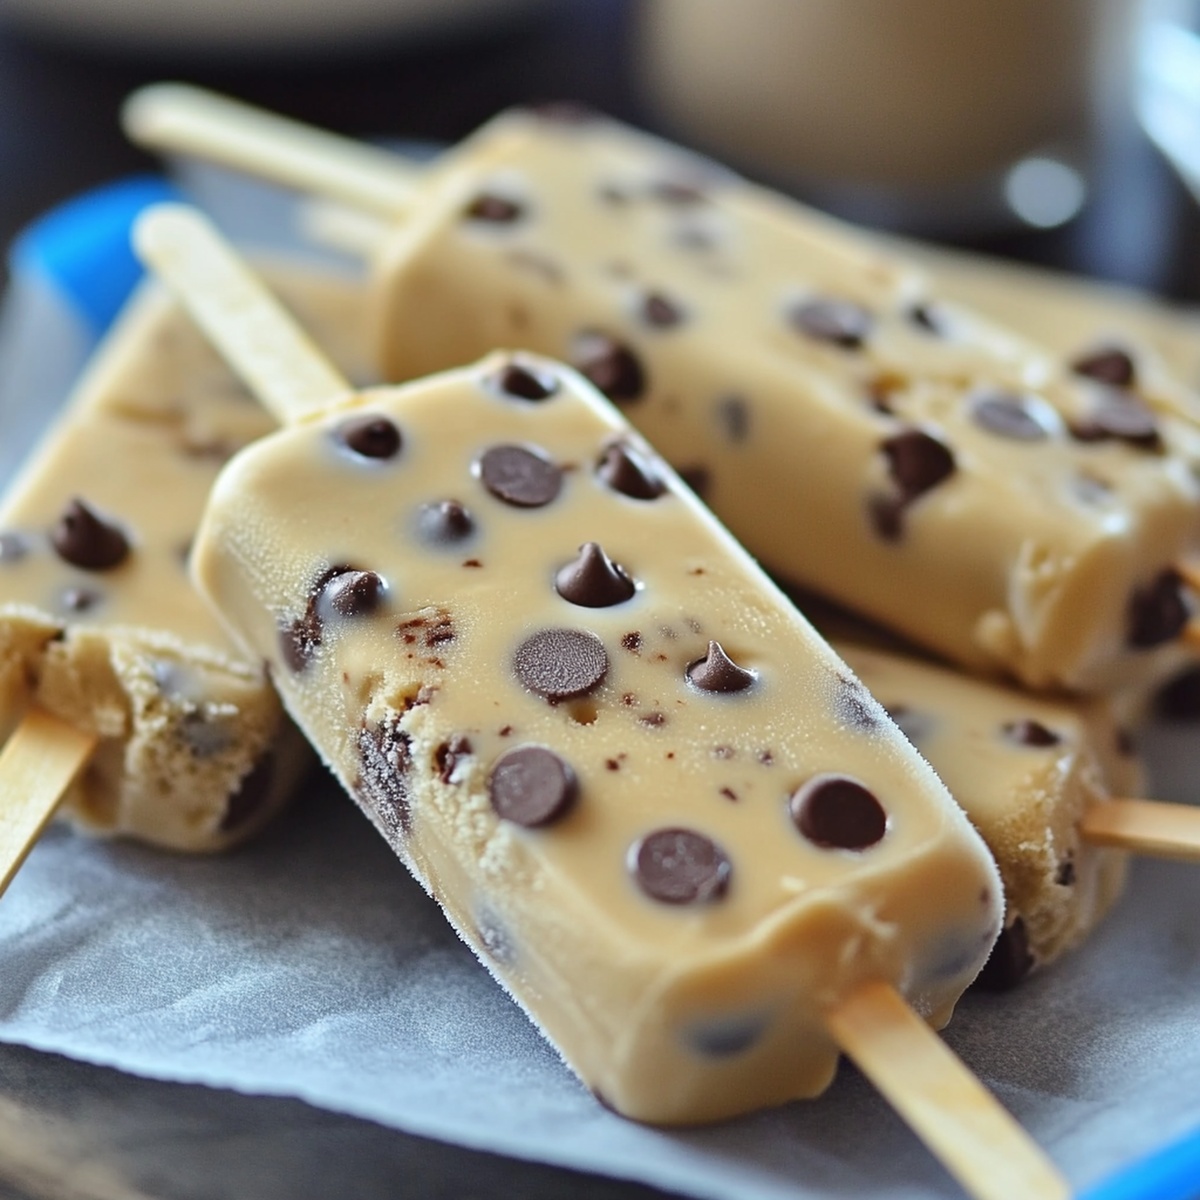
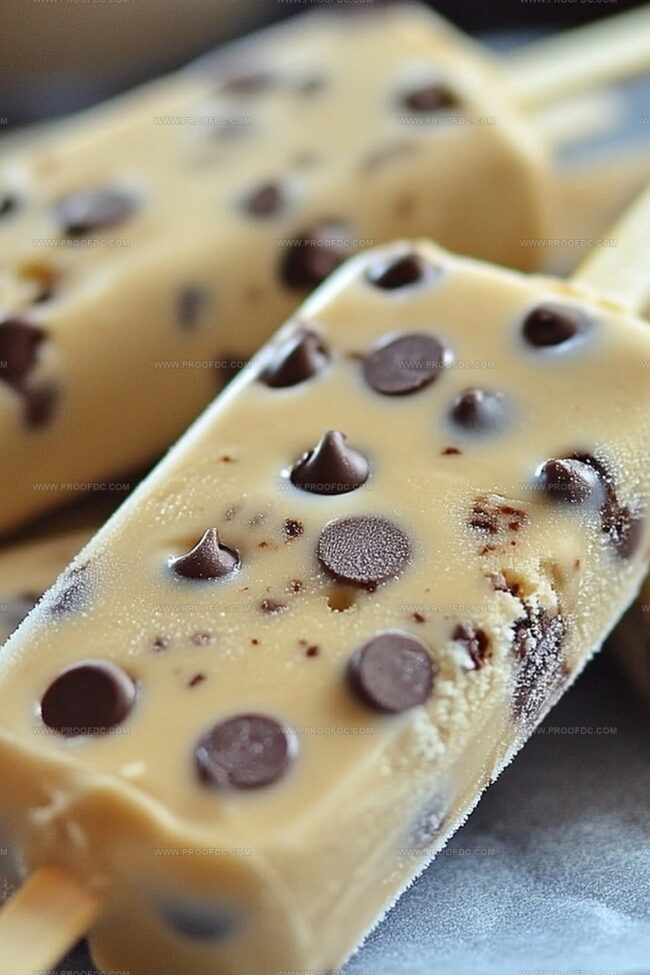
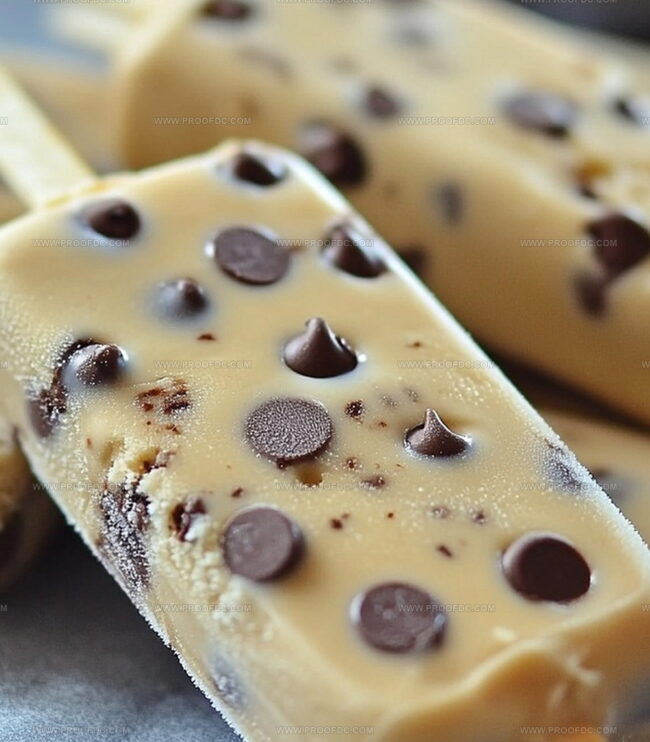
Grab your favorite vanilla ice cream and let it soften on the counter. Toss in a handful of mini chocolate chips, stirring until they’re dancing throughout the creamy goodness. Mix with love and enthusiasm!
Step 2: Create Frosty Vessels
Carefully spoon the chocolatey ice cream mixture into popsicle molds. Give the molds a gentle tap to kick out any sneaky air bubbles. Slide in the popsicle sticks and send them on a chilly adventure in the freezer for 4-6 hours.
Step 3: Craft a Decadent Chocolate Coating
Grab a microwave-safe bowl and combine:Zap in short bursts, stirring between each interval, until the mixture transforms into a silky, glossy river of chocolate. Let it cool down slightly – patience is key!
Step 4: Dunk and Decorate
Rescue the frozen pops from their icy lair. Dip each pop into the chocolate magic, letting excess drizzle away. Before the chocolate sets, sprinkle on your favorite toppings:Step 5: Final Freeze and Feast
Place your chocolate-coated masterpieces on a parchment-lined tray. Return to the freezer for 10-15 minutes to set the chocolate shell. Serve immediately for maximum deliciousness or store for a cool treat later!
Great Tips For Chocolate Chip Ice Cream Pops
How To Store And Reheat Chocolate Chip Ice Cream Pops
What Goes Well With Chocolate Chip Ice Cream Pops
Fun Twists On Chocolate Chip Ice Cream Pops
Chocolate Chip Ice Cream Pops FAQs You’ll Love
Mini chocolate chips distribute more evenly throughout the ice cream, ensuring you get a bit of chocolate in every bite without creating large frozen chunks that might be hard to bite into.
Absolutely! You can experiment with milk, dark, or white chocolate based on your preference. Just make sure to use chocolate that melts smoothly and pairs well with vanilla ice cream.
Coconut oil helps create a thin, crisp chocolate coating that hardens quickly when it touches the cold ice cream. It also gives the shell a beautiful shine and prevents the chocolate from becoming too thick or brittle.
Tap the molds gently on the counter after spooning in the ice cream mixture. This helps release any trapped air pockets and ensures a smooth, even pop with no gaps or holes.
Print
Chocolate Chip Ice Cream Pops Recipe
- Total Time: 6 hours 15 minutes
- Yield: 6 1x
Description
Creamy chocolate chip ice cream pops invite summer memories with their rich, swirled chocolate goodness. Cool dessert lovers will savor each frosty bite of this nostalgic treat that brings delightful moments of pure indulgence.
Ingredients
Main Ingredients:
- 2 cups (480 ml) vanilla ice cream, softened
Chocolate Elements:
- 1 cup (200 g) semi-sweet or dark chocolate chips
- ½ cup (90 g) mini chocolate chips
Additional Ingredients:
- 2 tablespoons (30 ml) coconut oil
Optional Toppings:
- Sprinkles
- Crushed nuts
- Shredded coconut
Instructions
- Craft a creamy base by gently folding mini chocolate chips into softened vanilla ice cream, ensuring an even distribution of chocolatey morsels throughout the mixture.
- Carefully transfer the ice cream blend into popsicle molds, using a spoon to press the mixture firmly and eliminate any potential air pockets. Delicately insert popsicle sticks and position the molds in the freezer for a thorough 4-6 hour setting period.
- Create a luxurious chocolate coating by melting chocolate chips and coconut oil in a microwave-safe vessel. Stir the mixture at regular intervals to achieve a smooth, glossy consistency, then allow it to cool slightly to prevent ice cream melting.
- Extract the frozen pops from their molds with a gentle twist. Submerge each pop into the prepared chocolate shell, allowing excess coating to drip away naturally. Quickly embellish with selected toppings before the chocolate solidifies.
- Arrange the freshly dipped ice cream pops on a parchment-lined tray, returning them to the freezer for a brief 10-15 minute interval to guarantee a perfectly crisp chocolate shell. Serve immediately or preserve in the freezer for future enjoyment.
Notes
- Softening the ice cream at room temperature for 5-10 minutes helps create a smooth, even mixture with chocolate chips.
- Use high-quality chocolate chips for a richer, more luxurious coating that enhances the overall flavor of the pops.
- Silicone popsicle molds work best for easy removal and create cleaner-looking ice cream pops without sticking.
- Experiment with different toppings like crushed nuts, sprinkles, or cookie crumbs to add texture and personalize your frozen treats.
- Prep Time: 15 minutes
- Cook Time: 4-6 hours
- Category: Desserts, Snacks
- Method: Mixing
- Cuisine: American
Nutrition
- Serving Size: 6
- Calories: 300
- Sugar: 20 g
- Sodium: 50 mg
- Fat: 18 g
- Saturated Fat: 10 g
- Unsaturated Fat: 8 g
- Trans Fat: 0 g
- Carbohydrates: 34 g
- Fiber: 1 g
- Protein: 3 g
- Cholesterol: 30 mg
Jenna Stewart
Head Chef & Recipe Innovator
Expertise
Farm-to-Table Cooking; Seasonal Menu Development; Visual Plating Techniques; Flavor Layering and Simple Prep Hacks.
Education
The Culinary Institute of America, Hyde Park, NY
Jenna Stewart is the inventive spirit behind many of our standout dishes at Pro of Delicious Creations. A proud graduate of The Culinary Institute of America, she built her skills mastering both classic recipes and fresh, modern twists.
Now, Jenna celebrates the beauty of seasonal, local ingredients, often sourced from her garden and nearby markets, to create recipes that are bursting with flavor yet easy to follow. When she’s not experimenting in the kitchen, Jenna loves exploring nature on hikes and discovering new treasures at local co-ops.