Dreamy Chocolate Blossom Cookies Recipe for Sweet Moments
Sweet chocolate blossom cookies have a magical way of bringing smiles to everyone’s face.
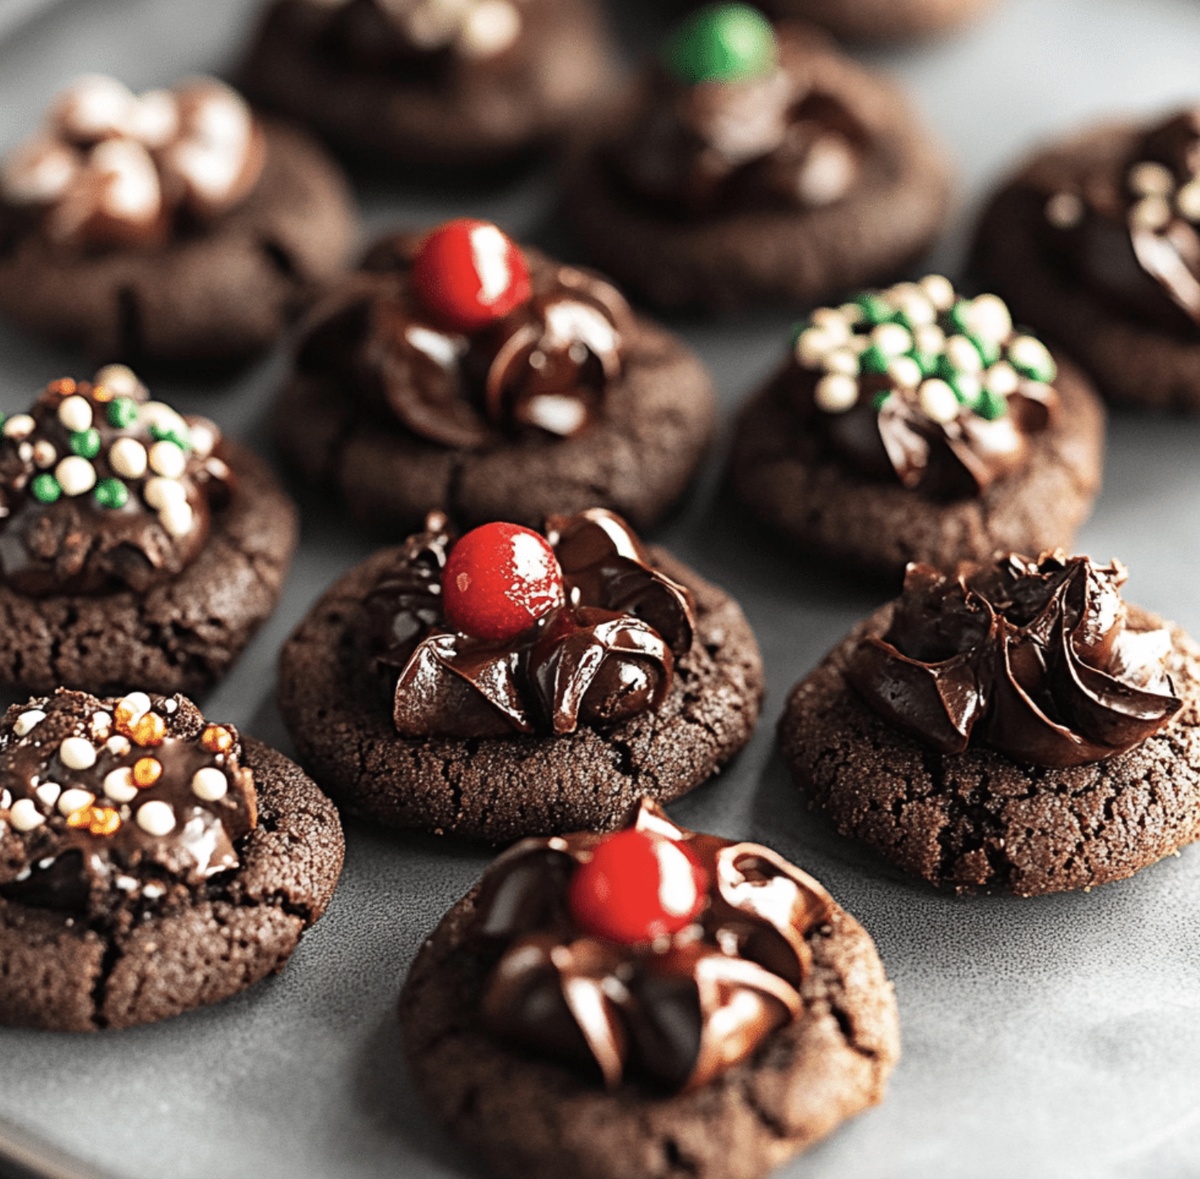
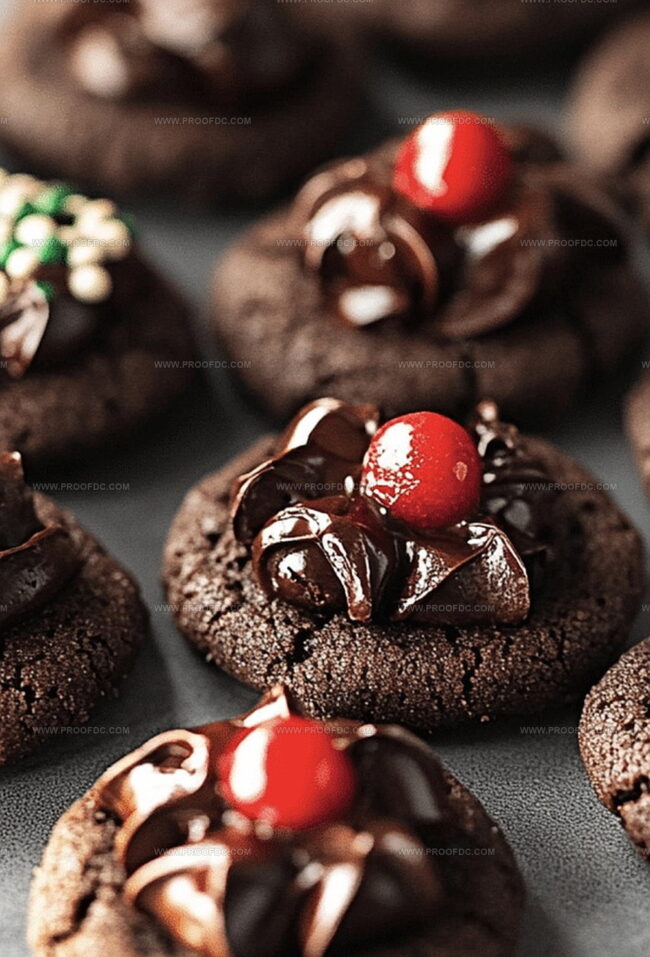
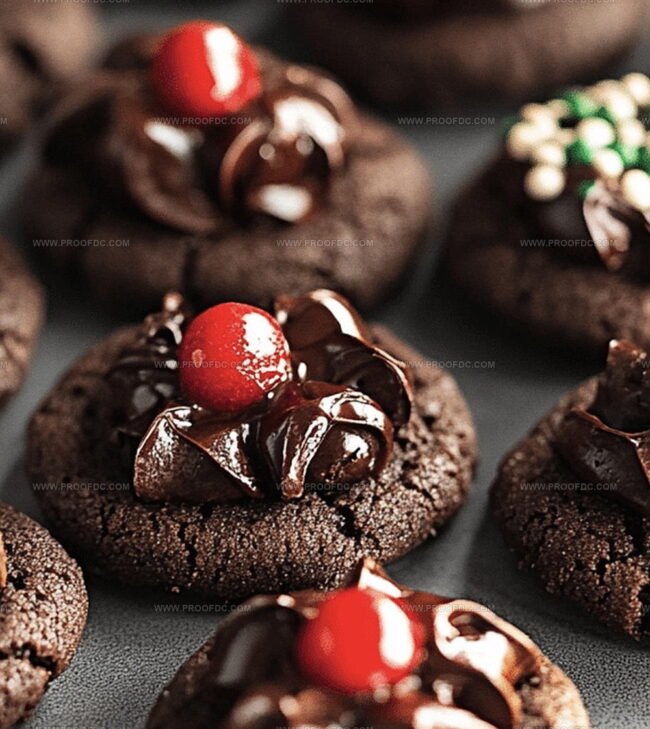
Soft, pillowy dough cradling a perfect chocolate kiss in its center.
Memories of childhood bakeries flood back with each delightful bite.
These classic treats combine simple ingredients into something truly special.
chocolate kisses nestled gently atop tender cookies create an irresistible combination.
Baking these little gems becomes an adventure in deliciousness that connects generations.
You’ll want to clear your afternoon and start mixing right now.
Why Chocolate Blossom Cookies Are Always A Hit
Ingredients Needed For Chocolate Blossom Cookies
Main Cookie Ingredients:Coating and Topping:Baking Essentials:Easy Way To Make Chocolate Blossom Cookies
Step 1: Whip Up the Chocolatey Base
In a spacious mixing bowl, embrace the magic of baking by blending:Beat these ingredients with passion until they transform into a fluffy, cloud-like mixture. Introduce an egg and splash of vanilla extract, stirring until they become best friends. In a separate bowl, marry the dry ingredients:Gently fold the dry ingredients into the wet mixture, creating a smooth chocolate dream. Wrap the dough in plastic and let it chill in the refrigerator, allowing the flavors to mingle and develop.
Step 2: Shape Irresistible Chocolate Orbs
Warm up your oven to a cozy 375°F (190°C). Line baking sheets with parchment paper, creating a welcoming stage for your cookies. Scoop out small portions of the chilled dough and roll them into perfect spheres. Give each ball a luxurious roll in granulated sugar, creating a sparkling exterior. Place these chocolatey gems on the baking sheet, leaving room for them to spread their wings.
Step 3: Bake and Crown with Chocolate Kisses
Slide the baking sheets into the oven and let the cookies bake for 8-10 minutes. They should look set but still have a soft, tender heart. The moment they emerge, it’s time for the grand finale! While the cookies are still warm and dreamy, gently press a chocolate kiss into the center of each one. Don’t worry about the little cracks that form – they’re signs of a perfect, homemade touch.
Step 4: Cool and Celebrate
Allow the cookies to rest on the baking sheet for a few minutes, letting them catch their breath. Transfer them to a wire rack, where they can cool completely and develop their full, rich flavor. These Chocolate Blossom Delights are now ready to bring joy to your taste buds and warm the hearts of everyone who tries them.
Top Tips For Chocolate Blossom Cookies Success
Store Chocolate Blossom Cookies And Reheat With Ease
Best Matches For Chocolate Blossom Cookies
Try These Twists On Chocolate Blossom Cookies
Chocolate Blossom Cookies FAQs For Curious Bakers
Chilling helps prevent the cookies from spreading too much during baking and allows the flavors to develop. It also makes the dough easier to handle and roll into balls.
Absolutely! While classic milk chocolate kisses are traditional, you can experiment with different flavors like caramel, dark chocolate, or even peppermint kisses to create unique variations of the cookie.
Press the kiss into the warm cookie gently and quickly. The residual heat will slightly soften the chocolate, but it should maintain its shape if you work fast after removing the cookies from the oven.
This could happen if the butter was too soft or the dough wasn’t chilled enough. Make sure to refrigerate the dough for at least 30 minutes and use butter that’s cool but slightly softened, not melted.
Print
Chocolate Blossom Cookies Recipe
- Total Time: 55 minutes
- Yield: 24 1x
Description
Sweet chocolate blossom cookies bring nostalgic comfort with their perfect chocolate base and signature Hershey’s kiss center. Delicate crackled edges and rich cocoa flavor promise a delightful treat you’ll savor with each irresistible bite.
Ingredients
Primary Ingredients:
- ½ cup (115 g) unsalted butter, softened
- ½ cup (100 g) granulated sugar
- ½ cup (100 g) brown sugar, packed
- 1 large egg
- 1 ½ cups (190 g) all-purpose flour
- ¼ cup (25 g) cocoa powder
Flavoring and Seasoning Ingredients:
- 1 teaspoon vanilla extract
- 1 teaspoon baking soda
- ¼ teaspoon salt
Topping Ingredients:
- ¼ cup (50 g) granulated sugar
- 24 chocolate kisses (Hershey’s Kisses), unwrapped
Instructions
- Craft the decadent chocolate cookie base by whipping softened butter with granulated and brown sugars until the mixture transforms into a light, airy consistency that resembles soft peaks.
- Incorporate the egg and vanilla extract, stirring until the liquid ingredients meld seamlessly with the butter-sugar mixture, creating a smooth, glossy foundation.
- In a separate vessel, sift together the flour, rich cocoa powder, baking soda, and salt, ensuring a uniform blend of dry ingredients without any lumps.
- Gradually fold the dry ingredient mixture into the wet ingredients, gently mixing until a cohesive dough forms. Wrap the dough and refrigerate for a minimum of 30 minutes to allow the flavors to develop and the texture to firm.
- Preheat the oven to 375F (190C) and line baking sheets with parchment paper, creating a pristine surface for the cookies.
- Extract tablespoon-sized portions of the chilled dough, rolling them into perfect spheres. Delicately coat each ball in granulated sugar, creating a sparkling exterior.
- Arrange the sugar-crusted dough balls on the prepared baking sheets, spacing them approximately 2 inches apart to prevent merging during baking.
- Bake the cookies for 8-10 minutes, watching for a set exterior while maintaining a slightly soft center that promises a tender bite.
- Immediately upon removal from the oven, gently press a chocolate kiss into the center of each warm cookie, allowing the heat to slightly crack the cookie’s edges and create a rustic appearance.
- Let the cookies rest on the baking sheet for 5 minutes to stabilize, then transfer to a wire rack for complete cooling, allowing the chocolate kiss to set perfectly.
Notes
- Chill the dough thoroughly to prevent spreading and ensure a perfect, compact cookie shape during baking.
- Experiment with different chocolate kiss flavors like caramel, peanut butter, or dark chocolate to create unique variations of the classic recipe.
- Use room temperature ingredients to help the butter and egg blend smoothly, creating a more consistent and tender cookie texture.
- For gluten-free options, substitute all-purpose flour with a 1:1 gluten-free baking blend, ensuring the same delicious results for those with dietary restrictions.
- Prep Time: 30 minutes
- Cook Time: 10 minutes
- Category: Desserts, Snacks
- Method: Baking
- Cuisine: American
Nutrition
- Serving Size: 24
- Calories: 140
- Sugar: 6 g
- Sodium: 50 mg
- Fat: 7 g
- Saturated Fat: 4 g
- Unsaturated Fat: 3 g
- Trans Fat: 0 g
- Carbohydrates: 17 g
- Fiber: 1 g
- Protein: 2 g
- Cholesterol: 15 mg
Jenna Stewart
Head Chef & Recipe Innovator
Expertise
Farm-to-Table Cooking; Seasonal Menu Development; Visual Plating Techniques; Flavor Layering and Simple Prep Hacks.
Education
The Culinary Institute of America, Hyde Park, NY
Jenna Stewart is the inventive spirit behind many of our standout dishes at Pro of Delicious Creations. A proud graduate of The Culinary Institute of America, she built her skills mastering both classic recipes and fresh, modern twists.
Now, Jenna celebrates the beauty of seasonal, local ingredients, often sourced from her garden and nearby markets, to create recipes that are bursting with flavor yet easy to follow. When she’s not experimenting in the kitchen, Jenna loves exploring nature on hikes and discovering new treasures at local co-ops.