Sweet Cherry Cream Cheese Danish Recipe for Cozy Mornings
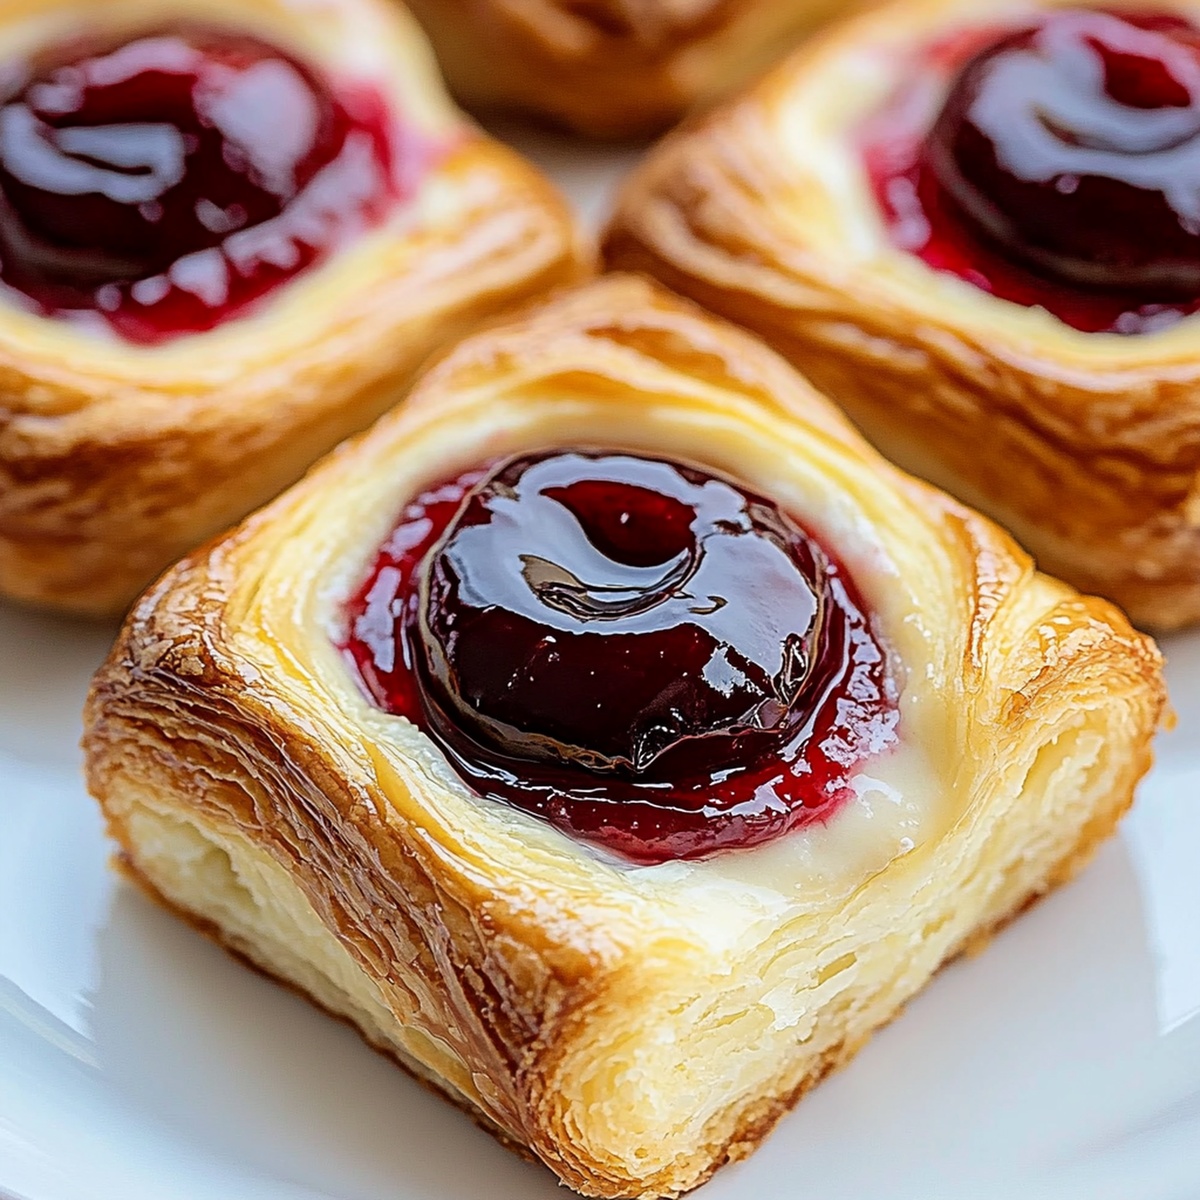
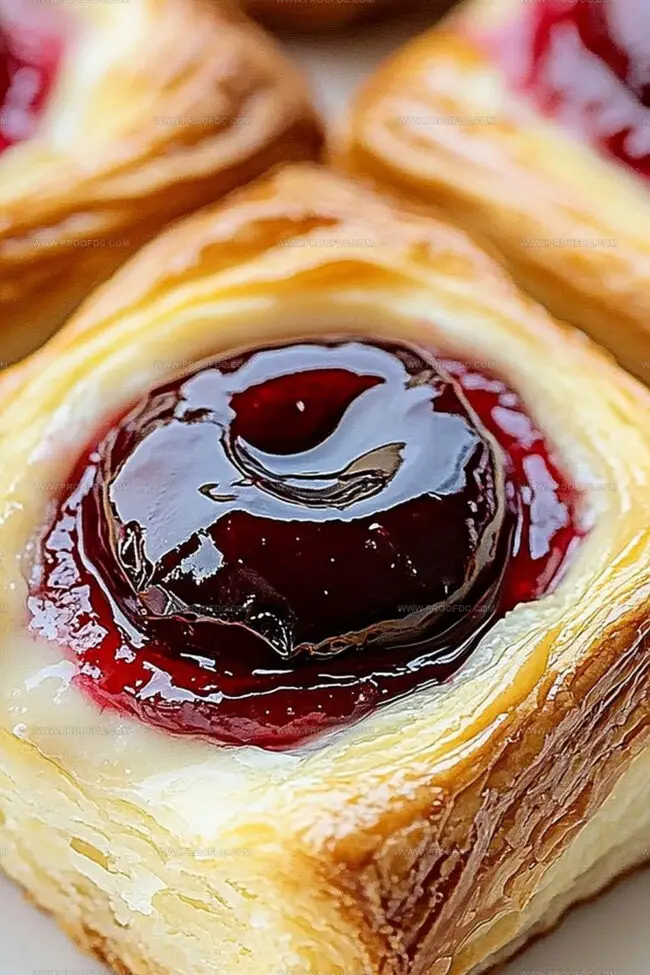
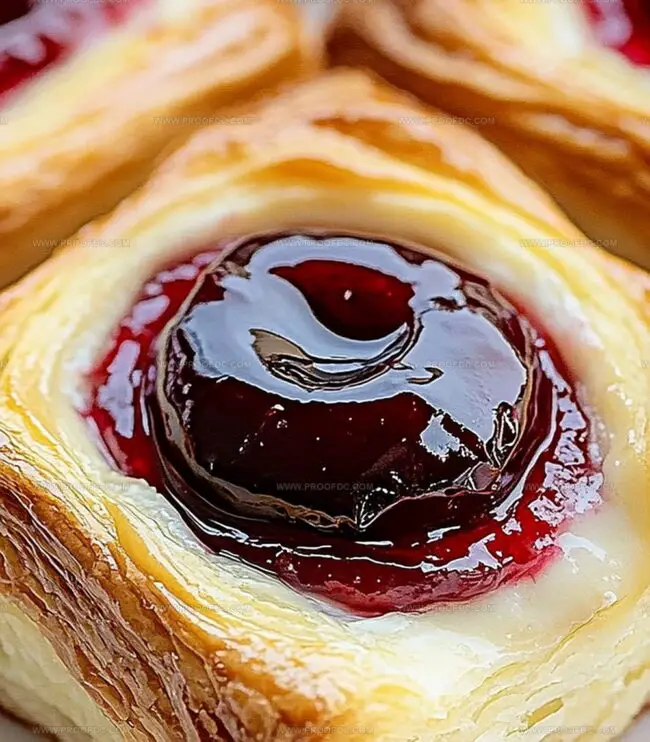
Biting into a luscious cherry cream cheese Danish that melts softly in your mouth.
Sweet mornings deserve something special and unexpected.
Flaky pastry layers embrace rich, tangy cream cheese and vibrant cherries in perfect harmony.
Delicate ingredients dance together, creating a breakfast treat that feels like pure indulgence.
Delightful textures and flavors promise a moment of pure culinary joy.
Weekend brunch just got incredibly delicious.
You’ll want to share these irresistible danishes with loved ones.
Grab a fork and savor every delectable bite.
Why Cherry Cream Cheese Danish Is A Sweet Treat
Ingredients For Cherry Cream Cheese Danish
Pastry Base:Filling Ingredients:Fruit and Topping:Binding and Finishing:How To Prepare Cherry Cream Cheese Danish At Home
Step 1: Prepare the Oven
Warm up your oven to 400 degrees Fahrenheit. Grab a baking sheet and line it with parchment paper for easy cleanup.
Step 2: Roll Out the Pastry
Sprinkle some flour on your work surface. Gently unroll the puff pastry sheet. For individual treats, slice the pastry into four equal squares. If you’re feeling fancy, keep it whole for a show-stopping large Danish.
Step 3: Whip Up the Creamy Filling
Grab a mixing bowl and combine:Blend everything until silky smooth and creamy.
Step 4: Build Your Delicious Danish
For Individual Pastries:For a Single Large Danish:Step 5: Give It a Golden Glow
Whisk together an egg and milk. Lovingly brush the pastry edges with this magical mixture to create a beautiful golden finish.
Step 6: Bake to Perfection
Slide your Danish onto the prepared baking sheet. Pop it into the oven and bake for 15-20 minutes. You’re looking for a beautifully puffed and golden-brown pastry that’ll make your kitchen smell amazing.
Step 7: Add the Finishing Touch (Optional)
Whip up a quick glaze by mixing:Once the Danish has cooled slightly, drizzle the glaze over the top for an extra touch of sweetness.
Serve warm and watch everyone’s eyes light up with pure joy!
Tips For The Best Cherry Cream Cheese Danish
Storing And Reheating Cherry Cream Cheese Danish Made Easy
What To Pair With Cherry Cream Cheese Danish
Try These Versions Of Cherry Cream Cheese Danish
Cherry Cream Cheese Danish FAQ Help
Puff pastry is ideal because it creates light, flaky layers that rise beautifully and provide a delicate, crisp texture when baked.
While pie filling is recommended for consistent results, you can use fresh pitted cherries. Just cook them first with a little sugar to create a syrupy consistency that won’t make the pastry soggy.
Always use room temperature cream cheese, don’t overload the filling, and ensure your puff pastry is cold when assembling. This helps maintain the pastry’s crisp structure during baking.
Absolutely! Reduce the sugar in the cream cheese filling, choose a less sweet cherry pie filling, or skip the optional glaze to control the overall sweetness level.
Print
Cherry Cream Cheese Danish Recipe
- Total Time: 30 minutes
- Yield: 8 1x
Description
Sweet pastry dreams come alive with this Cherry Cream Cheese Danish, blending delicate layers of buttery dough and rich, tangy filling. Delightful cherry swirls and creamy cheese create a breakfast treat that promises pure indulgence you’ll savor from first bite to last.
Ingredients
Pastry Base:
- 1 sheet (8 ounces/225 grams) puff pastry, thawed
Filling Ingredients:
- 4 ounces (113 grams) cream cheese, softened
- ½ cup (120 grams) cherry pie filling
- 2 tablespoons granulated sugar
- 1 teaspoon vanilla extract
- ½ teaspoon lemon zest
Egg Wash and Glaze:
- 1 egg
- 1 tablespoon milk
- ½ cup (60 grams) powdered sugar
- ¼ teaspoon vanilla extract
Instructions
- Prepare the workspace by gathering all necessary tools and preheating the oven to 400F (200C), ensuring a parchment-lined baking sheet is ready for the pastries.
- Gently unfold the puff pastry on a lightly dusted surface, carefully stretching and smoothing out any creases, then slice into four symmetrical squares or maintain the entire sheet for a rustic presentation.
- Craft the luxurious cream cheese mixture by blending softened cream cheese with granulated sugar, incorporating vanilla extract and delicate lemon zest until achieving a silky, uniform consistency.
- Construct the Danish by strategically positioning a generous cream cheese dollop in the center of each pastry square, then crown with a vibrant spoonful of cherry pie filling, artfully folding the pastry’s corners inward to create an elegant border that captures the luscious filling.
- Enhance the pastry’s appearance by whisking an egg with milk, then delicately brushing the exposed edges to promote a rich, golden-brown exterior during baking.
- Carefully slide the assembled pastries onto the prepared baking sheet, allowing them to transform in the preheated oven for 15-20 minutes until they rise majestically and develop a gorgeous amber-toned crust.
- Optional final touch involves creating a decadent glaze by combining powdered sugar, milk, and vanilla extract, then elegantly drizzling over the slightly cooled Danish to provide a sweet, glistening finish.
Notes
- Softening cream cheese at room temperature ensures a smooth, lump-free filling that spreads easily and blends perfectly.
- Chill the pastry briefly after assembly to help maintain its shape and create extra flaky layers during baking.
- Use fresh lemon zest for a bright, vibrant flavor that cuts through the richness of the cream cheese and enhances the cherry’s sweetness.
- For a gluten-free version, swap puff pastry with gluten-free puff pastry or use almond flour-based pastry dough to accommodate dietary restrictions.
- Prep Time: 10 minutes
- Cook Time: 20 minutes
- Category: Breakfast, Snacks, Desserts
- Method: Baking
- Cuisine: Danish
Nutrition
- Serving Size: 8
- Calories: 278
- Sugar: 12 g
- Sodium: 192 mg
- Fat: 16 g
- Saturated Fat: 7 g
- Unsaturated Fat: 9 g
- Trans Fat: 0 g
- Carbohydrates: 29 g
- Fiber: 1 g
- Protein: 4 g
- Cholesterol: 37 mg
Jenna Stewart
Head Chef & Recipe Innovator
Expertise
Farm-to-Table Cooking; Seasonal Menu Development; Visual Plating Techniques; Flavor Layering and Simple Prep Hacks.
Education
The Culinary Institute of America, Hyde Park, NY
Jenna Stewart is the inventive spirit behind many of our standout dishes at Pro of Delicious Creations. A proud graduate of The Culinary Institute of America, she built her skills mastering both classic recipes and fresh, modern twists.
Now, Jenna celebrates the beauty of seasonal, local ingredients, often sourced from her garden and nearby markets, to create recipes that are bursting with flavor yet easy to follow. When she’s not experimenting in the kitchen, Jenna loves exploring nature on hikes and discovering new treasures at local co-ops.