Sweet Cherry Cheesecake Cupcakes Recipe: Little Bites of Joy
Sweet dreams come alive with these magical cherry cheesecake cupcakes that blend creamy richness and fruity bursts in one delectable bite.
Sinking your teeth into a perfectly crafted miniature dessert that celebrates classic flavors with modern flair.
My kitchen experiments have transformed traditional cheesecake into adorable handheld treats that everyone adores.
Soft cream cheese mingles with tart cherries, creating a symphony of textures and tastes in each compact cupcake.
Guests will marvel at how something so small can pack such an incredible punch of deliciousness.
Each bite promises a moment of pure culinary bliss that feels both comforting and exciting.
You won’t be able to resist these irresistible little wonders that turn an ordinary dessert into an extraordinary experience.
Why Cherry Cheesecake Cupcakes Are A Sweet Crowd-Pleaser
What You’ll Need For Cherry Cheesecake Cupcakes
Crust Ingredients:Cheesecake Filling Ingredients:Topping Ingredients:How To Make Cherry Cheesecake Cupcakes In Simple Steps
Step 1: Craft the Crunchy Base
Preheat the oven to a cozy 325°F. Grab a muffin tin and line it with adorable cupcake liners. In a mixing bowl, combine:Blend everything until it looks like golden sand. Scoop a tablespoon of this magical mixture into each liner and press down firmly, creating a perfect crunchy foundation.
Step 2: Whip Up Creamy Cheesecake Magic
Grab a large mixing bowl and create a silky smooth cheesecake batter. Beat together:Blend until the mixture looks like clouds. Add eggs one by one, mixing gently after each addition. Splash in vanilla extract and a hint of lemon juice for that extra zing. Carefully pour the dreamy batter over the graham cracker bases, filling each liner about three-quarters full.
Step 3: Bake to Perfection
Slide the muffin tin into the warm oven. Bake for 18-20 minutes until the centers look set and slightly firm. The cupcakes should have a gentle wobble but not a full jiggle. Once done, carefully remove from the oven and let them rest in the pan for 10 minutes. Transfer to a cooling rack and allow them to cool completely.
Step 4: Crown with Cherry Delight
Once the cupcakes have cooled down, it’s time for the grand finale. Generously spoon luscious cherry pie filling over each cupcake. Let them chill in the refrigerator for at least 2 hours to allow all the flavors to mingle and develop.
Step 5: Serve and Enjoy
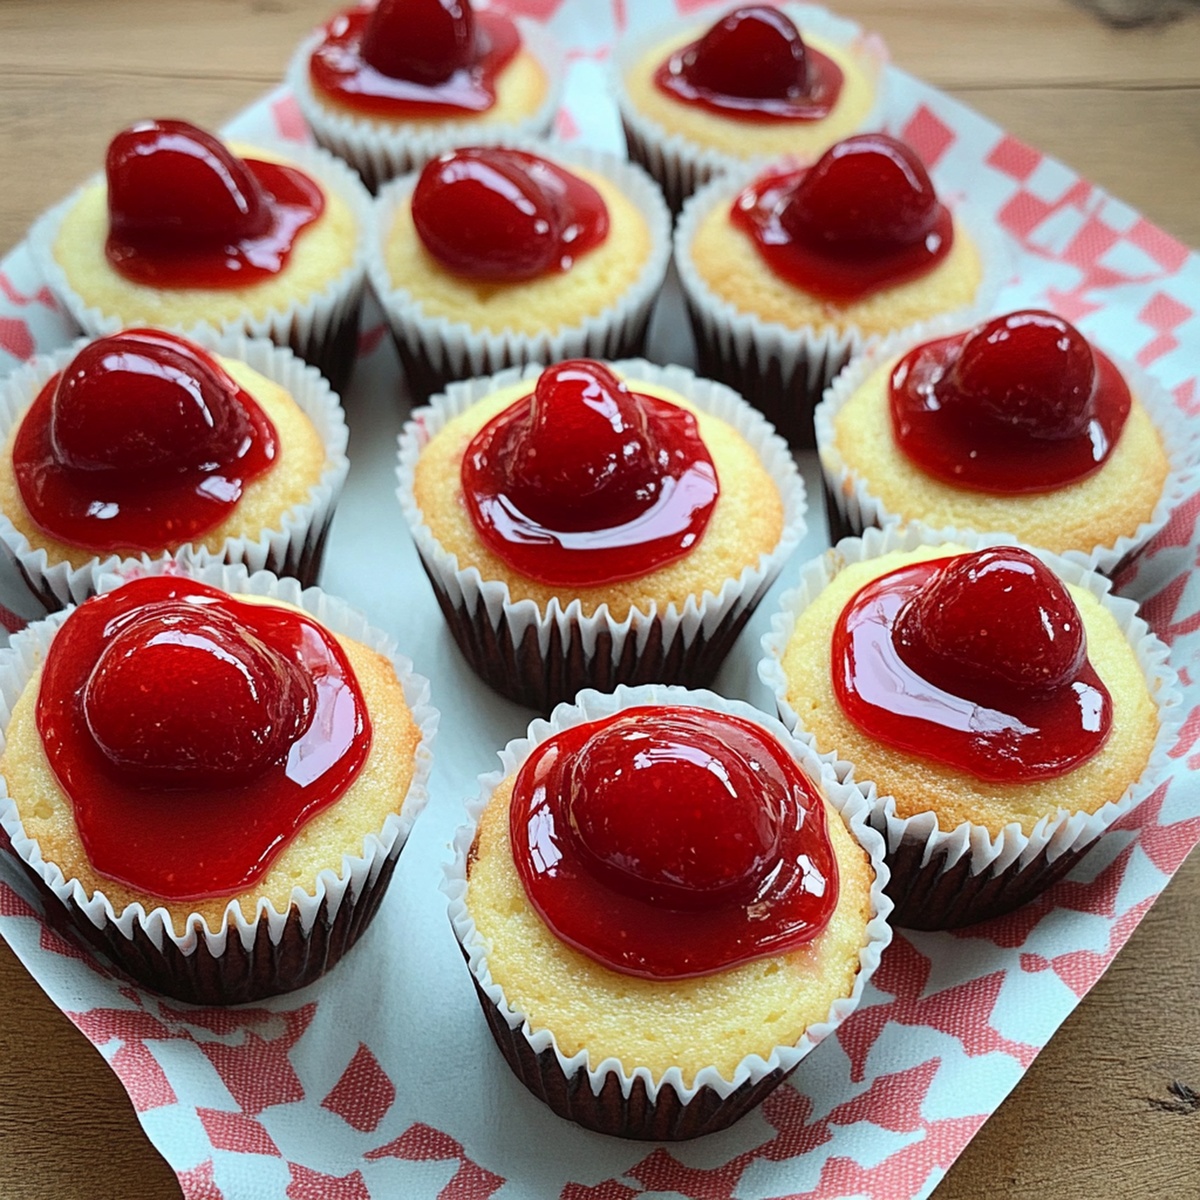
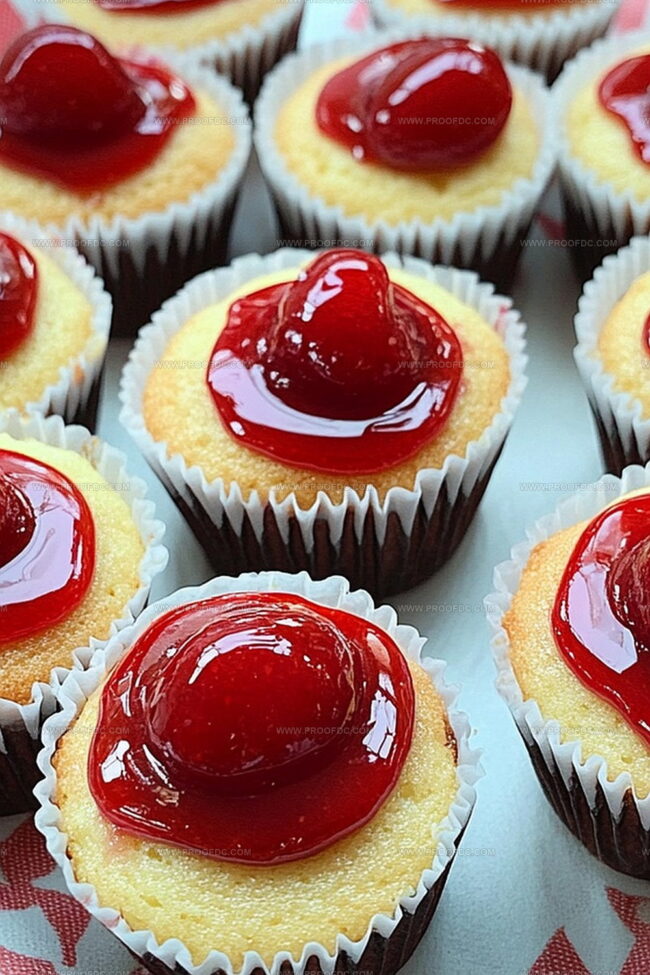
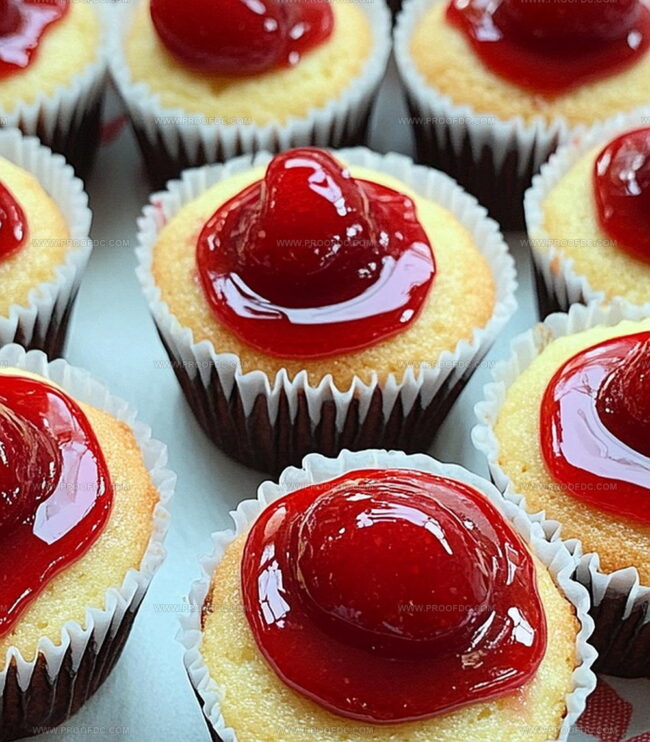
Pull out these gorgeous Cherry Cheesecake Cupcakes and watch eyes light up with excitement. Each bite promises a perfect blend of crispy crust, creamy cheesecake, and sweet cherry topping.
Tips For Creamy Cherry Cheesecake Cupcakes
How To Store And Reheat Cherry Cheesecake Cupcakes
Toppings That Pair With Cherry Cheesecake Cupcakes
Tasty Variations On Cherry Cheesecake Cupcakes
FAQs About Cherry Cheesecake Cupcakes
Absolutely! While cherry works wonderfully, you can swap it with other pie fillings like blueberry, strawberry, or even apple for a delicious twist.
Not really. A standard muffin tin, electric mixer, and basic mixing bowls are all you’ll need to create these delightful treats.
Look for slightly firm centers that don’t jiggle when you gently shake the pan. They should have a set appearance but not be completely solid or cracked.
Yes! These cherry cheesecake cupcakes are perfect for preparing in advance. You can make them a day or two before serving, and they’ll stay fresh when stored in the refrigerator.
Print
Cherry Cheesecake Cupcakes Recipe
- Total Time: 2 hours 35 minutes
- Yield: 12 1x
Description
Delightful cherry cheesecake cupcakes blend creamy cheesecake with sweet cherry goodness in a perfectly portioned treat. Rich flavors and elegant presentation make these cupcakes an irresistible dessert you’ll crave again and again.
Ingredients
Main Ingredients:
- 16 ounces (454 grams) cream cheese, softened
- 1 can (21 ounces / 595 grams) cherry pie filling
- 2 large eggs
Crust Ingredients:
- 1 cup (240 milliliters) graham cracker crumbs
- 4 tablespoons (60 milliliters) unsalted butter, melted
- 2 tablespoons (30 milliliters) granulated sugar
Flavor Enhancers:
- ½ cup (120 milliliters) granulated sugar
- 1 teaspoon (5 milliliters) vanilla extract
- ½ teaspoon (2.5 milliliters) lemon juice
Instructions
- Craft a delectable foundation by combining graham cracker crumbs with sugar and melted butter. Gently press the mixture into cupcake liners, creating a uniform base that will support the creamy cheesecake layer.
- Whip cream cheese and sugar until velvety smooth, incorporating eggs one by one to maintain a silky texture. Infuse the mixture with vanilla extract and a hint of lemon juice for a bright, sophisticated flavor profile.
- Carefully distribute the cheesecake batter into the prepared liners, filling each approximately three-quarters full to allow room for gentle rising during baking.
- Transfer the cupcake tin to a preheated oven, allowing the delicate cheesecake to set and develop a subtle golden edge. Watch carefully to prevent over-baking, aiming for a barely trembling center.
- After removing from the oven, permit the cupcakes to rest briefly in the tin, then transition to a cooling rack to stabilize their structure and prevent continued cooking.
- Once completely cooled, crown each cupcake with a generous dollop of vibrant cherry pie filling. Refrigerate to allow flavors to meld and the dessert to achieve optimal serving consistency.
- Chill thoroughly before serving, ensuring a luxurious, creamy texture that will delight dessert enthusiasts.
Notes
- Crush graham crackers finely to ensure a compact, even crust that holds together perfectly when biting into the cupcake.
- Use room temperature cream cheese and eggs for a smoother, lump-free cheesecake filling that blends effortlessly.
- Watch baking time closely, as over-baking can cause cracks and dry texture; the centers should be slightly soft and delicate when removed from the oven.
- Swap cherry pie filling with fresh cherry compote or other fruit toppings like blueberry or strawberry for seasonal variations and personalized flavor profiles.
- Prep Time: 15 minutes
- Cook Time: 20 minutes
- Category: Desserts, Snacks
- Method: Baking
- Cuisine: American
Nutrition
- Serving Size: 12
- Calories: 320
- Sugar: 24 g
- Sodium: 200 mg
- Fat: 18 g
- Saturated Fat: 10 g
- Unsaturated Fat: 8 g
- Trans Fat: 0 g
- Carbohydrates: 35 g
- Fiber: 1 g
- Protein: 4 g
- Cholesterol: 70 mg
Jenna Stewart
Head Chef & Recipe Innovator
Expertise
Farm-to-Table Cooking; Seasonal Menu Development; Visual Plating Techniques; Flavor Layering and Simple Prep Hacks.
Education
The Culinary Institute of America, Hyde Park, NY
Jenna Stewart is the inventive spirit behind many of our standout dishes at Pro of Delicious Creations. A proud graduate of The Culinary Institute of America, she built her skills mastering both classic recipes and fresh, modern twists.
Now, Jenna celebrates the beauty of seasonal, local ingredients, often sourced from her garden and nearby markets, to create recipes that are bursting with flavor yet easy to follow. When she’s not experimenting in the kitchen, Jenna loves exploring nature on hikes and discovering new treasures at local co-ops.