Zesty Cheesy Thumbprint Appetizers with Hot Pepper Jelly Recipe
These delightful cheesy thumbprint appetizers with hot pepper jelly promise a burst of flavor that’ll make your taste buds dance.
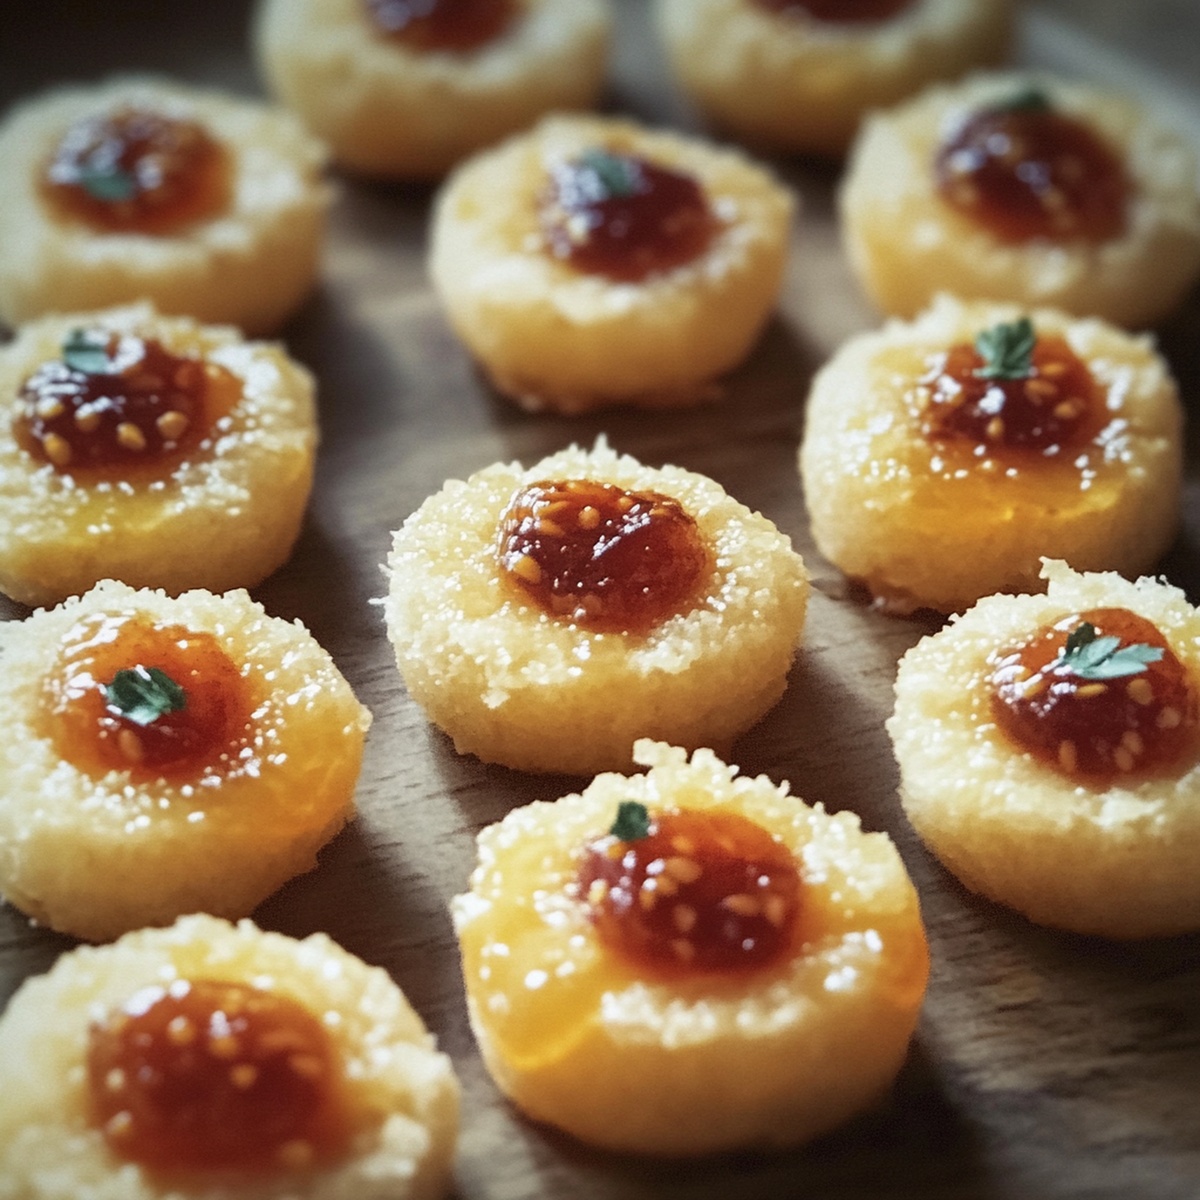
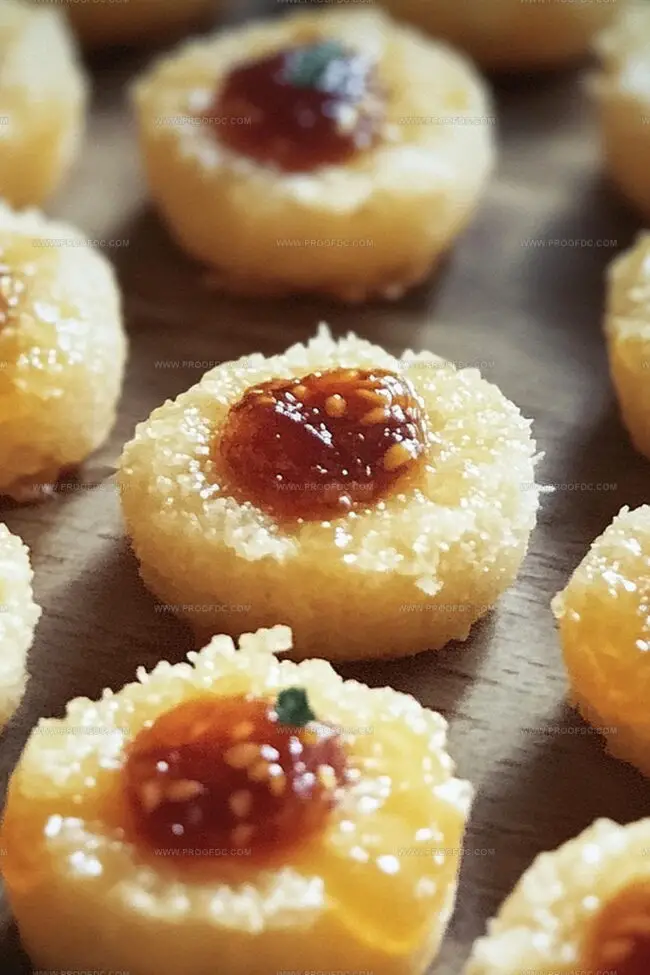
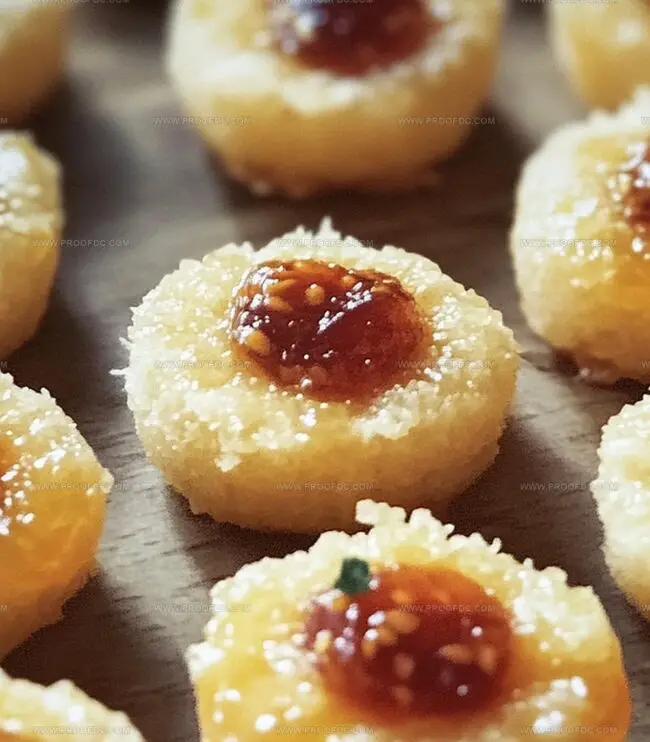
Pressing your thumb into soft, golden cheese dough and filling the indentation with vibrant, spicy-sweet jelly.
Cheese lovers will adore the creamy texture and unexpected kick from the pepper-infused preserve.
Small gatherings or holiday parties become instantly more exciting with these elegant bite-sized treats.
Guests will marvel at the beautiful jewel-like appearance and complex flavor profile.
Professional chefs and home cooks alike appreciate how simple ingredients can create something truly spectacular.
Each appetizer delivers a perfect balance of richness and heat that keeps people coming back for more.
You won’t be able to stop at just one of these irresistible little morsels.
Why People Can’t Stop Talking About Cheesy Thumbprint Appetizers With Hot Pepper Jelly
What You’ll Need For Cheesy Thumbprint Appetizers With Hot Pepper Jelly
Cheese Base Ingredients:Dry Ingredients:Binding and Moisture Ingredients:Topping Ingredient:How To Make Cheesy Thumbprint Appetizers With Hot Pepper Jelly At Home
Step 1: Prepare Baking Station
Grab your baking sheets and line them with parchment paper. Preheat the oven to a toasty 375F (190C). This ensures your thumbprints will bake perfectly golden and crisp.
Step 2: Create Flavor Base
Whisk together in a medium bowl:Step 3: Craft Cheesy Dough
In a large mixing bowl, cream together:Beat until the mixture looks smooth and dreamy. Add an egg yolk and splash of water, mixing until everything combines beautifully. Slowly fold in the dry ingredient mixture, stirring until a soft dough forms.
Step 4: Shape Delightful Bites
Roll the dough into small, adorable balls about the size of a tablespoon. Place them on prepared baking sheets, leaving space between each. Use your thumb or the back of a spoon to create a cozy little well in the center of each ball.
Step 5: First Baking Round
Slide the baking sheets into the oven. Bake for 10-12 minutes until the edges turn a gorgeous golden brown. When you remove them, gently press the centers again with a spoon to reinforce the thumbprint shape while they’re still warm.
Step 6: Jelly Finale
Carefully spoon a dollop of hot pepper jelly into each thumbprint’s center. Return to the oven for an additional 2-3 minutes to warm the jelly and create a glossy finish.
Step 7: Cool and Serve
Let the thumbprints rest on the baking sheet for 5 minutes. Transfer to a wire rack to cool completely. These spicy-cheesy bites are delicious served warm or at room temperature – perfect for parties or snacking!
Tips For Making Cheesy Thumbprint Appetizers With Hot Pepper Jelly
Store And Reheat Cheesy Thumbprint Appetizers With Hot Pepper Jelly The Easy Way
Good Pairings For Cheesy Thumbprint Appetizers With Hot Pepper Jelly
Cheesy Thumbprint Appetizers With Hot Pepper Jelly Recipe Ideas To Try
Cheesy Thumbprint Appetizers With Hot Pepper Jelly Questions Answered
These appetizers combine savory cheese cookies with a spicy-sweet hot pepper jelly, creating a delightful flavor combination that’s both unexpected and irresistible.
Yes! You can prepare the dough in advance and refrigerate it for up to 2 days before baking. Just let it sit at room temperature for about 15 minutes to soften slightly before shaping.
Gently press the indentation when the cookies are first baked, and be careful not to press too hard. If cracks appear, use the back of a warm spoon to softly reshape the center while the cookies are still warm.
Choose a good-quality hot pepper jelly with a balance of heat and sweetness. Red or green varieties both work well, depending on your preference for color and spice level.
Print
Cheesy Thumbprint Appetizers With Hot Pepper Jelly Recipe
- Total Time: 35 minutes
- Yield: 24 1x
Description
Cheesy thumbprint appetizers bring zesty excitement to party platters with their creamy cheese base and spicy pepper jelly glaze. Guests will devour these irresistible bites that perfectly balance rich creaminess and tangy heat in one elegant, crowd-pleasing nibble.
Ingredients
Main Ingredients:
- 1 ½ cups (190 g) all-purpose flour
- ½ cup (115 g) unsalted butter, softened
- 1 cup (100 g) sharp cheddar cheese, shredded
- ¼ cup (25 g) grated Parmesan cheese
Seasonings and Spices:
- ½ teaspoon salt
- ¼ teaspoon black pepper
- ½ teaspoon smoked paprika (optional)
Binding and Filling Ingredients:
- 1 large egg yolk
- 2 tablespoons cold water
- ⅓ cup (80 ml) hot pepper jelly
Instructions
- Prepare the baking workspace by lining two baking sheets with parchment paper or silicone mats. Heat the oven to 375F (190C), ensuring an even temperature for optimal baking.
- Create a flavor foundation by whisking flour, salt, black pepper, and smoked paprika in a medium mixing bowl. This blend will provide depth and complexity to the appetizer base.
- In a separate large bowl, cream together butter, cheddar, and Parmesan cheeses until smooth and thoroughly integrated. Incorporate the egg yolk and water, mixing until the liquid elements are fully absorbed.
- Gradually fold the dry ingredient mixture into the cheese blend, gently combining until a cohesive dough forms. The consistency should be firm yet pliable.
- Portion the dough into tablespoon-sized spheres, rolling each carefully between your palms. Arrange the balls on prepared baking sheets, maintaining approximately 2 inches of separation between each.
- Using your thumb or a rounded utensil, create a gentle indentation in the center of each dough ball. Press carefully to maintain the structural integrity of the appetizer.
- Transfer the baking sheets to the preheated oven. Bake for 10-12 minutes, watching for golden edges that indicate perfect doneness.
- While still warm, delicately reinforce the center indentations using the back of a spoon. This ensures a perfect receptacle for the jelly.
- Carefully spoon hot pepper jelly into each thumbprint’s center, distributing the vibrant condiment evenly. Return to the oven for an additional 2-3 minutes to slightly warm the jelly.
- Remove from the oven and allow the appetizers to rest on the baking sheet for 5 minutes. This cooling period helps set the jelly and stabilize the delicate cheese base.
- Gently transfer the thumbprints to a wire cooling rack, allowing them to reach room temperature. Serve immediately or within a few hours for optimal flavor and texture.
Notes
- Cheese Selection Matters: Opt for high-quality, sharp cheddar and freshly grated Parmesan for maximum flavor depth and richness in your thumbprint appetizers.
- Handling Delicate Dough: Keep your hands slightly cool and lightly flour them to prevent the buttery dough from sticking and ensure smooth, clean shaping of the thumbprints.
- Jelly Temperature Trick: Choose a hot pepper jelly with varied heat levels to customize spice intensity, allowing guests with different heat tolerances to enjoy the appetizers.
- Dietary Adaptations: Swap regular flour with gluten-free flour blend and use dairy-free cheese alternatives to make these thumbprints suitable for those with dietary restrictions.
- Prep Time: 20 minutes
- Cook Time: 15 minutes
- Category: Appetizer, Snacks
- Method: Baking
- Cuisine: American
Nutrition
- Serving Size: 24
- Calories: 129
- Sugar: 2 g
- Sodium: 133 mg
- Fat: 9 g
- Saturated Fat: 5 g
- Unsaturated Fat: 4 g
- Trans Fat: 0 g
- Carbohydrates: 10 g
- Fiber: 0 g
- Protein: 3 g
- Cholesterol: 20 mg
Jenna Stewart
Head Chef & Recipe Innovator
Expertise
Farm-to-Table Cooking; Seasonal Menu Development; Visual Plating Techniques; Flavor Layering and Simple Prep Hacks.
Education
The Culinary Institute of America, Hyde Park, NY
Jenna Stewart is the inventive spirit behind many of our standout dishes at Pro of Delicious Creations. A proud graduate of The Culinary Institute of America, she built her skills mastering both classic recipes and fresh, modern twists.
Now, Jenna celebrates the beauty of seasonal, local ingredients, often sourced from her garden and nearby markets, to create recipes that are bursting with flavor yet easy to follow. When she’s not experimenting in the kitchen, Jenna loves exploring nature on hikes and discovering new treasures at local co-ops.