Wholesome Country-Style Homemade Apple Pie Recipe
Warm ovens and autumn afternoons spark memories of sweet homemade rustic apple pie recipes that embrace comfort and tradition.
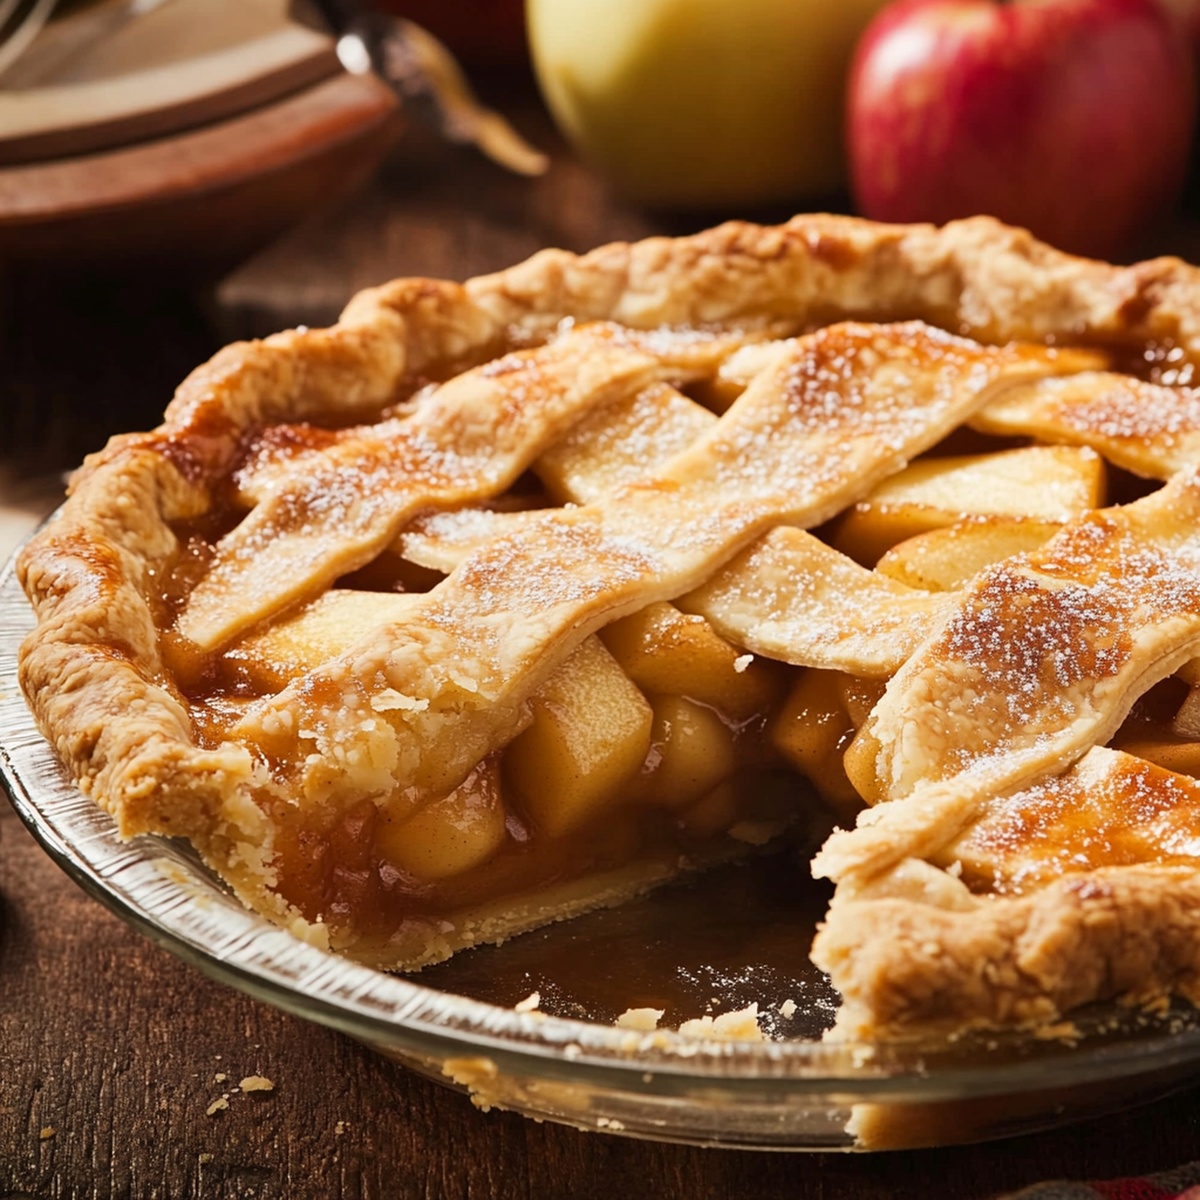
Golden pastry crusts cradle tender, spiced apple slices bursting with cinnamon and nutmeg.
Seasonal apples picked fresh from local orchards create a dessert that whispers of cozy moments and cherished gatherings.
Each flaky bite promises a delightful journey through layers of buttery goodness and caramelized fruit.
The rustic approach transforms simple ingredients into a masterpiece of rustic simplicity.
Weekend bakers will adore how effortlessly this pie comes together with minimal technique and maximum flavor.
Unleash your inner pastry chef and let this irresistible apple pie become your new favorite autumn dessert.
Quick Recipe Overview
What You’ll Need For Homemade Apple Pie
For Pie Crust Ingredients:For Apple Filling Ingredients:For Finishing Ingredients:Kitchen Gear For Homemade Apple Pie
Easy Steps To Make Homemade Apple Pie
Mix flour, salt, and sugar in a bowl. Cut cold butter into small pieces and blend until the mixture looks like chunky sand. Drizzle icy water gradually and knead until the dough forms a soft ball. Separate into two round sections, wrap in plastic, and chill in refrigerator for one hour.
Slice apples and toss with sugars, lemon juice, spices, and thickener. Allow mixture to rest and release natural juices, creating a rich, flavorful filling.
Warm oven to 375F. Roll out first dough section and drape into pie pan. Pour seasoned apple mixture into crust. Add small butter dollops across the top. Cover with second dough section, pinching edges together and creating decorative patterns. Cut small air vents on top.
Brush top crust with egg wash for beautiful shine. Slide pie into oven and bake until crust turns deep golden and filling bubbles energetically. Shield edges with foil if browning too quickly.
Allow pie to cool completely, letting filling set and flavors meld. Slice and serve with creamy vanilla ice cream or soft whipped cream for a delightful dessert experience.
Simple Tips For Homemade Apple Pie
Serving Ideas For Homemade Apple Pie
Storage Tips For Homemade Apple Pie
Print
Rustic Apple Pie Recipe
- Total Time: 2 hours 25 minutes
- Yield: 9 1x
Description
Grandma’s classic apple pie delights taste buds with its golden, flaky crust and cinnamon-spiced filling. Warm slices pair perfectly with vanilla ice cream, inviting friends and family to savor this timeless dessert.
Ingredients
- 6 cups (1.4 kg) apples, peeled, cored, and sliced (Granny Smith, Honeycrisp, or Fuji)
- 2 ½ cups (313 g) all-purpose flour
- 1 cup (227 g) unsalted butter, cold and cubed
- ¾ cup (150 g) granulated sugar
- ¼ cup (55 g) brown sugar
- 6–8 tbsps ice water
- 2 tbsps cornstarch or flour
- 1 ½ tsps cinnamon
- 1 tbsp granulated sugar
- 1 tbsp lemon juice
- 1 tbsp unsalted butter, cut into small pieces
- 1 egg
- 1 tbsp milk or water
- 1 tsp salt
- ¼ tsp nutmeg
- ¼ tsp salt
Instructions
- Pastry Preparation: Whisk flour, salt, and sugar in a large mixing bowl. Integrate chilled butter cubes using a pastry blender until mixture resembles coarse crumbs. Gradually add ice-cold water, blending until dough forms. Divide into two disks, wrap in plastic, and refrigerate for 1 hour to firm up.
- Apple Filling Creation: Combine sliced apples with sugars, lemon juice, cinnamon, nutmeg, and cornstarch. Let mixture rest to release and concentrate fruit juices, creating a robust flavor foundation.
- Crust Assembly: Preheat oven to 375F. Roll out one pastry disk on a floured surface and carefully transfer to pie dish. Trim excess edges with precision. Spread macerated apple filling evenly, dotting with butter fragments for additional richness.
- Pie Topping and Finishing: Layer second pastry disk over filling, sealing edges with a decorative crimp. Cut strategic venting slits across the top. Brush with egg wash to achieve a golden, glossy exterior.
- Baking Process: Position pie in preheated oven. Bake for approximately 55 minutes, monitoring crust color and filling bubble. If edges brown too quickly, protect with aluminum foil. Remove when crust turns amber and filling becomes gloriously bubbly.
- Serving Recommendation: Allow pie to cool and set for 2 hours. Slice and serve with vanilla ice cream or whipped cream for a sublime dessert experience.
Notes
- Select Butter Quality: Choose high-fat, cold European-style butter for flakier, more robust pastry texture that elevates entire pie experience.
- Prevent Soggy Crust: Sprinkle thin layer of breadcrumbs or ground almonds beneath apple filling to absorb excess moisture and maintain crisp bottom crust integrity.
- Control Apple Texture: Mix apple varieties like Granny Smith and Honeycrisp for balanced sweetness and structural consistency, preventing mushy or overly firm filling.
- Modify Dietary Needs: Substitute all-purpose flour with gluten-free blend and use coconut oil instead of butter for dairy-free, wheat-sensitive individuals without compromising delicious traditional flavor profile.
- Prep Time: 30 minutes
- Cook Time: 55 minutes
- Category: Desserts
- Method: Baking
- Cuisine: American
Nutrition
- Serving Size: 9
- Calories: 350
- Sugar: 20 g
- Sodium: 200 mg
- Fat: 16 g
- Saturated Fat: 10 g
- Unsaturated Fat: 4 g
- Trans Fat: 0 g
- Carbohydrates: 49 g
- Fiber: 2 g
- Protein: 3 g
- Cholesterol: 30 mg
Marcus Foley
Food Critic & Kitchen Coach
Expertise
Recipe Testing and Troubleshooting; Time-Saving Kitchen Hacks; Global Flavor Exploration; Engaging Food Writing and Honest Reviews.
Education
Institute of Culinary Education (ICE), New York, NY
Marcus Foley, based in Atlanta, GA, is a friendly food expert who makes cooking fun and simple.
With hands-on training from the Institute of Culinary Education and years of tasting everything from street food to fine dining, he shares easy kitchen hacks, global flavor ideas, and step-by-step recipes that turn kitchen mishaps into delicious surprises.