
The Easiest Butterscotch Crunchies Recipe You’ll Ever Make
Biting into a delightful butterscotch crunchies treat that instantly sparks nostalgia.
Sweet memories dance across your palate with each crisp, golden morsel.
These irresistible morsels blend rich caramel notes and satisfying textures in unexpected ways.
Childhood comfort meets sophisticated snacking through this simple yet magical recipe.
Crisp edges and soft centers create a delectable contrast you’ll absolutely adore.
Minimal ingredients transform into something extraordinary with just a few clever techniques.
Whip up these little wonders and watch smiles light up the room.
Let’s create magic in your kitchen today!
Why Butterscotch Crunchies Are So Addictive
What’s Inside Butterscotch Crunchies
Base Ingredients:Crunch Elements:Optional Finishing Ingredients:How To Make Butterscotch Crunchies At Home
Step 1: Melt Butterscotch And Peanut Butter Goodness
Grab your favorite microwave-safe bowl and toss in:Zap the mixture in short 30-second bursts, giving it a gentle stir each time. Watch the magic happen as the ingredients transform into a silky, golden pool of deliciousness. If you prefer the stovetop method, slowly warm the ingredients in a pan, stirring constantly to prevent burning.
Step 2: Create Crunchy Cereal Magic
Grab a spacious mixing bowl and add:Pour the molten butterscotch mixture over the cereal. Gently fold and swirl until every single cereal piece gets a luxurious butterscotch coating. Want extra sweetness? Fold in fluffy marshmallows for an extra layer of yumminess.
Step 3: Shape Delightful Clusters
Line a baking sheet with parchment paper. Using a spoon, dollop the mixture into adorable little clusters. Press them gently to create perfect bite-sized treats. Let your creativity shine as you shape each morsel.
Step 4: Chill And Enjoy
Slide the baking sheet into the refrigerator. Let the clusters cool and set for about 30 minutes. Once firm, transfer these golden treasures to an airtight container. They’re ready to satisfy your sweet tooth whenever cravings strike!
Butterscotch Crunchies Tips You’ll Love
Storing Butterscotch Crunchies The Right Way
Snacks That Go With Butterscotch Crunchies
Change Up Butterscotch Crunchies Easily
Butterscotch Crunchies FAQs Answered
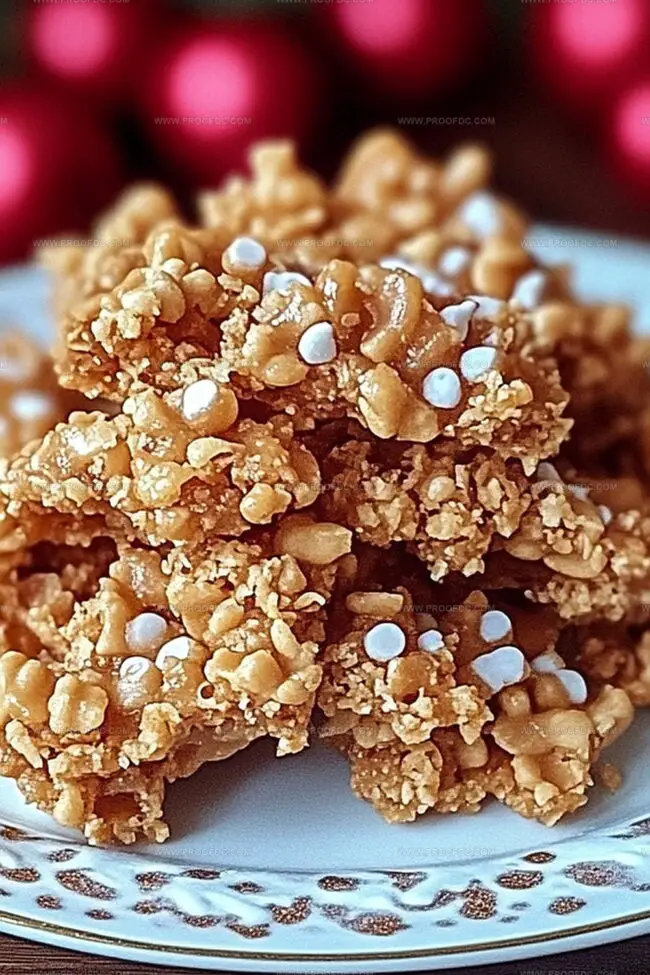
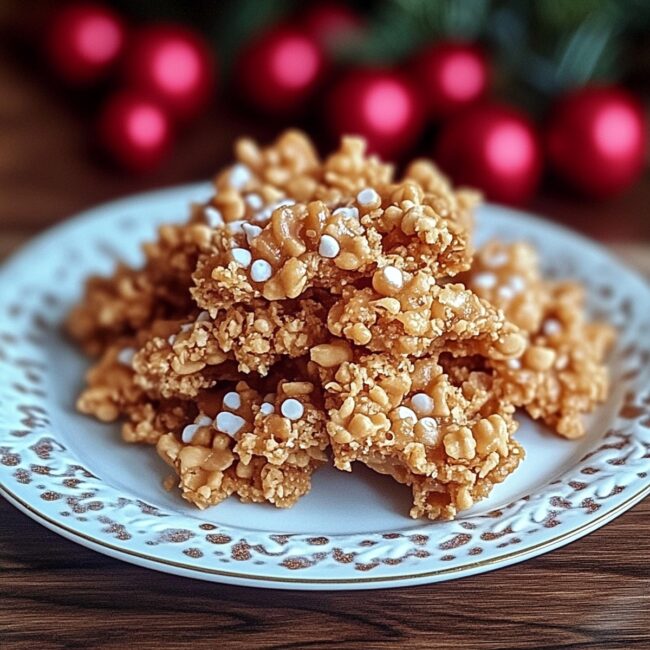
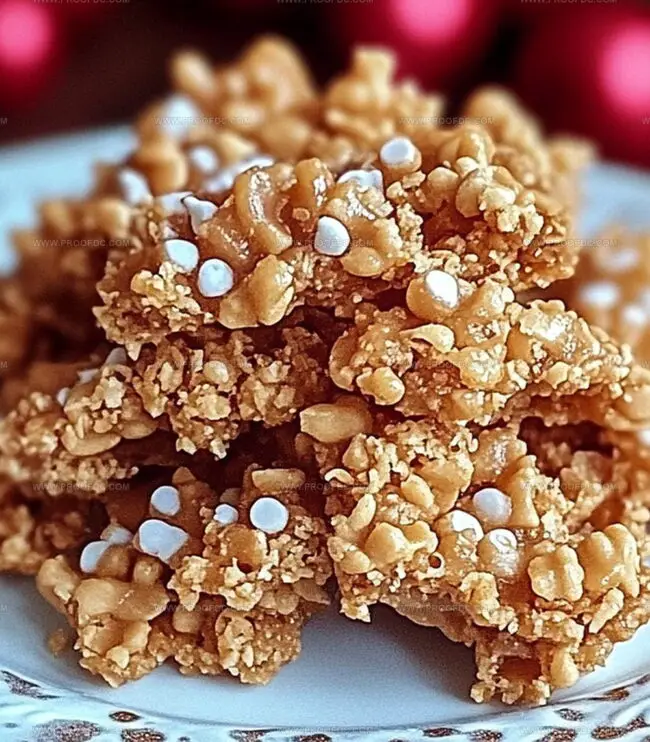
These treats combine the rich, caramel-like flavor of butterscotch with the crispy texture of rice cereal, creating an irresistible sweet snack that’s super easy to make with just a few ingredients.
Absolutely! Corn flakes or similar crunchy cereals work great as a substitute. Just make sure they’re similar in texture to maintain the signature crunchiness of the recipe.
Yes! It’s a perfect recipe for kids to help with. The microwave method is simple, and they’ll love mixing the ingredients and shaping the clusters. Just supervise the melting process and let them do the fun parts.
When stored in an airtight container in the refrigerator, these Butterscotch Crunchies will stay delicious for about 5-7 days. They’re best enjoyed within the first few days when they’re at peak crispiness.
Print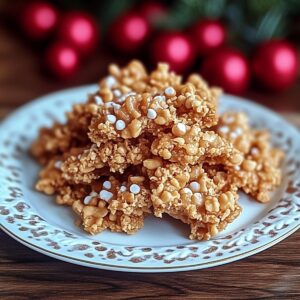
Butterscotch Crunchies Recipe
- Total Time: 40 minutes
- Yield: 12 1x
Description
Sweet butterscotch crunchies bring nostalgic comfort to classic dessert lovers. Crisp, golden treats deliver rich caramel notes with buttery whispers that invite delightful moments of pure indulgence.
Ingredients
Main Ingredients:
- 1 bag (11 oz/310 g) butterscotch chips
- 1 cup (250 g) creamy peanut butter
- 4 cups (100 g) crispy rice cereal (like Rice Krispies)
Texture Enhancers:
- 1 cup (120 g) mini marshmallows (optional)
Instructions
- Prepare a microwave-safe bowl and carefully combine butterscotch chips with creamy peanut butter, ensuring an even blend of these sweet components.
- Heat the mixture in short intervals, stirring thoroughly between each 30-second burst to prevent scorching and achieve a silky, uniform texture.
- Select a spacious mixing vessel and pour the glossy, melted butterscotch-peanut butter combination over crispy rice cereal, gently folding to coat each morsel completely.
- Incorporate fluffy marshmallows into the mixture, distributing them evenly throughout the crunchy base for added texture and sweetness.
- Line a baking sheet with parchment paper to prevent sticking and create an ideal surface for shaping the confections.
- Using a spoon, carefully drop small mounds of the mixture onto the prepared surface, creating uniform clusters with light, gentle pressing to maintain their rustic shape.
- Transfer the tray to the refrigerator and allow the butterscotch crunchies to set and solidify, which typically requires approximately 30 minutes of chilling time.
- Once firm and completely cooled, delicately transfer the treats to an airtight container to preserve their crisp texture and prevent moisture absorption.
Notes
- Prevent Burning: Melt butterscotch and peanut butter slowly to avoid scorching, using short microwave intervals or gentle stovetop heating while constantly stirring.
- Texture Control: Mix cereal gently to maintain crunchiness, ensuring each piece gets evenly coated without crushing the crispy rice.
- Customize Sweetness: Adjust marshmallow quantity based on preferred sweetness level, adding more for extra gooey texture or less for a more crisp result.
- Dietary Adaptations: Swap regular crispy rice cereal with gluten-free version for celiac-friendly treat, and use dairy-free peanut butter for vegan option.
- Prep Time: 10 minutes
- Cook Time: 30 minutes
- Category: Desserts, Snacks
- Method: Mixing
- Cuisine: American
Nutrition
- Serving Size: 12
- Calories: 184
- Sugar: 16 g
- Sodium: 68 mg
- Fat: 9 g
- Saturated Fat: 3 g
- Unsaturated Fat: 6 g
- Trans Fat: 0 g
- Carbohydrates: 25 g
- Fiber: 1 g
- Protein: 4 g
- Cholesterol: 0 mg
Jenna Stewart
Head Chef & Recipe Innovator
Expertise
Farm-to-Table Cooking; Seasonal Menu Development; Visual Plating Techniques; Flavor Layering and Simple Prep Hacks.
Education
The Culinary Institute of America, Hyde Park, NY
Jenna Stewart is the inventive spirit behind many of our standout dishes at Pro of Delicious Creations. A proud graduate of The Culinary Institute of America, she built her skills mastering both classic recipes and fresh, modern twists.
Now, Jenna celebrates the beauty of seasonal, local ingredients, often sourced from her garden and nearby markets, to create recipes that are bursting with flavor yet easy to follow. When she’s not experimenting in the kitchen, Jenna loves exploring nature on hikes and discovering new treasures at local co-ops.