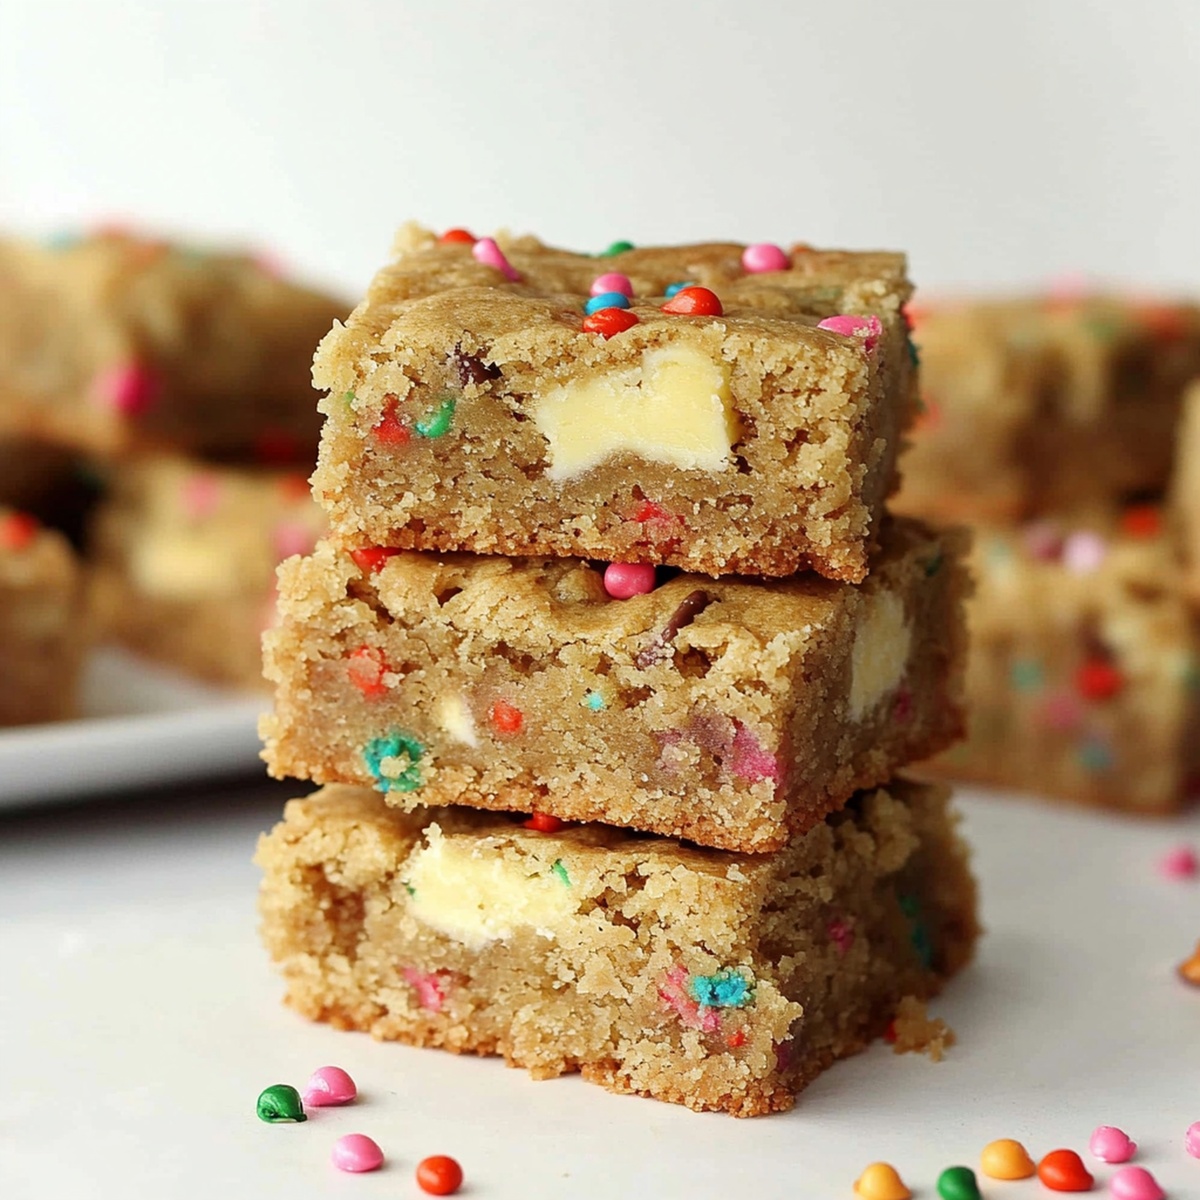
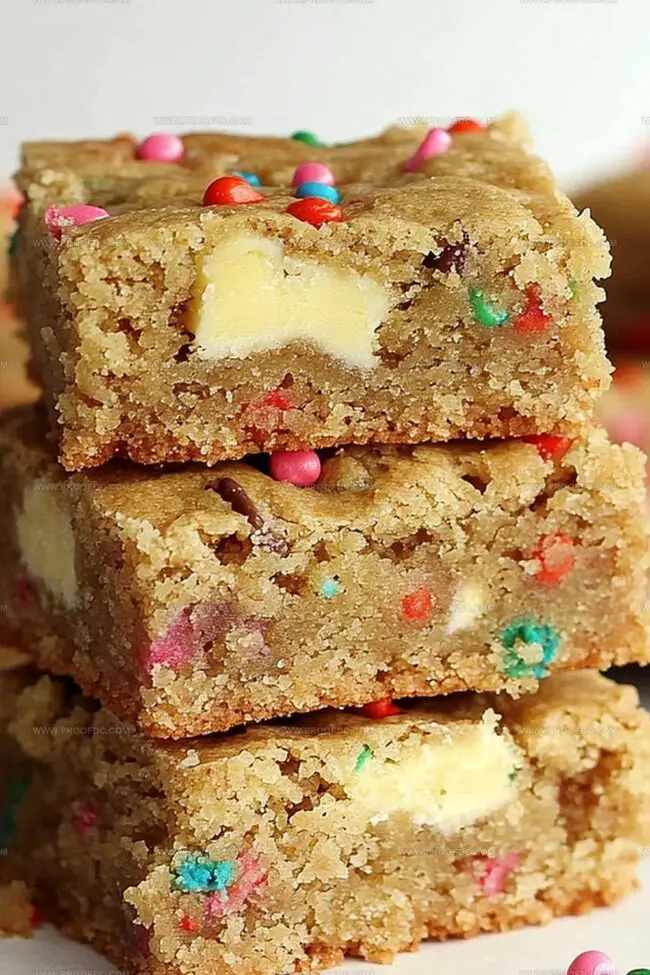
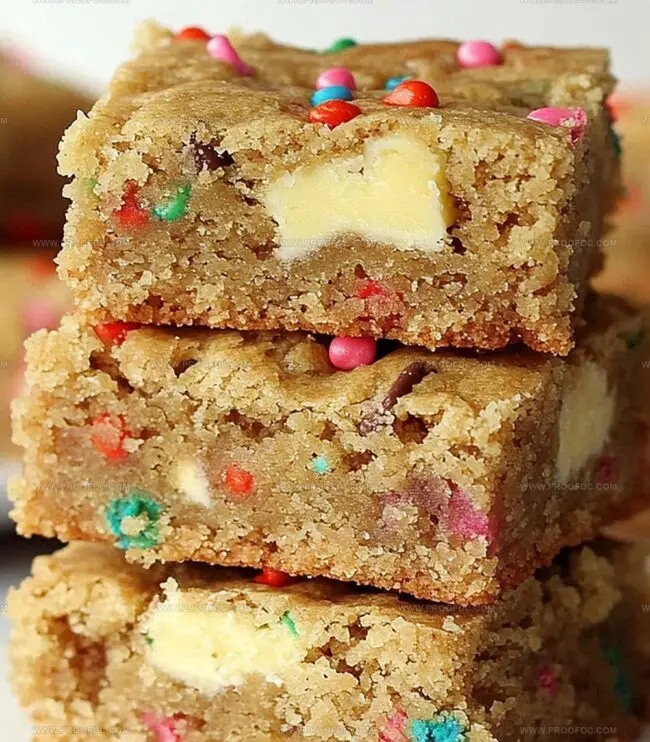
Celebrate with Chewy Birthday Cookie Bars Recipe
Sweet memories dance through these delectable birthday cookie bars that bring childhood joy right to your plate.
Memories often taste better when wrapped in sugary goodness and sprinkled with nostalgia.
Biting into a treat that captures celebration in every single crumb.
Colorful jimmies and soft, chewy textures make these bars a playground of deliciousness.
Each square promises a burst of happiness that connects you to moments of pure delight.
Friends will marvel at how something so simple can spark such wide smiles.
You cannot resist the magic baked into these festive bars that sing with sugary charm.
Grab a plate and let the birthday magic begin!
Why Birthday Cookie Bars Are A Colorful Treat
What You Need For Birthday Cookie Bars
Base Ingredients:Wet Ingredients:Decorative and Flavor Ingredients:How To Make Birthday Cookie Bars Easily
Step 1: Warm Up the Oven
Crank your oven to a toasty 350°F (175°C). Grab a 9×13-inch baking pan and give it a cozy parchment paper lining or a quick spray of grease.
Step 2: Create Your Dry Ingredient Magic
In a medium bowl, grab your whisk and blend together:Set this powdery mixture aside for now.
Step 3: Mix Wet Ingredient Wonders
Grab a large mixing bowl and whisk these ingredients into a smooth, dreamy concoction:Crack in an egg and an extra egg yolk, then splash in some vanilla extract. Whisk until everything looks perfectly combined.
Step 4: Bring Ingredients Together
Slowly add your dry ingredient mix to the wet ingredients. Stir gently until everything just comes together. Now fold in the fun extras:Step 5: Spread the Joy
Press that cookie dough into your prepared pan, making sure it’s evenly spread. Sprinkle a few extra playful sprinkles on top for that birthday party vibe.
Step 6: Bake to Perfection
Pop the pan into the oven and bake for 20-25 minutes. You’re looking for golden edges and a set center. Your kitchen will smell like pure happiness!
Step 7: Cool and Celebrate
Let the bars cool completely in the pan. Once they’re ready, lift them out using the parchment paper, slice into squares, and get ready to enjoy a bite of birthday bliss!
Pro Tip: These cookie bars are perfect for birthday parties, random celebrations, or just because you deserve something sweet!
Top Tips For Soft Birthday Cookie Bars
How To Store Birthday Cookie Bars Without Drying Out
Fun Matches With Birthday Cookie Bars
Birthday Cookie Bars Variations To Try
FAQs For Birthday Cookie Bars
Sprinkles add a festive, colorful touch that makes these cookie bars feel like a birthday celebration. They create a fun, playful texture and bring visual excitement to the dessert.
Absolutely! The white chocolate chips are optional. If you prefer, you can leave them out or substitute with other mix-ins like chocolate chips or nuts to customize the bars to your taste.
Look for lightly golden edges and a set center. The bars should look slightly underbaked in the middle, as they’ll continue to firm up while cooling. A toothpick inserted near the center should come out with a few moist crumbs.
These bars are easier to make since you spread the dough in one pan instead of forming individual cookies. They’re also softer and more dense, with a rich, cake-like texture that’s perfect for celebrations.
Print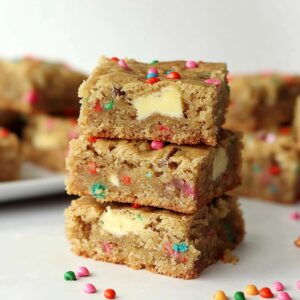
Birthday Cookie Bars Recipe
- Total Time: 40 minutes
- Yield: 16 1x
Description
Indulgent birthday cookie bars blend childhood nostalgia with sweet celebration, creating a delightful dessert that sparks joy. Colorful sprinkles and rich buttery layers invite you to savor each delectable bite of pure happiness.
Ingredients
Main Ingredients:
- 1 cup unsalted butter, melted and slightly cooled
- 2 ¼ cups (280 grams) all-purpose flour
- 1 cup (200 grams) granulated sugar
- ½ cup (100 grams) packed light brown sugar
- 1 large egg
- 1 large egg yolk
Binding and Flavor Enhancers:
- 2 teaspoons vanilla extract
- ½ teaspoon baking powder
- ¼ teaspoon baking soda
- ¼ teaspoon salt
Decorative Ingredients:
- ½ cup (80 grams) rainbow sprinkles (plus extra for topping)
- Optional: ½ cup (85 grams) white chocolate chips or birthday cake-flavored chips
Instructions
- Prepare the baking environment by heating the oven to 350F (175C) and lining a 9×13-inch pan with parchment paper, ensuring complete coverage for easy removal.
- Create a dry ingredient foundation by whisking flour, baking powder, baking soda, and salt in a medium bowl until uniformly combined, then set aside for later integration.
- Develop a smooth wet mixture by thoroughly blending melted butter with granulated and brown sugars until the texture becomes silky and consistent.
- Enhance the wet mixture by incorporating the whole egg, additional egg yolk, and vanilla extract, whisking vigorously to create a homogeneous liquid base.
- Gently fold the dry ingredient mixture into the wet ingredients, using minimal stirring to prevent overworking the dough, creating a soft and tender consistency.
- Delicately integrate white chocolate chips and colorful sprinkles into the cookie dough, distributing them evenly throughout the mixture for balanced flavor and visual appeal.
- Transfer the dough into the prepared pan, spreading it carefully to create an even layer and decoratively scattering additional sprinkles across the surface.
- Place the pan in the preheated oven and bake for 20-25 minutes, watching for golden-brown edges and a set center that indicates perfect doneness.
- Remove from the oven and allow the cookie bars to cool completely within the pan, which helps them firm up and become easier to slice.
- Once thoroughly cooled, lift the entire batch out using the parchment paper edges and slice into clean, precise squares or rectangles for serving.
Notes
- Opt for room temperature ingredients to ensure even mixing and smoother texture in your cookie bars.
- Use gel food coloring for vibrant sprinkles that won’t bleed or fade during baking, maintaining a festive appearance.
- Chill the dough for 30 minutes before spreading in the pan to prevent excessive spreading and create thicker, chewier bars.
- Swap white chocolate chips with dark or milk chocolate for different flavor profiles, or use dairy-free alternatives for vegan options.
- Prep Time: 15 minutes
- Cook Time: 20-25 minutes
- Category: Desserts, Snacks
- Method: Baking
- Cuisine: American
Nutrition
- Serving Size: 16
- Calories: 305
- Sugar: 20 g
- Sodium: 125 mg
- Fat: 18 g
- Saturated Fat: 11 g
- Unsaturated Fat: 7 g
- Trans Fat: 0 g
- Carbohydrates: 36 g
- Fiber: 1 g
- Protein: 3 g
- Cholesterol: 50 mg
Jenna Stewart
Head Chef & Recipe Innovator
Expertise
Farm-to-Table Cooking; Seasonal Menu Development; Visual Plating Techniques; Flavor Layering and Simple Prep Hacks.
Education
The Culinary Institute of America, Hyde Park, NY
Jenna Stewart is the inventive spirit behind many of our standout dishes at Pro of Delicious Creations. A proud graduate of The Culinary Institute of America, she built her skills mastering both classic recipes and fresh, modern twists.
Now, Jenna celebrates the beauty of seasonal, local ingredients, often sourced from her garden and nearby markets, to create recipes that are bursting with flavor yet easy to follow. When she’s not experimenting in the kitchen, Jenna loves exploring nature on hikes and discovering new treasures at local co-ops.