The Crispiest Baked Sweet and Sour Chicken Recipe
My kitchen adventure with this baked sweet and sour chicken recipe started when I craved something crispy yet tangy.
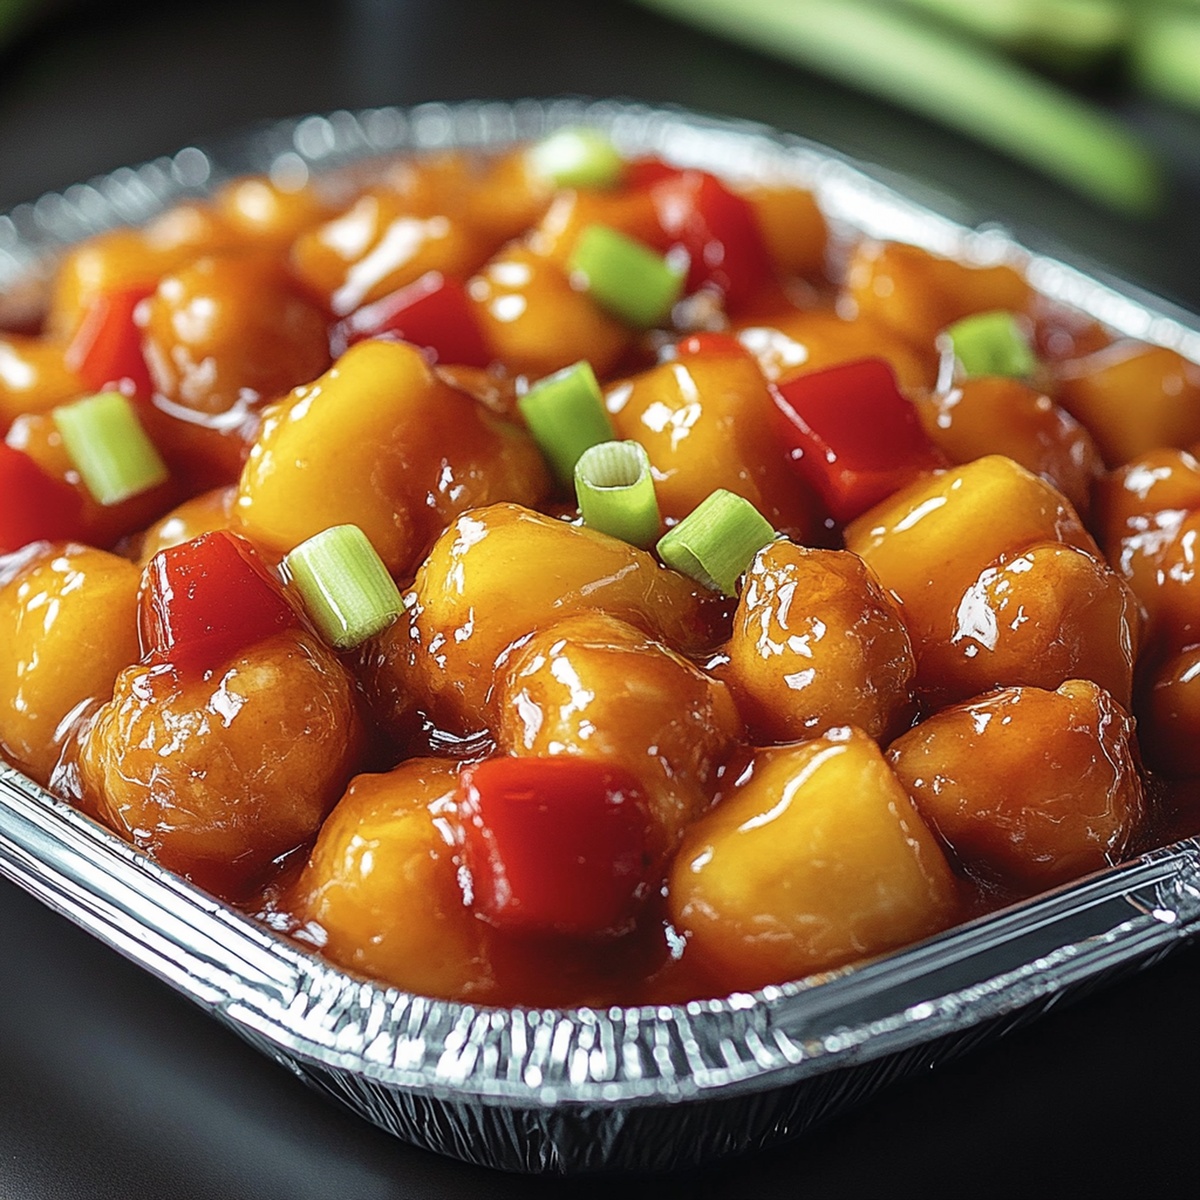
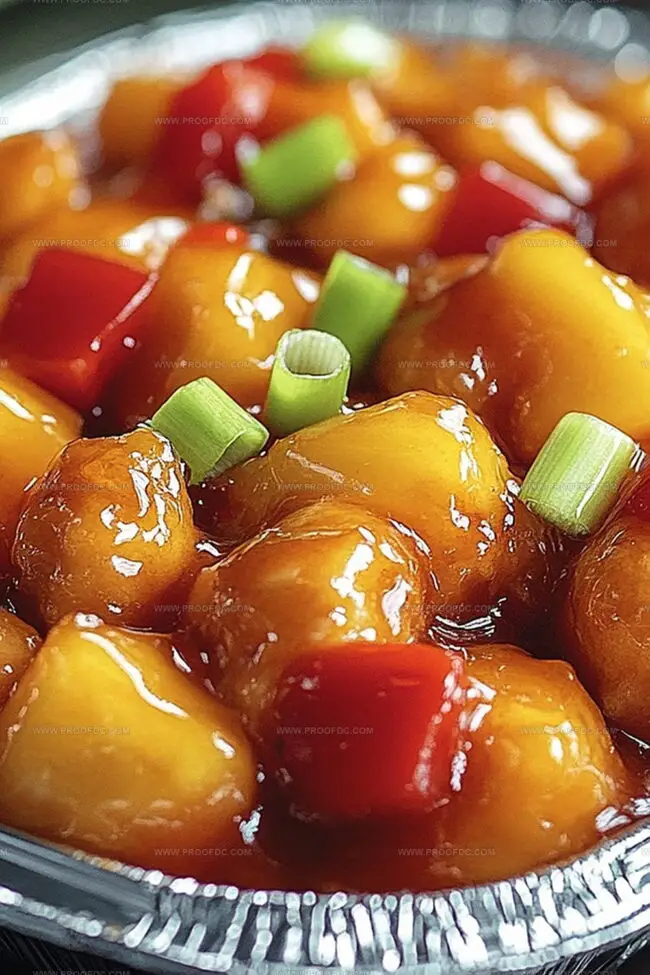
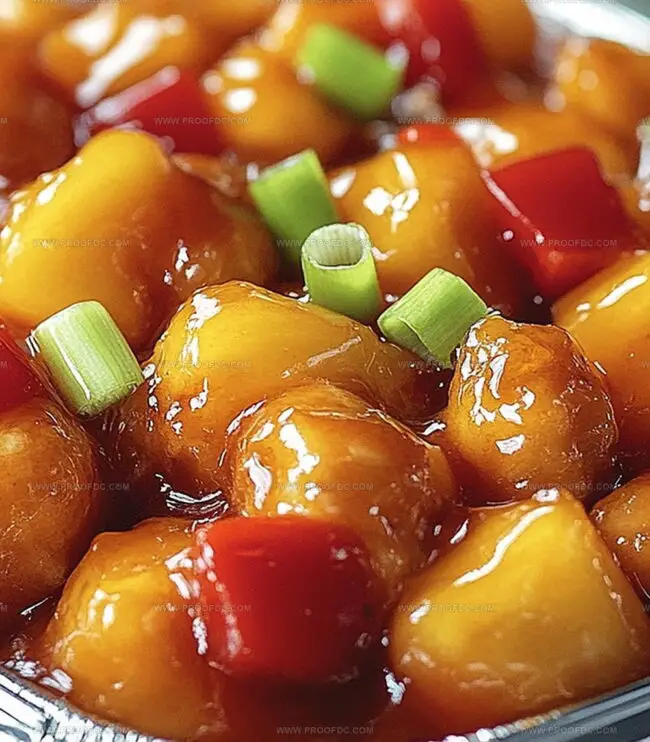
Tender chicken pieces coated in a glossy, vibrant sauce that makes taste buds dance with excitement.
Traditional takeout has nothing on this homemade version that brings restaurant-quality flavors right to your plate.
Every bite promises a perfect balance between sweetness and zesty notes that will surprise you.
Home cooking can feel magical when simple ingredients transform into something spectacularly delicious.
The secret lies in the careful marinating and baking technique that keeps meat juicy and sauce perfectly caramelized.
Trust me, this dish will become your new go-to meal that impresses without complicated steps.
Grab your apron and let the culinary magic begin!
Why Baked Sweet And Sour Chicken Stands Out
All Ingredients For Baked Sweet And Sour Chicken
Protein Base:Coating Ingredients:Sauce Components:Cooking Essentials:Garnish:Steps To Make Baked Sweet And Sour Chicken
Step 1: Warm Up the Oven
Crank the oven to a toasty 400°F (200°C). Grab a baking dish and give it a quick spray of cooking oil or line it with parchment paper for easy cleanup.
Step 2: Chicken Prep Magic
Gather your ingredients:Sprinkle salt and pepper over the chicken. Set up two shallow bowls – one with cornstarch and another with beaten eggs. Roll each chicken piece in cornstarch, giving it a light dusty coat. Then dive it into the egg bath, making sure it’s completely dressed up.
Step 3: Golden Sear Dance
Heat up a skillet with some vegetable oil over medium-high heat. Carefully place chicken pieces in the pan, creating a sizzling symphony. Brown each piece until they’re sporting a gorgeous golden jacket. No need to cook them through completely – just give them a beautiful tan. Transfer these golden beauties to the prepared baking dish.
Step 4: Sauce Sensation
Whip up the sauce with these stars:In a saucepan, mix vinegar, ketchup, sugar, soy sauce, and garlic powder. Bring the mixture to a gentle simmer, stirring until sugar melts completely. Mix cornstarch with a splash of water to create a smooth slurry. Pour this into the sauce and watch it transform into a glossy, thick wonder in about 1-2 minutes.
Step 5: Baking Brilliance
Pour the tantalizing sauce over the chicken, making sure every piece gets a loving coat. Slide the dish into the preheated oven and bake for 25-30 minutes. Halfway through, give everything a quick stir to ensure even sauce coverage.
Step 6: Serve with Flair
Plate your masterpiece over fluffy steamed rice. Sprinkle some chopped green onions or a handful of sesame seeds for that extra pop of flavor and visual excitement. Watch as everyone’s eyes light up when this sweet and tangy chicken hits the table!
Smart Tips For Baked Sweet And Sour Chicken
How To Store And Reheat Baked Sweet And Sour Chicken
Great Sides With Baked Sweet And Sour Chicken
Tasty Variations Of Baked Sweet And Sour Chicken
Baked Sweet And Sour Chicken FAQs Answered
This recipe offers a healthier alternative by baking instead of deep-frying, which reduces oil usage while maintaining a crispy exterior and delivering the classic sweet and sour flavor profile.
Both chicken breasts and thighs work perfectly. Breasts will be leaner, while thighs provide more moisture and richer flavor. Just ensure they’re cut into similar-sized pieces for even cooking.
The key is double-coating the chicken pieces with cornstarch and egg, then briefly searing them in a skillet before baking. This technique creates a protective layer that helps maintain crispiness during the baking process.
To make it gluten-free, simply substitute regular soy sauce with tamari or gluten-free soy sauce, and ensure your cornstarch is certified gluten-free. The rest of the ingredients are naturally gluten-free.
Print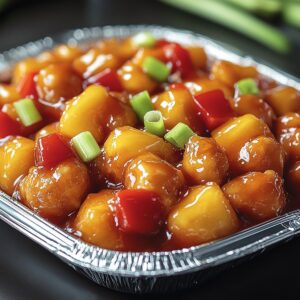
Baked Sweet And Sour Chicken Recipe
- Total Time: 45 minutes
- Yield: 4 1x
Description
Culinary magic happens when sweet and sour chicken dances on your plate, bringing together crispy textures and bold flavors from Chinese-American cuisine. Perfectly balanced sauce and golden-brown chicken pieces promise a delightful meal that will make you crave seconds.
Ingredients
Main Protein Ingredients:
- 1 lb (500 g) chicken breast, cut into bite-sized cubes
- 2 large eggs, beaten
Coating and Seasoning Ingredients:
- ½ cup (65 g) cornstarch
- Salt, to taste
- Pepper, to taste
- 2 tablespoons vegetable oil
Sweet and Sour Sauce Ingredients:
- ½ cup (120 ml) white vinegar
- ⅓ cup (80 ml) ketchup
- ½ cup (100 g) granulated sugar
- 1 tablespoon soy sauce
- 1 teaspoon garlic powder
- 1 teaspoon cornstarch
- 1 tablespoon water
Instructions
- Preheat the culinary workspace by warming the oven to a robust 200C (400F), creating a perfectly calibrated environment for transforming raw ingredients into a delectable meal. Prepare the baking vessel with a light coating of oil or protective parchment paper to prevent unwanted sticking.
- Craft the chicken coating by establishing two distinct preparation zones: one with fine cornstarch and another with whisked eggs. Meticulously season the chicken pieces with a delicate balance of salt and pepper, then methodically enrobe each morsel first in cornstarch, followed by a thorough egg bath, ensuring complete coverage.
- Ignite a large skillet with vegetable oil, bringing it to a sizzling medium-high temperature. Execute a strategic searing technique, browning the chicken pieces in carefully managed batches until they develop a golden, crisp exterior. Transfer the partially cooked morsels to the awaiting baking dish with precision.
- Choreograph the sweet and sour sauce by combining vinegar, ketchup, sugar, soy sauce, and garlic powder in a saucepan. Orchestrate the ingredients over medium heat, stirring until the sugar dissolves completely. Introduce a cornstarch slurry to transform the liquid into a luxurious, glossy sauce that clings magnificently to the chicken.
- Cascade the vibrant sauce over the prepared chicken, ensuring each piece becomes thoroughly coated. Slide the baking dish into the preheated oven, allowing the chicken to bake uncovered for 25-30 minutes. Midway through the cooking process, gently redistribute the pieces to guarantee uniform flavor absorption and consistent cooking.
- Present the finished dish atop a bed of steamed rice, adorning it with a sprinkle of freshly chopped green onions or a delicate shower of sesame seeds to elevate the visual and flavor profile of this culinary creation.
Notes
- Swap cornstarch with arrowroot powder for a gluten-free version that provides the same crispy coating and thickening power.
- Use coconut sugar or honey instead of white sugar to create a more complex, less processed sweetness that enhances the dish’s natural flavors.
- Consider marinating chicken pieces in a mixture of soy sauce and ginger for 30 minutes before coating to infuse deeper umami and aromatic notes.
- For a lighter version, air fry the chicken pieces instead of pan-searing, which reduces oil usage while maintaining a crispy exterior.
- Prep Time: 15 minutes
- Cook Time: 30 minutes
- Category: Dinner, Snacks
- Method: Baking
- Cuisine: Chinese
Nutrition
- Serving Size: 4
- Calories: 500
- Sugar: 20 g
- Sodium: 200 mg
- Fat: 15 g
- Saturated Fat: 2 g
- Unsaturated Fat: 10 g
- Trans Fat: 0 g
- Carbohydrates: 60 g
- Fiber: 1 g
- Protein: 30 g
- Cholesterol: 150 mg
Jenna Stewart
Head Chef & Recipe Innovator
Expertise
Farm-to-Table Cooking; Seasonal Menu Development; Visual Plating Techniques; Flavor Layering and Simple Prep Hacks.
Education
The Culinary Institute of America, Hyde Park, NY
Jenna Stewart is the inventive spirit behind many of our standout dishes at Pro of Delicious Creations. A proud graduate of The Culinary Institute of America, she built her skills mastering both classic recipes and fresh, modern twists.
Now, Jenna celebrates the beauty of seasonal, local ingredients, often sourced from her garden and nearby markets, to create recipes that are bursting with flavor yet easy to follow. When she’s not experimenting in the kitchen, Jenna loves exploring nature on hikes and discovering new treasures at local co-ops.