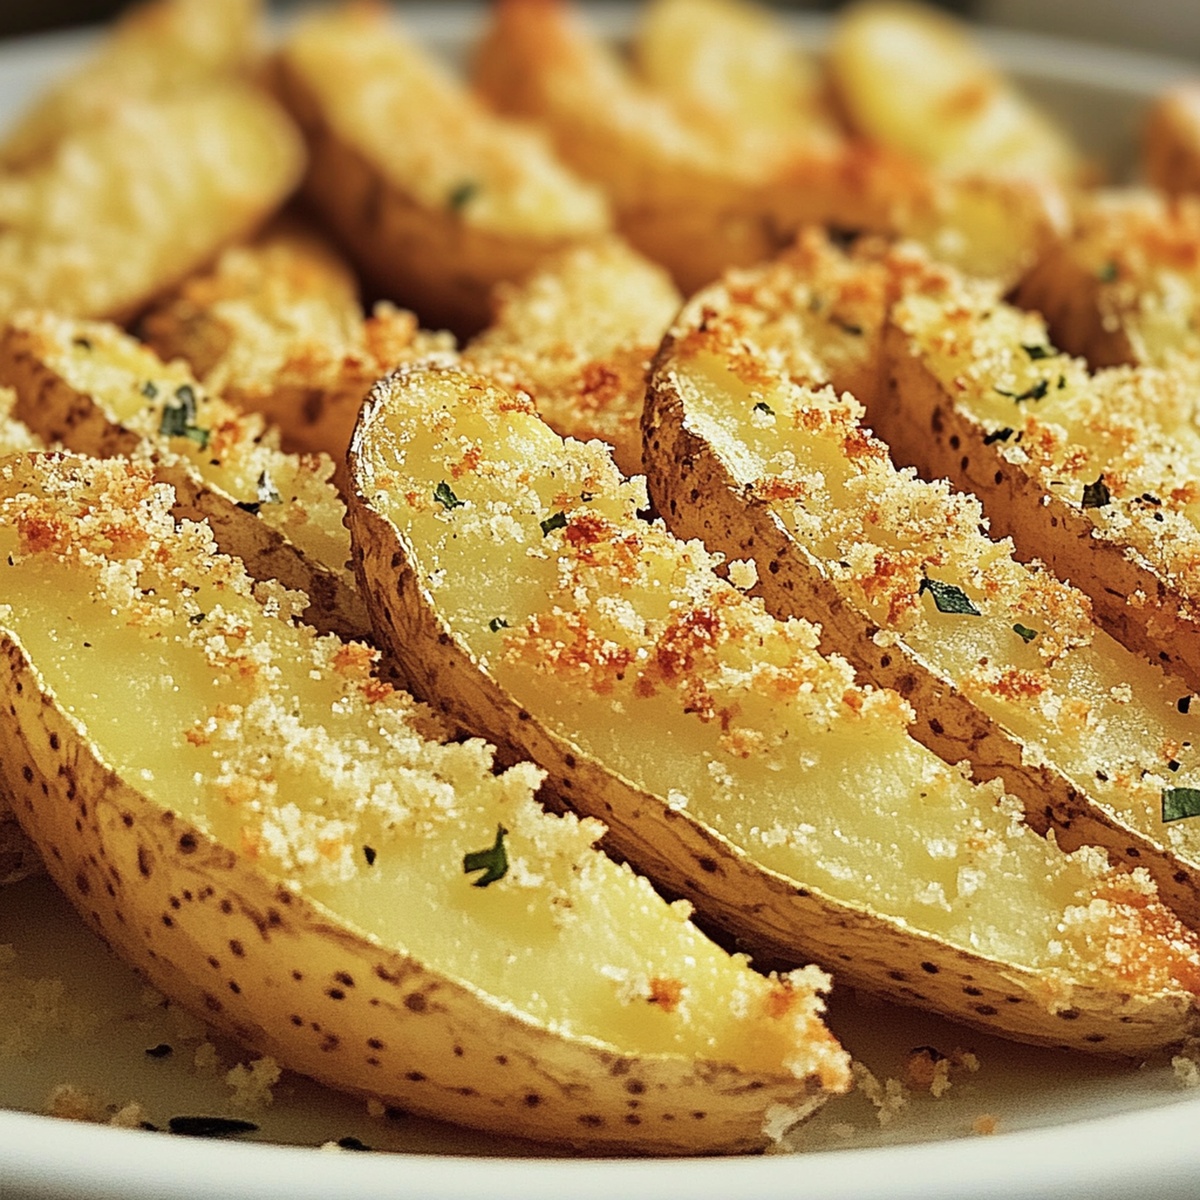
Easy Baked Garlic Parmesan Potato Wedges Recipe for Cozy Nights
Crispy golden potato wedges coated in a savory parmesan garlic blend will make your taste buds dance with excitement.
These irresistible bites pack incredible flavor in every single crunch.
Home cooks adore simple recipes that feel gourmet yet require minimal effort.
Salt and herbs work magic when combined with potatoes fresh from the oven.
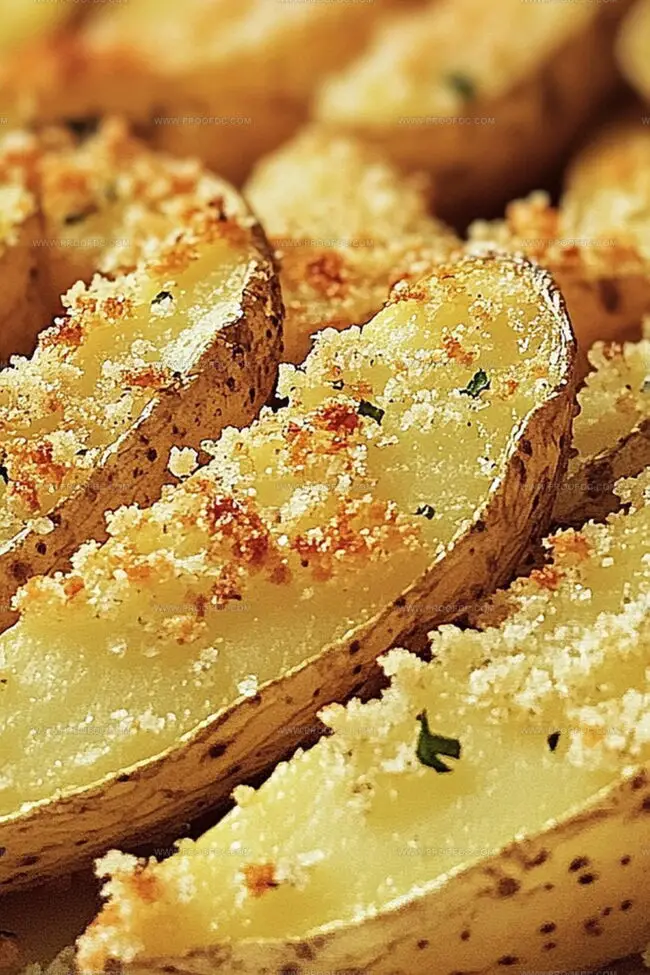
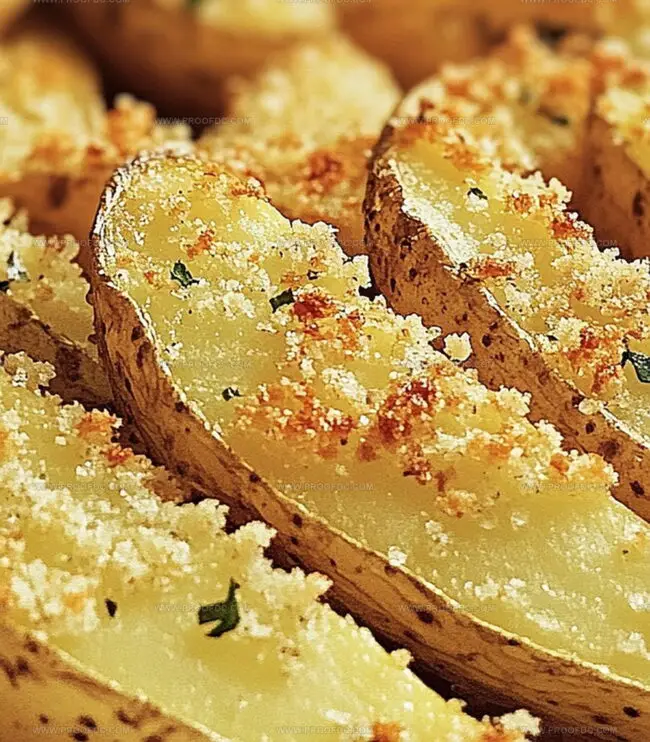
Each wedge promises a delightful balance between crisp exterior and soft, tender center.
You can easily impress dinner companions with this crowd-pleasing side dish that looks professionally prepared.
Serving these stunning potato wedges alongside your favorite main course and watching everyone’s eyes light up with anticipation.
Why You’ll Love Baked Garlic Parmesan Potato Wedges
What You Need for Baked Garlic Parmesan Potato Wedges
Main Ingredients:
Potato Wedges:Seasoning Blend:Cheese and Oil:Finishing Touches:Serving Accompaniments:How to Make Baked Garlic Parmesan Potato Wedges
Step 1: Warm Up the Oven
Fire up your oven to a toasty 400F (200C). Grab a baking sheet and cover it with parchment paper or give it a quick spray of cooking oil.
Step 2: Slice and Prep Potatoes
Grab your potatoes and transform them into eight perfect wedges. Slide these wedges into a spacious mixing bowl, ready for their flavor adventure.
Step 3: Create Flavor Magic
Ingredients for seasoning:Drizzle olive oil over the potato wedges. Sprinkle each seasoning generously, adding half the Parmesan cheese. Give everything a wild toss until each wedge is completely coated with flavor.
Step 4: Arrange and Roast
Place the seasoned wedges on the baking sheet, making sure they’re spread out in a single layer. Skin-side down ensures maximum crunchiness. Slide the sheet into the oven and bake for 35-40 minutes. Flip the wedges halfway through to ensure even browning and achieve that perfect golden-brown crispness.
Step 5: Cheese Finale
Pull the wedges out of the oven and immediately shower them with the remaining Parmesan cheese while they’re piping hot.
Step 6: Serve and Enjoy
Scatter some fresh chopped parsley on top for a pop of color. Serve these beauties alongside ranch dressing or zesty garlic aioli for dipping.
Helpful Tips for Baked Garlic Parmesan Potato Wedges
Keep Baked Garlic Parmesan Potato Wedges Crisp
What Pairs With Baked Garlic Parmesan Potato Wedges
Ways to Mix Up Baked Garlic Parmesan Potato Wedges
Baked Garlic Parmesan Potato Wedges FAQs
The key to achieving crispy potato wedges is cutting them into uniform sizes, using olive oil, and baking them at a high temperature of 400F. Placing them skin-side down and flipping them halfway through ensures even browning and maximum crispiness.
Russet potatoes work best because they have a high starch content that helps create a crispy exterior. You can also use Yukon Gold potatoes for a slightly creamier texture, but avoid waxy potatoes like red potatoes.
To reduce calories, you can use less olive oil and opt for a light spray. You can also use a lower-fat Parmesan cheese or reduce the amount. Baking instead of frying already makes this recipe a healthier alternative to traditional french fries.
While the current recipe uses garlic powder, paprika, and oregano, you can experiment with other herbs and spices like rosemary, thyme, cayenne pepper, or even a ranch seasoning mix to create different flavor profiles.
Print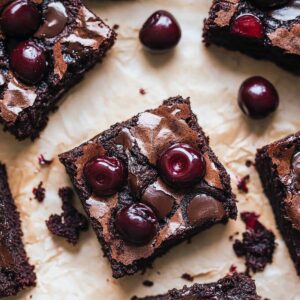
Roasted Chocolate Cherry Brownies Recipe
- Total Time: 1 hour
- Yield: 12 1x
Description
Sinful chocolate cherry brownies emerge as a delectable dessert masterpiece from classic American baking traditions. Rich cocoa and ripe cherries meld into an irresistible treat that will transport dessert enthusiasts straight to pure indulgence.
Ingredients
Main Ingredients:
- 1 cup (150 g / 5.3 ounces) fresh or frozen cherries, pitted and halved
- ½ cup (115 g / 4 ounces) unsalted butter, melted
- 1 cup (200 g / 7 ounces) granulated sugar
- 2 large eggs
- ½ cup (90 g / 3.2 ounces) dark chocolate chips
Dry Ingredients:
- ⅓ cup (30 g / 1 ounce) unsweetened cocoa powder
- ½ cup (65 g / 2.3 ounces) all-purpose flour
- ¼ teaspoon salt
- ¼ teaspoon baking powder
Flavor Enhancers:
- 1 tablespoon granulated sugar
- 2 teaspoons vanilla extract
Instructions
- Transform fresh cherries into a caramelized delight by spreading them on a parchment-lined baking sheet. Sprinkle with sugar and vanilla extract, then roast at 375F (190C) for 10-12 minutes until they soften and develop a rich, golden-brown edge.
- Lower the oven temperature to 350F (175C). Prepare an 8-inch baking dish with a parchment paper sling for effortless brownie removal.
- Create a luxurious base by whisking melted butter with granulated sugar until silky smooth. Incorporate eggs and vanilla extract, blending until the mixture becomes uniform and glossy.
- Sift cocoa powder, flour, salt, and baking powder into the wet ingredients. Gently fold the dry components into the batter, being careful not to overmix and maintaining a luscious, velvety texture.
- Gently fold dark chocolate chips and half of the roasted cherries into the brownie mixture, ensuring even distribution of the fruity and chocolatey elements.
- Transfer the batter to the prepared baking dish, spreading it evenly with a spatula. Artfully scatter the remaining roasted cherries across the top, creating a rustic, appetizing pattern.
- Bake for 25-30 minutes, watching for a toothpick that emerges with a few moist crumbs, indicating a perfectly fudgy interior.
- Allow the brownies to cool completely in the pan, letting the flavors meld and the texture set. Slice into decadent squares and serve as is, or elevate the experience with a scoop of creamy vanilla ice cream.
Notes
- Roast cherries carefully to prevent burning, watching them closely during the 10-12 minute caramelization process.
- Choose ripe, dark sweet cherries for maximum flavor intensity and natural sweetness in the brownies.
- Adjust baking time based on your preferred brownie texture – less time for fudgier results, more time for cake-like consistency.
- Use high-quality dark chocolate chips with at least 70% cocoa content to enhance the rich chocolate profile.
- Prep Time: 15 minutes
- Cook Time: 30 minutes
- Category: Desserts, Snacks
- Method: Baking
- Cuisine: American
Nutrition
- Serving Size: 12
- Calories: 200
- Sugar: 18 g
- Sodium: 120 mg
- Fat: 9 g
- Saturated Fat: 5 g
- Unsaturated Fat: 4 g
- Trans Fat: 0 g
- Carbohydrates: 28 g
- Fiber: 1 g
- Protein: 2 g
- Cholesterol: 40 mg
Jenna Stewart
Head Chef & Recipe Innovator
Expertise
Farm-to-Table Cooking; Seasonal Menu Development; Visual Plating Techniques; Flavor Layering and Simple Prep Hacks.
Education
The Culinary Institute of America, Hyde Park, NY
Jenna Stewart is the inventive spirit behind many of our standout dishes at Pro of Delicious Creations. A proud graduate of The Culinary Institute of America, she built her skills mastering both classic recipes and fresh, modern twists.
Now, Jenna celebrates the beauty of seasonal, local ingredients, often sourced from her garden and nearby markets, to create recipes that are bursting with flavor yet easy to follow. When she’s not experimenting in the kitchen, Jenna loves exploring nature on hikes and discovering new treasures at local co-ops.