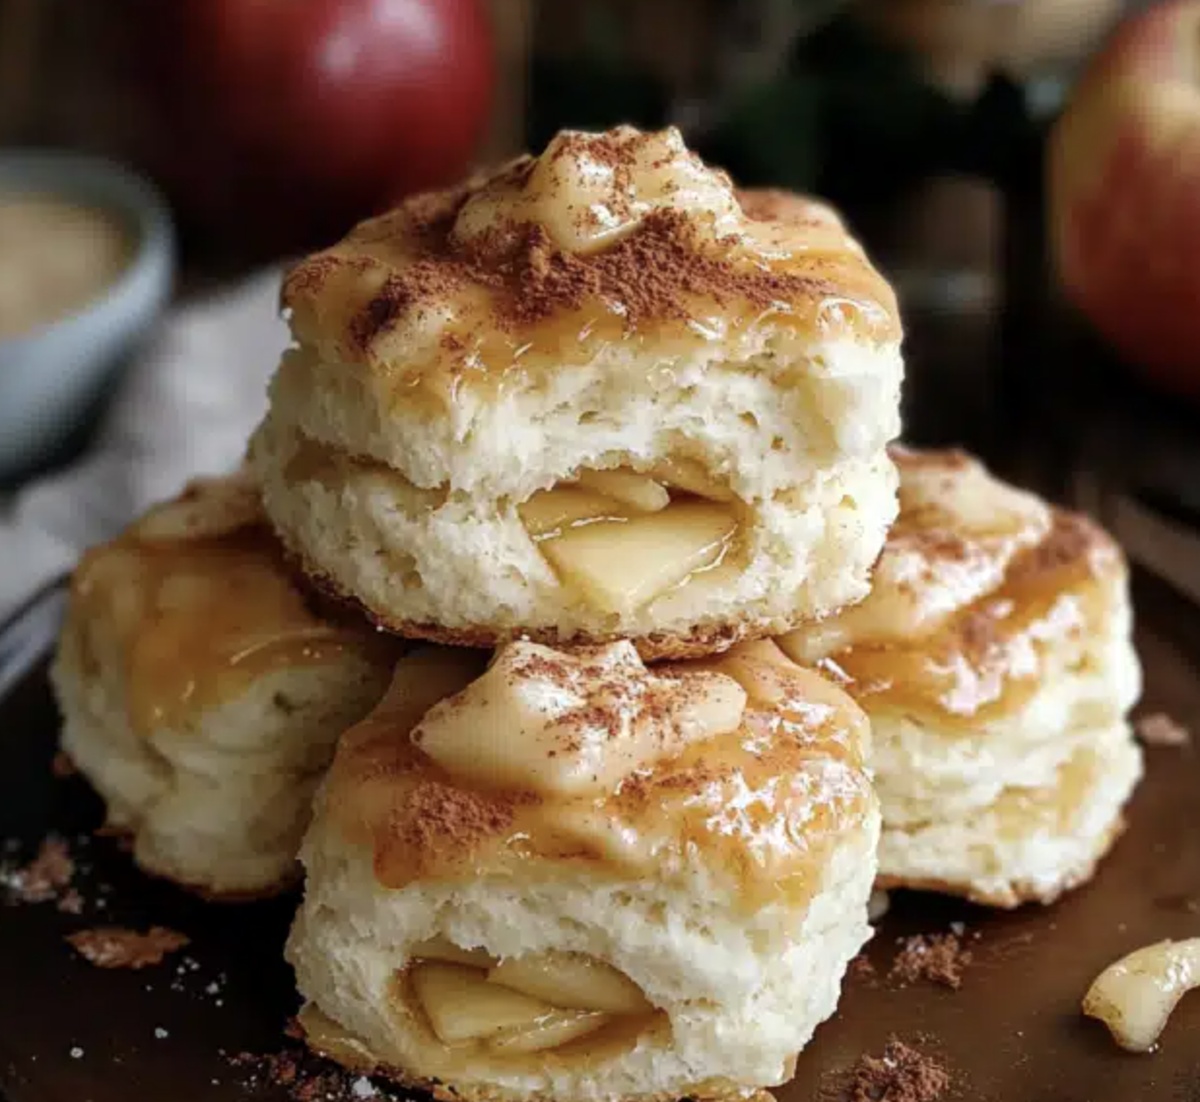
The Coziest Apple Pie Biscuits Recipe for Sweet Comfort
Sinking your teeth into warm apple pie biscuits that blend comfort and creativity in every delectable bite.
Sweet autumn memories dance through this unexpected pastry mashup.
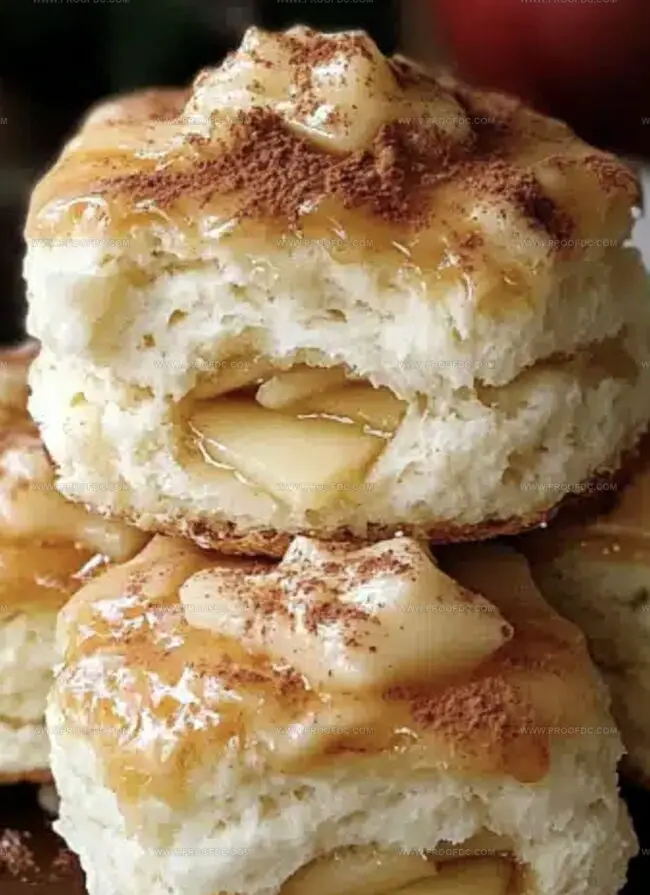
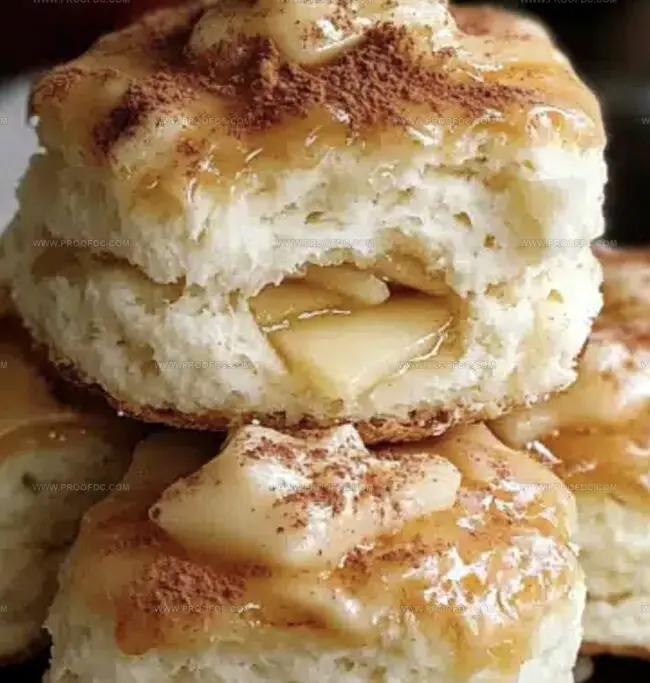
Crisp apples nestled between flaky layers create a delightful surprise for weekend breakfast or cozy afternoon treats.
Spices like cinnamon and nutmeg whisper hints of nostalgic dessert charm.
Every home baker can master this simple yet impressive recipe with minimal kitchen skills.
These tender biscuits promise to become an instant favorite at your breakfast table.
One taste will have everyone asking for seconds and begging you to share the recipe.
Why Apple Pie Biscuits Taste Like Fall Mornings
What Goes In Apple Pie Biscuits
Fruit Base:Biscuit Ingredients:Sweeteners and Spices:Binding and Texture Ingredients:Glaze Ingredients:Optional Serving Additions:How To Bake Apple Pie Biscuits With Ease
Step 1: Warm Up the Oven
Crank up your oven to 375°F (190°C). Grab a 10-12 inch cast iron skillet or baking dish and give it a quick butter massage to prevent sticking.
Step 2: Cook the Apple Magic
In a saucepan, toss together:Cook on medium heat, stirring like a pro until the apples turn soft and the mixture gets beautifully thick (about 10-12 minutes). Splash in vanilla extract and set aside to cool.
Step 3: Create the Cinnamon Sugar Coating
Mix granulated sugar and cinnamon in a small bowl. This is where the flavor explosion begins! Dunk each biscuit into melted butter, then roll it generously in the cinnamon-sugar mixture. Arrange these golden beauties in your prepared skillet.
Step 4: Build the Delicious Layers
Spread the apple filling evenly over the biscuits. Drizzle any remaining melted butter on top for extra yumminess. This is where the magic happens!
Step 5: Bake to Perfection
Slide the skillet into the oven and bake for 30-35 minutes. You’re looking for a gorgeous golden-brown color and perfectly cooked biscuits that make your kitchen smell like heaven.
Step 6: Whip Up the Dreamy Glaze
In a small bowl, whisk together:Stir until smooth and silky. Once the biscuits are out of the oven, drizzle this liquid gold all over.
Step 7: Serve and Enjoy
Serve these beauties warm. Pro tip: A scoop of vanilla ice cream or a dollop of whipped cream takes this dessert to the next level. Get ready for applause from your taste buds!
Tips For Buttery Apple Pie Biscuits
How To Store Apple Pie Biscuits The Easy Way
Perfect Pairings For Apple Pie Biscuits
Fun Twists On Apple Pie Biscuits
FAQ For Apple Pie Biscuits
You can substitute with refrigerated crescent roll dough or homemade buttermilk biscuits. Just ensure they’re similar in size and texture to get the best results.
The filling is ready when apples become soft and the mixture thickens, with a jam-like consistency. It should coat the back of a spoon and look glossy.
Prepare the apple filling and biscuit coating in advance, but assemble and bake just before serving to keep the biscuits crisp and fresh. Store components separately in the refrigerator for up to 2 days.
Ensure your oven is fully preheated, use the middle rack, and rotate the skillet halfway through baking. The cinnamon-sugar coating will help create a beautiful golden-brown color.
Print
Decadent Blueberry Cheesecake Bliss Balls
- Total Time: 1 hour
- Yield: 11 1x
Description
Blueberry cheesecake bliss balls combine creamy cheesecake essence with wholesome no-bake energy bites. Nutty almond base and tangy dried blueberries create compact snacks for quick protein-packed moments you’ll savor.
Ingredients
- 1 cup (240 ml) dried blueberries
- ½ cup (120 ml) cream cheese, softened
- 1 cup (240 ml) graham cracker crumbs or almond flour (gluten-free)
- ½ cup (120 ml) shredded coconut (plus extra for rolling)
- 2 tbsps (30 ml) honey or maple syrup
- 1 tsp (5 ml) vanilla extract
- 1 tbsp (15 ml) lemon juice (optional, for a tangy kick)
Instructions
- Blend Foundation: Pulse dried blueberries, graham cracker crumbs, cream cheese, shredded coconut, honey, vanilla extract, and lemon juice in a food processor until achieving a cohesive, slightly tacky texture that holds together seamlessly.
- Chill and Firm: Transfer the processed mixture to a chilled bowl, refrigerate for 15-20 minutes to solidify and enhance malleability, which facilitates easier handling and shaping.
- Shape and Coat: Remove the chilled mixture, use clean, slightly dampened hands to form compact, uniform spherical bliss balls. Gently roll each ball in additional shredded coconut, ensuring complete and even coverage.
- Set and Stabilize: Arrange coconut-encrusted bliss balls on a parchment-lined tray, leaving slight spacing between each piece. Return to the refrigerator for a minimum of 30 minutes to develop a firmer consistency and intensify flavor profile.
- Serve and Store: Once fully chilled, serve immediately or preserve in a sealed container within the refrigerator to maintain optimal texture and taste characteristics.
Notes
- Chill Before Shaping: Refrigerate the mixture for 15-20 minutes to make handling and forming balls much easier and prevent sticking to your hands.
- Moisture Control: Use slightly dampened hands when rolling to prevent mixture from clinging and ensure smooth, uniform bliss ball shapes.
- Coating Technique: Gently roll balls in shredded coconut, ensuring complete and even coverage for a professional and appetizing appearance.
- Storage Wisdom: Keep bliss balls in a sealed container in the refrigerator to maintain texture and extend shelf life up to 5-7 days.
- Prep Time: 10 minutes
- Cook Time: 50 minutes
- Category: Snacks, Desserts
- Method: Blending
- Cuisine: American
Nutrition
- Serving Size: 11
- Calories: 120
- Sugar: 8 g
- Sodium: 50 mg
- Fat: 5 g
- Saturated Fat: 3 g
- Unsaturated Fat: 2 g
- Trans Fat: 0 g
- Carbohydrates: 16 g
- Fiber: 1 g
- Protein: 2 g
- Cholesterol: 10 mg
Jenna Stewart
Head Chef & Recipe Innovator
Expertise
Farm-to-Table Cooking; Seasonal Menu Development; Visual Plating Techniques; Flavor Layering and Simple Prep Hacks.
Education
The Culinary Institute of America, Hyde Park, NY
Jenna Stewart is the inventive spirit behind many of our standout dishes at Pro of Delicious Creations. A proud graduate of The Culinary Institute of America, she built her skills mastering both classic recipes and fresh, modern twists.
Now, Jenna celebrates the beauty of seasonal, local ingredients, often sourced from her garden and nearby markets, to create recipes that are bursting with flavor yet easy to follow. When she’s not experimenting in the kitchen, Jenna loves exploring nature on hikes and discovering new treasures at local co-ops.