Magical Rudolph the Reindeer Cupcakes Recipe for Sweet Joy
Magical Rudolph the reindeer cupcakes dancing with festive cheer and whimsy!
Every baker dreams of creating something special during holiday seasons.
Sweet chocolate cupcakes become winter wonderland canvases waiting for delightful decorations.
Crafting adorable treats that spark childlike excitement and joy.
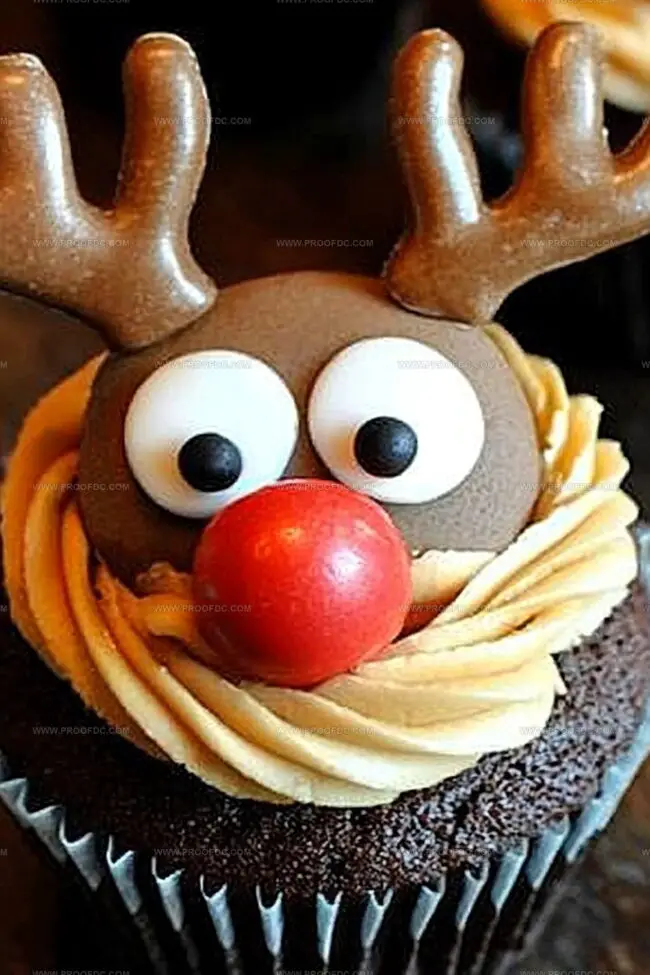
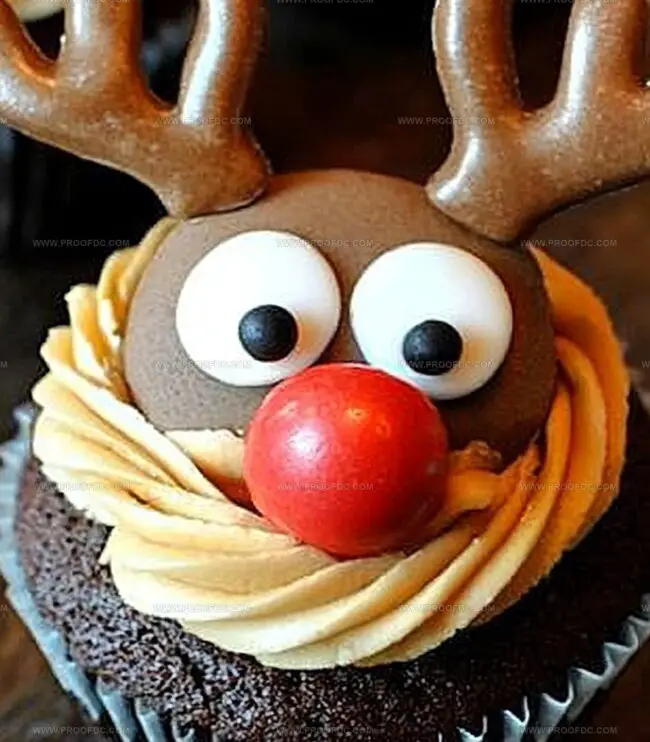
reindeer faces emerge through clever frosting techniques and creative candy accents.
Red noses and pretzel antlers transform simple desserts into playful masterpieces.
These charming cupcakes guarantee smiles from kids and adults alike.
Grab your baking tools and let holiday magic begin!
Why Everyone Smiles for Adorable Rudolph the Reindeer Cupcakes
What Goes in Adorable Rudolph the Reindeer Cupcakes
Cupcake Base:Wet Ingredients:Decoration Ingredients:Steps to Bake Adorable Rudolph the Reindeer Cupcakes
Step 1: Prepare the Oven
Warm up your oven to 350 degrees Fahrenheit (175 degrees Celsius). Line a muffin tin with festive cupcake liners that will make your sweet treats look extra special.
Step 2: Mix Dry Ingredients
Grab a medium mixing bowl and whisk together:Combine these ingredients until they’re perfectly blended and look like a chocolatey winter snow.
Step 3: Create Creamy Butter Mixture
In a large bowl, use an electric mixer to cream together:Beat these ingredients until they become light and fluffy like a soft cloud. Add eggs one at a time, mixing thoroughly after each addition. Stir in vanilla extract for a delightful aroma.
Step 4: Combine Wet and Dry Ingredients
Slowly add the dry ingredient mixture to the butter mixture. Pour in milk alternately, starting and ending with dry ingredients. Mix gently until everything is just combined. Pour in boiling water and stir – don’t worry if the batter looks thin, that’s perfectly normal!
Step 5: Bake the Cupcakes
Carefully divide the batter among the cupcake liners, filling each about two-thirds full. Slide the muffin tin into the preheated oven and bake for 18-20 minutes. Check doneness by inserting a toothpick into the center of a cupcake – it should come out clean. Let the cupcakes cool completely before decorating.
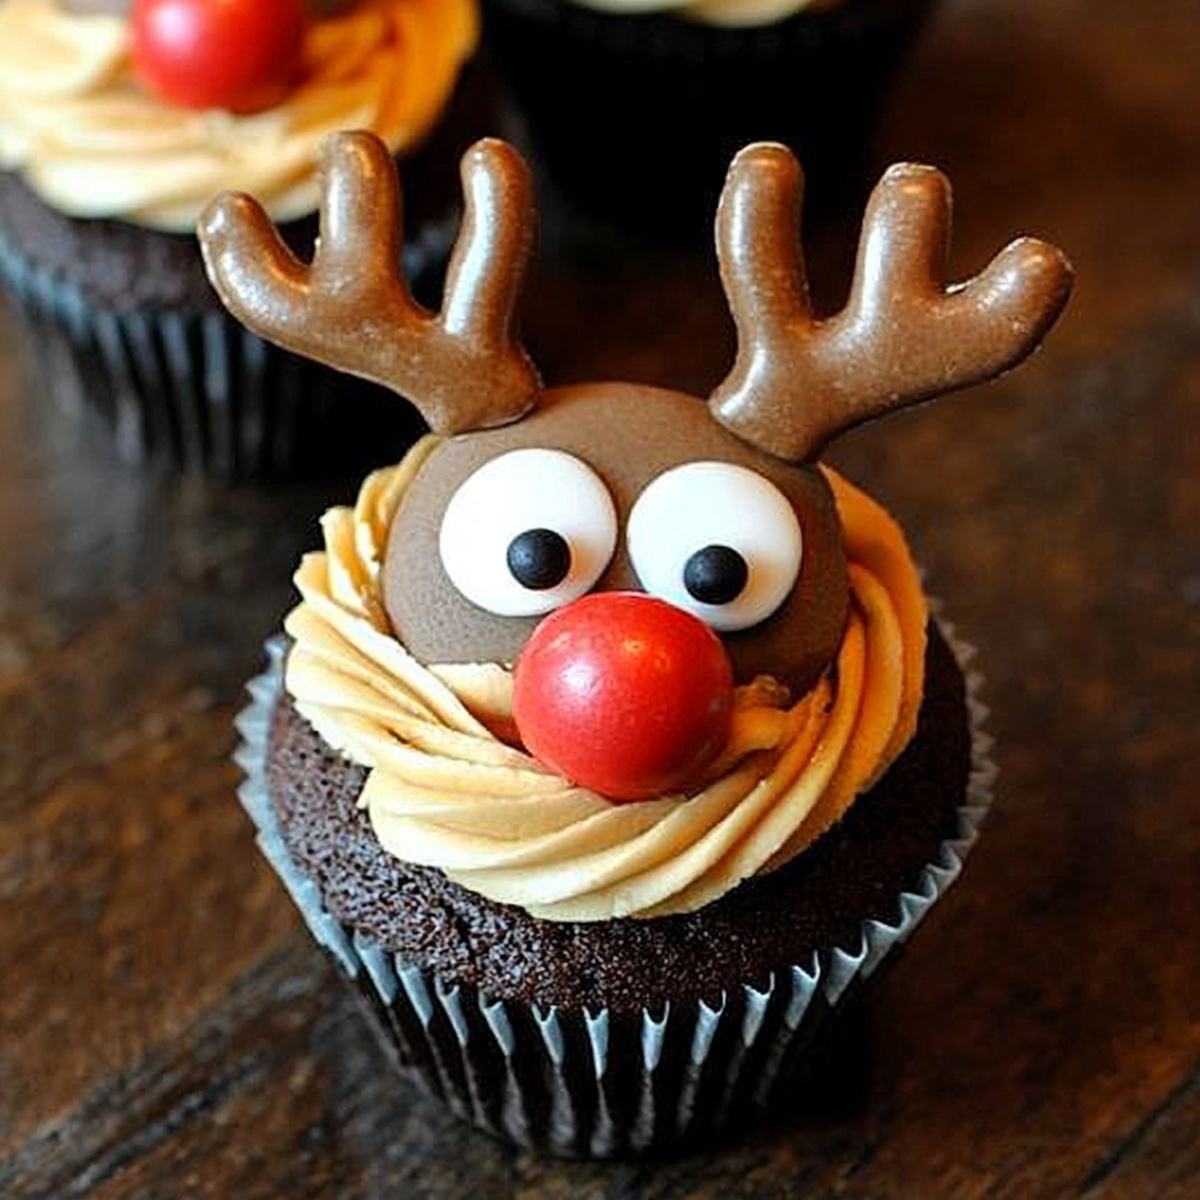
Step 6: Decorate Rudolph Cupcakes
Transform your chocolate cupcakes into adorable reindeer by adding:Get creative and make each cupcake look like a cute little Rudolph!
Enjoy your magical Rudolph the Reindeer Cupcakes!
Quick Tips for Adorable Rudolph the Reindeer Cupcakes
How to Keep and Reheat Adorable Rudolph the Reindeer Cupcakes
Tasty Sides for Adorable Rudolph the Reindeer Cupcakes
New Twists for Adorable Rudolph the Reindeer Cupcakes
Adorable Rudolph the Reindeer Cupcakes Questions Solved
These adorable cupcakes are themed after the famous red-nosed reindeer from Christmas stories, typically decorated to look like Rudolph with cute frosting details and special toppings that resemble his iconic features.
Absolutely! Kids can help with mixing ingredients, placing cupcake liners, and especially decorating the cupcakes to look like Rudolph. Adult supervision is recommended for oven and mixing tasks.
The boiling water in the recipe helps create a super moist and rich chocolate texture. Adding boiling water to chocolate batter helps bloom the cocoa powder, creating a deeper chocolate flavor and softer crumb.
Yes! These Rudolph cupcakes are perfect for Christmas parties, school events, or family gatherings. They’re fun, festive, and will definitely bring smiles to both kids and adults.
Print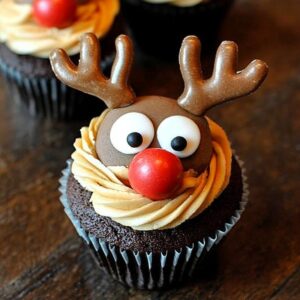
Adorable Rudolph The Reindeer Cupcakes Recipe
- Total Time: 55 minutes
- Yield: 12 1x
Description
Magical Rudolph the Reindeer Cupcakes bring festive cheer to holiday dessert tables with adorable chocolate treats topped by red-nosed reindeer faces. Chocolate lovers and Christmas fans will delight in these whimsical cupcakes that capture the spirit of seasonal joy.
Ingredients
Dry Ingredients:
- 1 ¼ cups (155 g) all-purpose flour
- ½ cup (50 g) cocoa powder
- 1 teaspoon baking soda
- ½ teaspoon salt
- 2 ½ cups (315 g) powdered sugar
- ½ cup (50 g) cocoa powder
Wet Ingredients:
- ½ cup (115 g) unsalted butter, softened
- ¾ cup (150 g) granulated sugar
- ½ cup (100 g) brown sugar, packed
- 2 large eggs
- 1 teaspoon vanilla extract
- ½ cup (120 milliliters) milk
- ½ cup (120 milliliters) boiling water
- 1 cup (225 g) unsalted butter, softened
- 3 tablespoons (45 milliliters) milk or heavy cream
Decorating Ingredients:
- Mini pretzels
- Candy eyes
- Red candy-coated chocolates (e.g., M&Ms)
- Mini marshmallows (optional)
Instructions
- Warm the oven to 350F (175C) and arrange cupcake liners in a muffin tin, ensuring even spacing.
- Combine cocoa powder, flour, baking soda, and salt in a medium mixing bowl, whisking thoroughly to eliminate any potential lumps.
- In a separate large bowl, cream butter with granulated and brown sugars until the mixture transforms into a light, airy consistency. Incorporate eggs individually, blending after each addition, then gently fold in vanilla extract.
- Gradually introduce dry ingredients into the wet mixture, alternating with milk. Pour boiling water into the batter, creating a surprisingly thin, silky texture. Stir carefully to ensure uniform consistency.
- Distribute the chocolate batter evenly among cupcake liners, filling each compartment approximately two-thirds full to allow proper rising during baking.
- Slide the muffin tin into the preheated oven and bake for 18-20 minutes. Check doneness by inserting a toothpick into the center of a cupcake – it should emerge clean and free of raw batter.
- Remove cupcakes from the oven and allow them to cool completely on a wire rack, ensuring they reach room temperature before decorating.
Notes
- Choose high-quality cocoa powder for a rich, deep chocolate flavor that makes these cupcakes extra delicious.
- Ensure ingredients are at room temperature to help them blend smoothly and create a more consistent batter.
- Don’t overmix the batter when combining dry and wet ingredients, as this can make the cupcakes tough and dense.
- Use boiling water to help activate the cocoa and create a more intense chocolate taste in the final cupcakes.
- Prep Time: 20 minutes
- Cook Time: 15 minutes
- Category: Desserts, Snacks
- Method: Baking
- Cuisine: American
Nutrition
- Serving Size: 12
- Calories: 350
- Sugar: 30 g
- Sodium: 180 mg
- Fat: 20 g
- Saturated Fat: 10 g
- Unsaturated Fat: 8 g
- Trans Fat: 0 g
- Carbohydrates: 40 g
- Fiber: 2 g
- Protein: 3 g
- Cholesterol: 45 mg
Jenna Stewart
Head Chef & Recipe Innovator
Expertise
Farm-to-Table Cooking; Seasonal Menu Development; Visual Plating Techniques; Flavor Layering and Simple Prep Hacks.
Education
The Culinary Institute of America, Hyde Park, NY
Jenna Stewart is the inventive spirit behind many of our standout dishes at Pro of Delicious Creations. A proud graduate of The Culinary Institute of America, she built her skills mastering both classic recipes and fresh, modern twists.
Now, Jenna celebrates the beauty of seasonal, local ingredients, often sourced from her garden and nearby markets, to create recipes that are bursting with flavor yet easy to follow. When she’s not experimenting in the kitchen, Jenna loves exploring nature on hikes and discovering new treasures at local co-ops.