
Charming Mini Lunchbox Cake Recipe for Sweet School Treats
Baking a delightful lunchbox cake brings pure joy to midday meals and snack times.
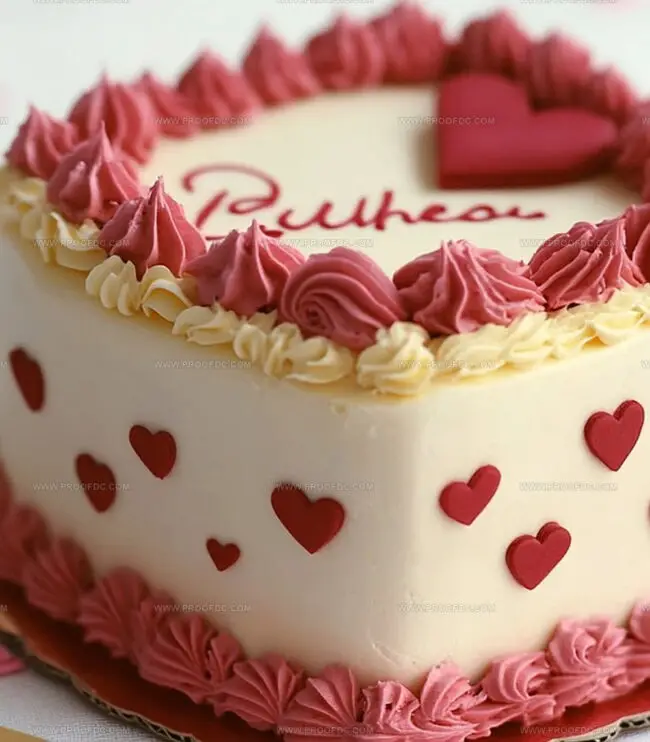
This adorable lunchbox cake recipe delivers a perfect blend of sweetness and charm that children and adults adore.
Compact and easy to pack, the cake fits perfectly into lunch containers without any messy complications.
Soft, moist layers paired with a delicate frosting create a treat that brightens any afternoon.
Each slice promises a moment of delectable happiness that turns an ordinary lunch into something special.
The recipe combines simple ingredients with minimal preparation, ensuring anyone can craft this delightful dessert.
Let this little cake become your new favorite lunchtime companion.
Quick Recipe Overview

Ingredients For Lunchbox Cake
For The Cake Base:For Moisture And Richness:For Frosting And Decoration:Things You’ll Need For Lunchbox Cake
Steps For Making Lunchbox Cake
Crank your oven to a toasty 350F. Grab a baking pan and give it a quick butter massage and parchment paper hug.
Whip together flour, baking magic dust, and a pinch of salt in one bowl. In another, cream butter and sugar until they’re fluffy cloud-like. Drop in eggs one by one, stirring in vanilla for extra yumminess.
Slowly blend dry ingredients with milk, dancing between the two until everything is just perfectly combined. Pour this golden goodness into your prepared pan, spreading it smooth like a gentle blanket.
Slide the pan into the oven and let it transform for 18-22 minutes. Check with a toothpick – if it comes out clean, your cake is ready! Let it cool completely.
Beat butter until silky. Gradually mix in powdered sugar, then splash in cream, vanilla, and a tiny salt pinch. Whip until it’s cloud-soft and irresistible.
Use a round cutter to create adorable cake circles. Layer with frosting, adding a crumb coat for smoothness. Chill briefly, then frost completely.
Get creative with piped designs or messages. Nestle each mini cake into a cute takeout box. Refrigerate briefly before sharing your delightful creation.
Helpful Notes For Lunchbox Cake
Lunchbox Cake Serving Ideas
How To Keep Lunchbox Cake Fresh
Print
Adorable Lunchbox Cake Recipe
- Total Time: 1 hour 5 minutes
- Yield: 13 1x
Description
Delightful lunchbox cake brings nostalgia and comfort to midday meals. Simple ingredients blend effortlessly, creating a portable treat sweet enough to brighten school or work afternoons. You’ll savor each tender crumb.
Ingredients
- 2 large eggs, room temperature
- 1 ¼ cups (160g) all-purpose flour
- ¾ cup (150g) granulated sugar
- ½ cup (113g) unsalted butter, softened
- ½ cup (120ml) whole milk, room temperature
- 1 tsp baking powder
- ¼ tsp salt
- 1 tsp vanilla extract
- 1 cup (226g) unsalted butter, softened
- 3 cups (360g) powdered sugar
- 2 tbsps heavy cream or milk
- 1 tsp vanilla extract
- 1 pinch of salt
- Gel food coloring (optional)
Instructions
- Mixture Preparation: Whisk flour, baking powder, and salt in a bowl, eliminating any potential lumps for a smooth base.
- Butter Creaming: Beat butter and sugar until the mixture transforms into a pale, voluminous cream with a light, airy texture.
- Egg Integration: Add eggs one at a time, ensuring thorough incorporation and maintaining a consistent, silky batter.
- Flavor Infusion: Gently fold in vanilla extract, preserving the delicate mixture’s integrity.
- Batter Composition: Alternately blend dry ingredients and milk, starting and ending with dry components. Mix minimally to prevent toughening the batter.
- Pan Preparation: Pour batter into a greased and parchment-lined 9×13-inch pan, distributing evenly with a spatula for uniform baking.
- Baking Process: Roast in a preheated oven at 350°F (175°C) for roughly 20 minutes, verifying doneness with a clean toothpick test.
- Cooling Stage: Rest the cake completely on a wire rack to stabilize its structure and prevent moisture accumulation.
- Frosting Creation: Whip butter until smooth, establishing a creamy foundation for the buttercream.
- Frosting Development: Gradually integrate powdered sugar at low speed, achieving a luxurious, silk-like consistency.
- Flavor Enhancement: Incorporate heavy cream, vanilla extract, and salt, whipping until the frosting becomes light and ethereal.
- Decorative Touches: Optionally divide and tint frosting with food coloring for artistic embellishment.
- Cake Transformation: Extract individual cake layers using a round cookie cutter, preparing for miniature cake construction.
- Layering Technique: Assemble mini cakes by stacking cake rounds with delicate frosting intervals.
- Crumb Sealing: Apply a preliminary crumb coat to capture loose cake particles, then briefly refrigerate to set.
- Final Frosting: Smoothly coat each mini cake, creating a refined, polished exterior.
- Artistic Decoration: Embellish with intricate piped buttercream designs or personalized messages.
- Presentation Preparation: Nestle each mini cake in a parchment-lined takeout box for an elegant display.
- Serving Readiness: Refrigerate for 30 minutes to solidify frosting and maintain structural elegance before serving.
Notes
- Prevent Lumpy Batter: Sift dry ingredients thoroughly to eliminate flour clumps and ensure a smooth, consistent cake texture.
- Control Mixing Technique: Avoid overmixing the batter to maintain a tender crumb; mix just until ingredients are combined to prevent a dense, tough cake.
- Optimize Cooling Process: Let the cake cool completely at room temperature before frosting to prevent buttercream from melting and maintain structural integrity.
- Customize for Dietary Needs: Substitute all-purpose flour with gluten-free flour blend, use plant-based butter and milk alternatives for vegan version, or replace sugar with monk fruit sweetener for low-sugar option.
- Prep Time: 30 minutes
- Cook Time: 20 minutes
- Category: Desserts, Snacks
- Method: Baking
- Cuisine: American
Nutrition
- Serving Size: 13
- Calories: 364
- Sugar: 30g
- Sodium: 110mg
- Fat: 20g
- Saturated Fat: 12g
- Unsaturated Fat: 8g
- Trans Fat: 0g
- Carbohydrates: 40g
- Fiber: 0g
- Protein: 2g
- Cholesterol: 61mg
Marcus Foley
Food Critic & Kitchen Coach
Expertise
Recipe Testing and Troubleshooting; Time-Saving Kitchen Hacks; Global Flavor Exploration; Engaging Food Writing and Honest Reviews.
Education
Institute of Culinary Education (ICE), New York, NY
Marcus Foley, based in Atlanta, GA, is a friendly food expert who makes cooking fun and simple.
With hands-on training from the Institute of Culinary Education and years of tasting everything from street food to fine dining, he shares easy kitchen hacks, global flavor ideas, and step-by-step recipes that turn kitchen mishaps into delicious surprises.