
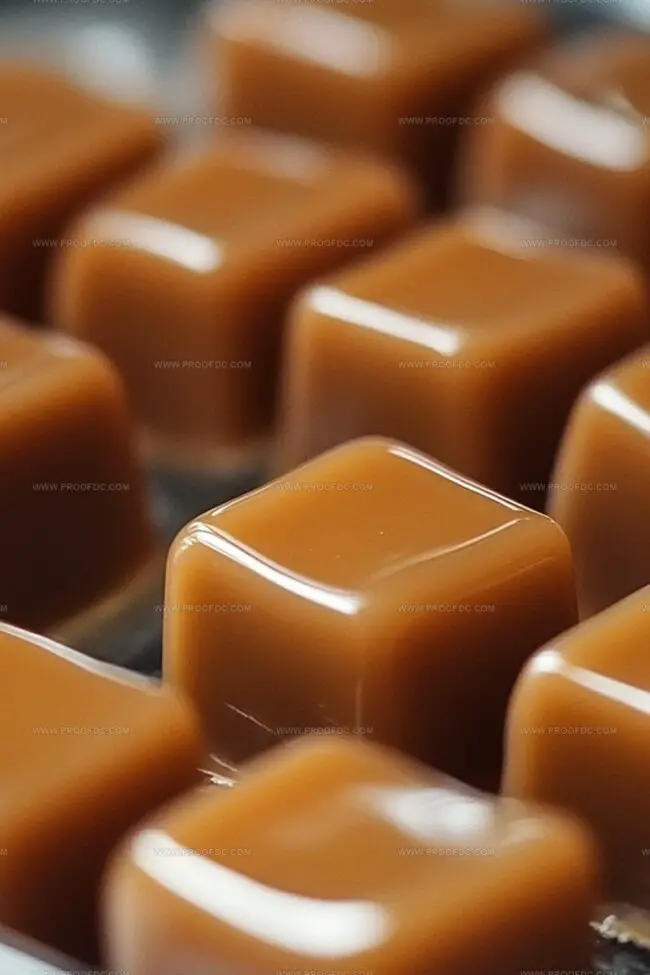
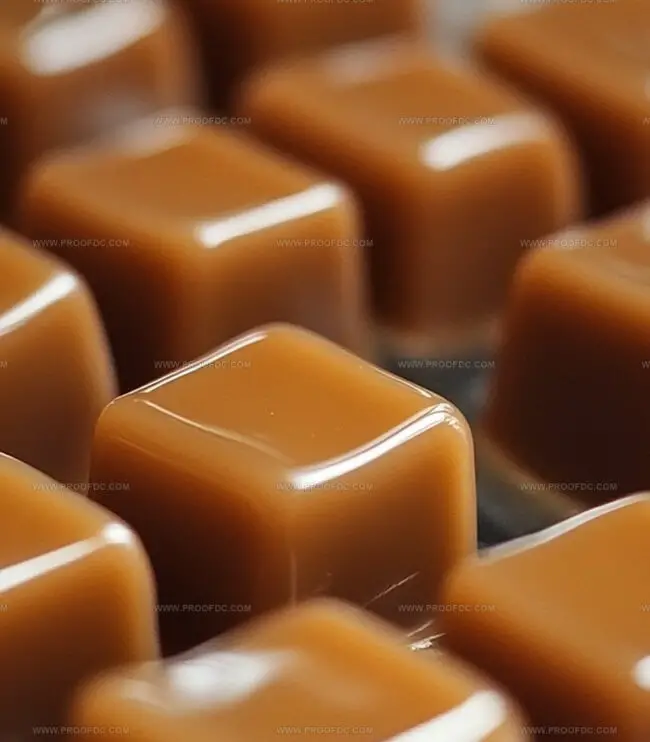
Quick & Gooey 6 Minute Caramels Recipe: Sweet Comfort Magic
Sweet memories flood back when I think about these delectable six minute caramels that remind me of childhood treats.
My grandmother used to craft similar confections during holiday gatherings.
Soft, golden candies melt smoothly across your tongue with rich buttery notes.
Each batch requires just a handful of simple ingredients and minimal kitchen skills.
Professional bakers and kitchen novices alike can master this delightful recipe without stress.
Precise timing ensures perfect texture, creating small squares of pure sugary bliss.
You’ll adore how quickly these caramels come together, promising a delightful homemade experience that beats any store-bought option.
Grab a wooden spoon and let’s make magic happen in your kitchen!
Why You’ll Crave 6 Minute Caramels
Ingredients List for 6 Minute Caramels
Base Ingredients:Liquid Ingredients:Finishing Ingredients:Quick Steps to Make 6 Minute Caramels
Step 1: Prepare Baking Dish
Line a small square baking dish with parchment paper, ensuring extra paper hangs over the edges for easy caramel removal. Lightly coat the parchment with cooking spray or butter to prevent sticking.
Step 2: Create Caramel Base
Gather these ingredients in a large microwave-safe bowl:Stir all ingredients thoroughly until completely combined and smooth.
Step 3: Heat Caramel Mixture
Place the bowl in the microwave and cook on high power. Follow these heating instructions:Watch carefully during the second heating to prevent burning. The mixture should reach a soft ball stage, which looks glossy and slightly thickened.
Step 4: Enhance Flavor
Remove the hot caramel carefully from the microwave. Gently stir in vanilla extract, mixing until fully incorporated.
Step 5: Set Caramel
Pour the caramel mixture into the prepared dish, spreading evenly with a spatula. Allow the caramel to cool and set at room temperature for 1-2 hours.
Step 6: Slice and Serve
Once the caramel has completely firmed up, lift the block out using parchment paper edges. Use a sharp knife to cut into small, bite-sized squares. Optional: Wrap individual caramels in wax paper for a classic candy presentation.
Tips to Get 6 Minute Caramels Right
Save and Store 6 Minute Caramels
What Matches 6 Minute Caramels Best
Try These 6 Minute Caramels Variations
Things You Might Wonder About 6 Minute Caramels
These caramels are uniquely made in the microwave, cutting down preparation time to just 6 minutes. Unlike traditional methods that require constant stirring and precise temperature monitoring, this recipe is much simpler and more foolproof for home cooks.
No special equipment is needed beyond a microwave-safe bowl, a square baking dish, parchment paper, and a basic measuring cup. A candy thermometer is optional but helpful for precise temperature checking.
Absolutely! You can reduce the granulated or brown sugar slightly if you prefer a less sweet caramel. Just be careful not to dramatically change the sugar ratios, as this might affect the caramel’s texture and setting ability.
Corn syrup helps prevent sugar crystallization, ensuring your caramels remain smooth and creamy instead of grainy. It’s a key ingredient that helps create that perfect, soft caramel texture home bakers love.
Print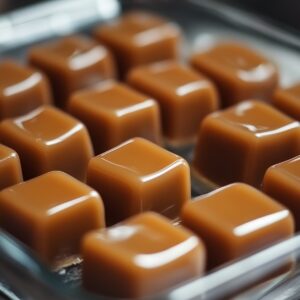
6 Minute Caramels Recipe
- Total Time: 2 hours 15 minutes
- Yield: 24 1x
Description
Sweet caramel magic melts into perfection with this classic 6 minute caramel treat. Creamy, rich flavors blend seamlessly, promising a delightful indulgence you’ll savor with each irresistible bite.
Ingredients
Main Ingredients:
- ½ cup (100 g) granulated sugar
- ½ cup (120 g) light brown sugar, packed
- ½ cup (120 ml) light corn syrup
- ½ cup (120 ml) sweetened condensed milk
Dairy Ingredients:
- ¼ cup (60 g) unsalted butter, melted
Flavor and Seasoning:
- ¼ teaspoon salt
- ½ teaspoon vanilla extract
Instructions
- Prepare a compact square baking vessel by layering parchment paper with generous overhanging edges, ensuring smooth removal. Delicately coat the surface with a thin butter or cooking spray film to prevent sticking.
- Amalgamate melted butter, granulated and brown sugars, corn syrup, sweetened condensed milk, and salt in a spacious microwave-safe container. Whisk thoroughly until ingredients integrate seamlessly.
- Position the mixture in the microwave, heating intensely for three consecutive minutes. Pause and vigorously stir to guarantee uniform thermal distribution. Return to microwave for an additional two to three minutes, monitoring closely to prevent scorching.
- Verify the caramel’s readiness by observing its rich golden hue and achieving a soft ball consistency. The ideal temperature hovers around 240°F, signaling perfect caramelization.
- Extract the molten mixture carefully, incorporating vanilla extract with gentle, deliberate strokes. The aroma will intensify as the extract melds into the caramel base.
- Transfer the glossy liquid into the prepared parchment-lined dish, using a spatula to create an even, smooth surface. Allow the confection to rest and solidify at ambient temperature for approximately two hours.
- Once completely set, elevate the caramel block using parchment edges. Employ a razor-sharp knife to slice into delicate, bite-sized squares. Optionally, enrobe each piece in wax paper for a professional, gift-worthy presentation.
Notes
- Perfectly line your baking dish with parchment paper, ensuring smooth edges for easy caramel removal and minimal sticking.
- Use a wide, microwave-safe bowl to allow even heat distribution and prevent potential boiling over during cooking.
- Invest in a candy thermometer for precise temperature control, guaranteeing consistent caramel texture every single time.
- Keep a close eye on microwave timing, as caramel can quickly burn or become too hard; slight variations in wattage might require slight adjustments.
- For dietary modifications, experiment with alternative sweeteners like coconut sugar or maple syrup for a more natural flavor profile.
- Create flavor variations by adding sea salt sprinkles, chopped nuts, or drizzling dark chocolate over finished caramels for gourmet touches.
- Store caramels in an airtight container at room temperature, separating layers with wax paper to prevent sticking and maintain freshness for up to two weeks.
- Prep Time: 15 minutes
- Cook Time: 1-2 hours
- Category: Desserts, Snacks
- Method: Mixing
- Cuisine: American
Nutrition
- Serving Size: 24
- Calories: 70
- Sugar: 8 g
- Sodium: 30 mg
- Fat: 3 g
- Saturated Fat: 2 g
- Unsaturated Fat: 1 g
- Trans Fat: 0 g
- Carbohydrates: 11 g
- Fiber: 0 g
- Protein: 0 g
- Cholesterol: 10 mg
Jenna Stewart
Head Chef & Recipe Innovator
Expertise
Farm-to-Table Cooking; Seasonal Menu Development; Visual Plating Techniques; Flavor Layering and Simple Prep Hacks.
Education
The Culinary Institute of America, Hyde Park, NY
Jenna Stewart is the inventive spirit behind many of our standout dishes at Pro of Delicious Creations. A proud graduate of The Culinary Institute of America, she built her skills mastering both classic recipes and fresh, modern twists.
Now, Jenna celebrates the beauty of seasonal, local ingredients, often sourced from her garden and nearby markets, to create recipes that are bursting with flavor yet easy to follow. When she’s not experimenting in the kitchen, Jenna loves exploring nature on hikes and discovering new treasures at local co-ops.