The Best 3-Ingredient Peanut Butter Oreo Cookie Balls Recipe Ever
Sweet cravings hit differently when these magical peanut butter Oreo cookie balls emerge from your kitchen.
Minimal ingredients guarantee maximum flavor in this delightful treat.
Three simple components create something extraordinary that looks far more complicated than the actual preparation.
Impressing guests with a dessert that seems like a culinary masterpiece but takes mere minutes to assemble.
No baking skills required means anyone can nail this delectable recipe.
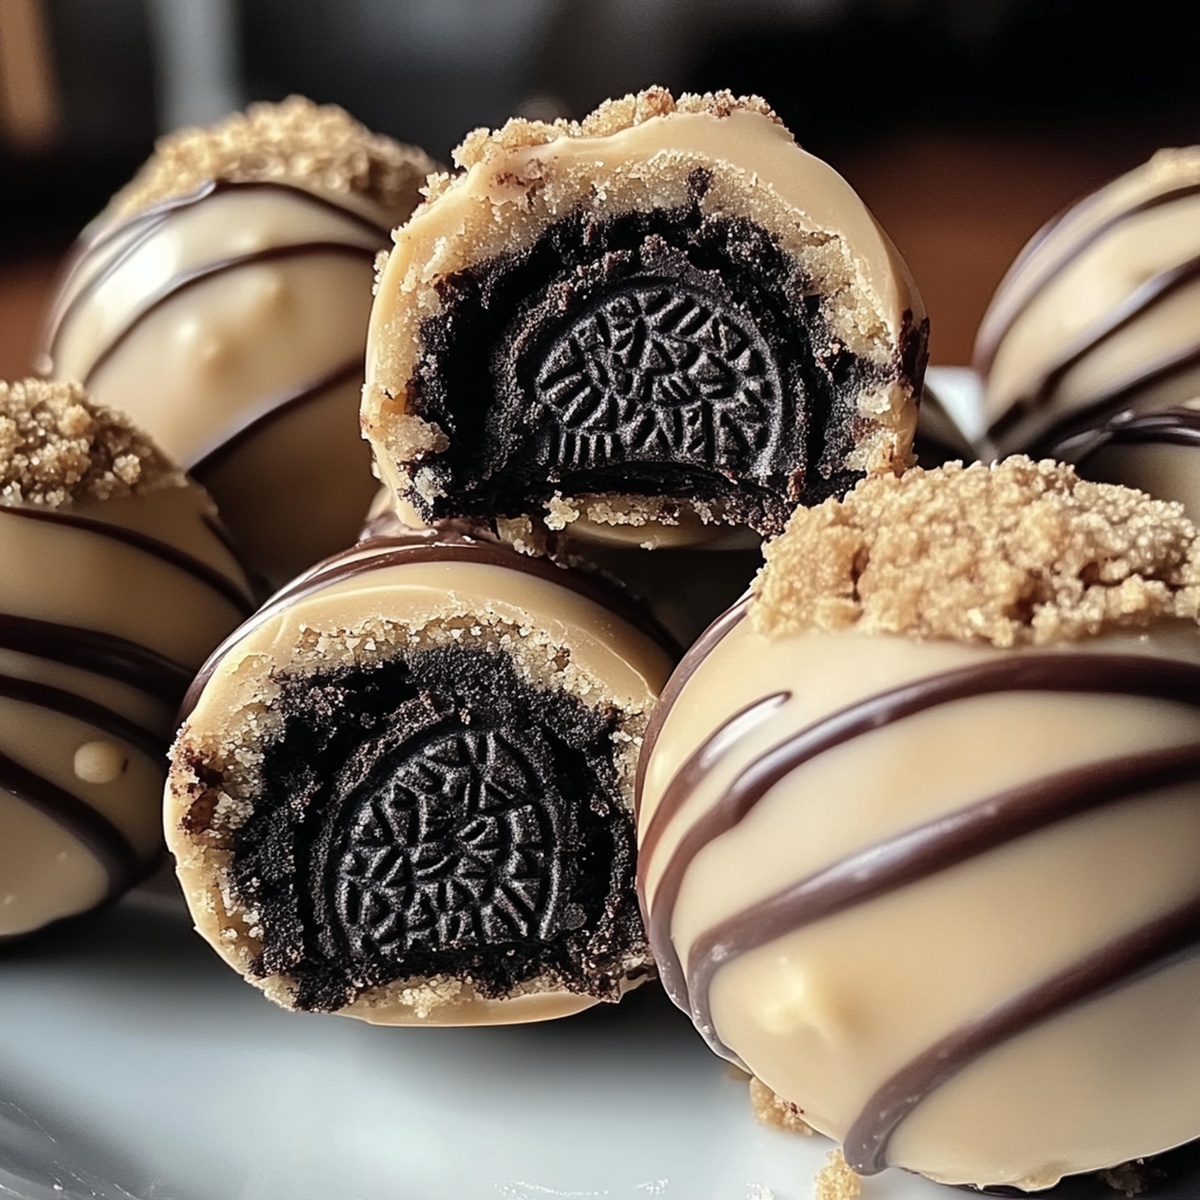
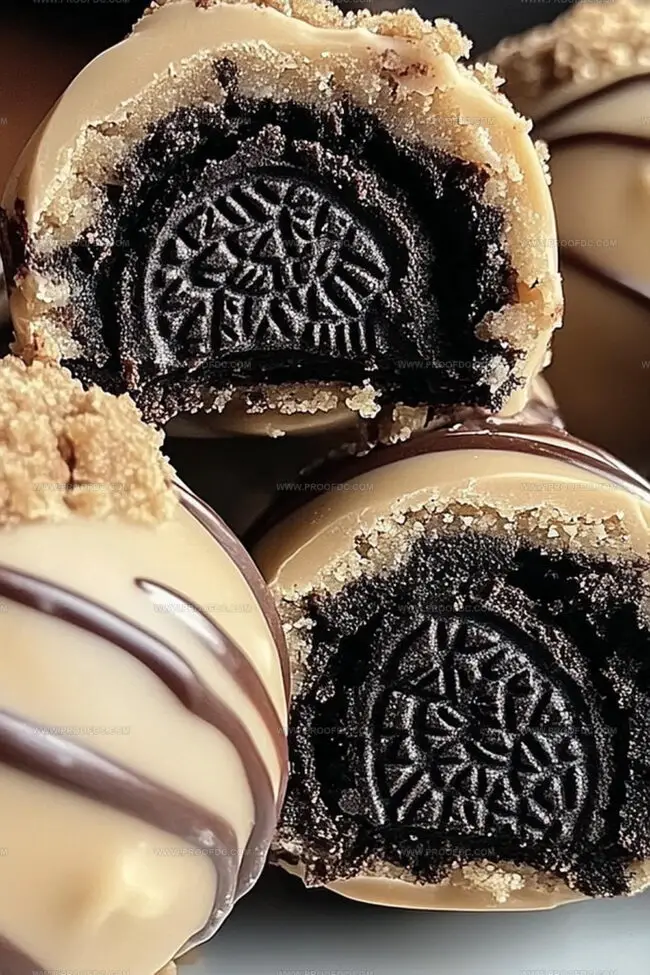
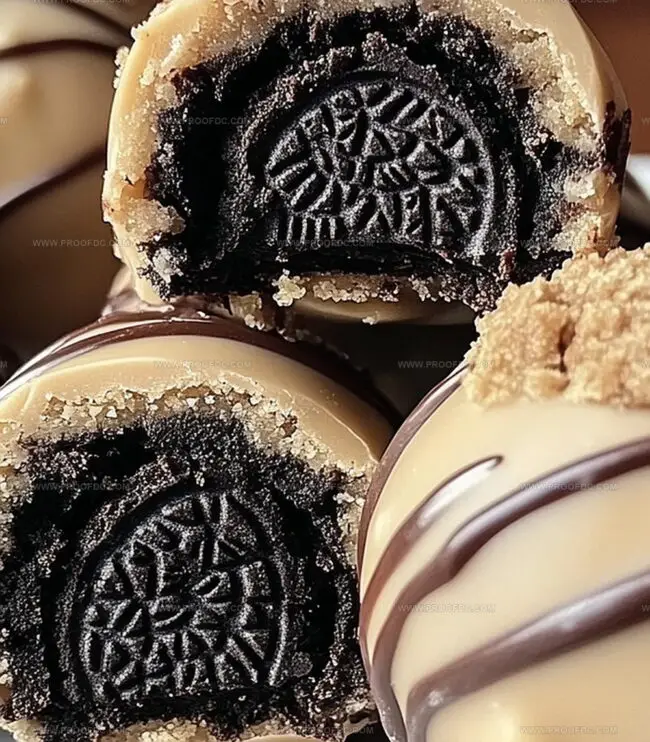
Rich chocolate coating combined with creamy peanut butter centers makes these bite-sized delights irresistible.
You’ll want to whip up a double batch because these disappear faster than expected.
Why You’ll Want To Make 3-Ingredient Peanut Butter Oreo Cookie Balls
Ingredients In 3-Ingredient Peanut Butter Oreo Cookie Balls
Base Ingredients:Coating Ingredient:Optional Garnish Ingredients:Quick Steps For 3-Ingredient Peanut Butter Oreo Cookie Balls
Step 1: Crush Oreo Cookies
Grab your favorite Oreo cookies and transform them into a delightful crumbly mixture. If you have a food processor, toss the cookies inside and pulse until they become fine crumbs. No food processor? No worries! Place the cookies in a sturdy zip-top bag and use a rolling pin to crush them into tiny pieces.
Step 2: Blend with Creamy Peanut Butter
Grab a spacious mixing bowl and combine the crushed Oreo crumbs with smooth peanut butter. Mix thoroughly until the ingredients merge into a rich, thick dough that looks tempting and feels slightly sticky.
Step 3: Create Bite-Sized Treats
Using your hands, roll the mixture into small, uniform balls about the size of a walnut. Gently place each ball on a parchment-lined baking sheet. Pop the tray into the freezer for a quick 20-30 minute chill to help the balls firm up.
Step 4: Dunk in Chocolate Magic
Melt your chocolate using a double boiler or microwave. Carefully dip each chilled ball into the melted chocolate, ensuring complete coverage. Use a fork or special dipping tool to help coat evenly and let excess chocolate drip off.
Step 5: Chill and Enjoy
Return the chocolate-coated balls to the parchment-lined baking sheet. Place in the refrigerator for 15-20 minutes until the chocolate sets completely. These delectable treats are ready to be enjoyed cold or at room temperature – perfect for any sweet craving!
Tricks To Make 3-Ingredient Peanut Butter Oreo Cookie Balls Better
How To Keep 3-Ingredient Peanut Butter Oreo Cookie Balls Good
Tasty Matches With 3-Ingredient Peanut Butter Oreo Cookie Balls
Flavor Swaps For 3-Ingredient Peanut Butter Oreo Cookie Balls
Questions On 3-Ingredient Peanut Butter Oreo Cookie Balls
Yes! You can experiment with flavors like mint, peanut butter, or birthday cake Oreos to create unique variations of these cookie balls.
No special equipment is required. While a food processor makes crushing Oreos easier, you can simply use a rolling pin and a zip-top bag to crush the cookies.
Adjust the consistency by adding small amounts of peanut butter if too dry, or a few more crushed Oreo crumbs if too wet. The goal is a dough-like texture that holds together when rolled.
Absolutely! You can prepare the balls and keep them in the freezer for up to 2 weeks before coating with chocolate. They’re perfect for making in advance for parties or quick desserts.
Print
3-Ingredient Peanut Butter Oreo Cookie Balls Recipe
- Total Time: 50 minutes
- Yield: 12 1x
Description
Irresistible 3-ingredient peanut butter oreo cookie balls combine creamy peanut butter, crushed oreos, and smooth chocolate for a quick, indulgent treat. Chocolate-dipped and chilled, these bite-sized delights will satisfy sweet cravings with minimal effort and maximum flavor.
Ingredients
Main Ingredients:
- 1 package (14 ounces / 400 grams) Oreo cookies
- 1 cup (240 grams) creamy peanut butter
- 10 ounces (280 grams) semi-sweet or milk chocolate, melted
Coating:
- Melted chocolate (from above)
Optional Decorations:
- None specified in original recipe
Instructions
- Pulverize the Oreos into fine crumbs using a food processor or by crushing them inside a sealed bag with a rolling pin, ensuring no large chunks remain.
- Transfer the crushed Oreos to a mixing bowl and incorporate peanut butter, blending thoroughly until the mixture forms a cohesive, moldable consistency.
- Using your palms, carefully craft uniform spherical shapes approximately one inch in diameter, placing each carefully on a parchment-lined baking tray.
- Temporarily suspend the formed balls in the freezer for roughly 25 minutes, allowing them to solidify and maintain their structural integrity during the next phase.
- Gently immerse each chilled ball into melted chocolate, utilizing a fork to ensure complete and even coverage while permitting excess chocolate to elegantly cascade back into the melting vessel.
- Return the chocolate-enrobed balls to the parchment-lined surface, positioning them with precision to prevent clustering.
- Allow the confections to rest in the refrigerator, permitting the chocolate exterior to set and transform into a glossy, crisp shell; approximately 15-20 minutes.
- Retrieve the cookie balls and present them either slightly chilled or at ambient temperature for optimal enjoyment.
Notes
- Crush Oreos thoroughly to ensure a smooth, consistent texture that helps bind the mixture perfectly.
- Use a food processor for quick, uniform crushing, but a rolling pin works great as a budget-friendly alternative when kitchen tools are limited.
- Choose creamy peanut butter for easier mixing and a more cohesive dough that holds together seamlessly.
- Keep hands slightly damp when rolling balls to prevent sticky mixture from clinging to fingers and create smoother, more uniform shapes.
- Opt for high-quality chocolate for coating to enhance the overall flavor and create a glossy, professional finish.
- Experiment with different chocolate types like dark, milk, or white to customize the taste and appearance of the cookie balls.
- Store in an airtight container in the refrigerator for up to a week, making them a convenient make-ahead dessert for unexpected guests or sweet cravings.
- Consider using gluten-free Oreos and natural peanut butter to make this recipe suitable for those with dietary restrictions.
- Prep Time: 20 minutes
- Cook Time: 30 minutes
- Category: Desserts, Snacks
- Method: Mixing
- Cuisine: American
Nutrition
- Serving Size: 12
- Calories: 150
- Sugar: 10g
- Sodium: 50mg
- Fat: 8g
- Saturated Fat: 3g
- Unsaturated Fat: 5g
- Trans Fat: 0g
- Carbohydrates: 18g
- Fiber: 1g
- Protein: 3g
- Cholesterol: 0mg
Jenna Stewart
Head Chef & Recipe Innovator
Expertise
Farm-to-Table Cooking; Seasonal Menu Development; Visual Plating Techniques; Flavor Layering and Simple Prep Hacks.
Education
The Culinary Institute of America, Hyde Park, NY
Jenna Stewart is the inventive spirit behind many of our standout dishes at Pro of Delicious Creations. A proud graduate of The Culinary Institute of America, she built her skills mastering both classic recipes and fresh, modern twists.
Now, Jenna celebrates the beauty of seasonal, local ingredients, often sourced from her garden and nearby markets, to create recipes that are bursting with flavor yet easy to follow. When she’s not experimenting in the kitchen, Jenna loves exploring nature on hikes and discovering new treasures at local co-ops.